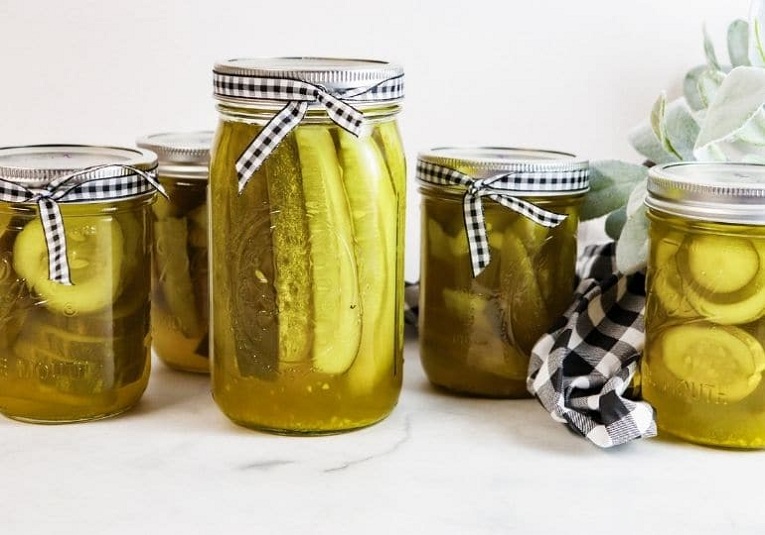
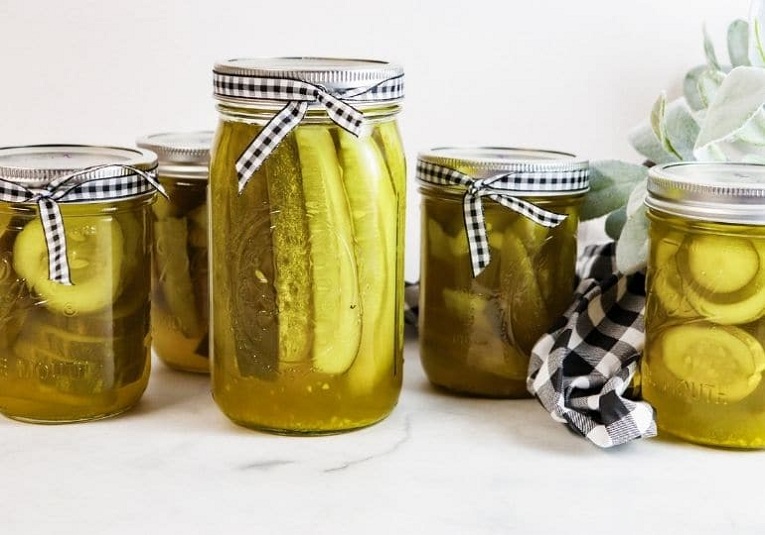
Pickling cucumbers straight from your garden is a simple process, but there are a few tricks to ensure your dill pickles turn out crunchy and delicious.
Pickles that turn out to be soft and mushy after being canned are one of the most disheartening things to bite into. The time, effort, and resources spent producing and processing the cucumbers into pickles suddenly seem like a complete waste.
But don’t worry, we’re here to assist you. The crunchiness of handmade dill pickles can be preserved in a number of ways.
And it could be less complicated than you imagine. Here are the seven most important things we’ve learned about making consistently delicious pickles.
Use cucumbers that are meant to be pickled
Using pickling cucumbers is the first secret to making crispy dill pickles. Cucumbers from a garden salad are not the best choice for making pickles. When compared to pickling cucumbers, these cucumbers are too big and have a thick base of seeds. Make sure to use smaller pickling cucumbers, like National Pickling Cucumbers, that are made for pickling.
Pick Young & Often
Another secret to making crispy dill pickles is when and how often you pick the cucumbers.
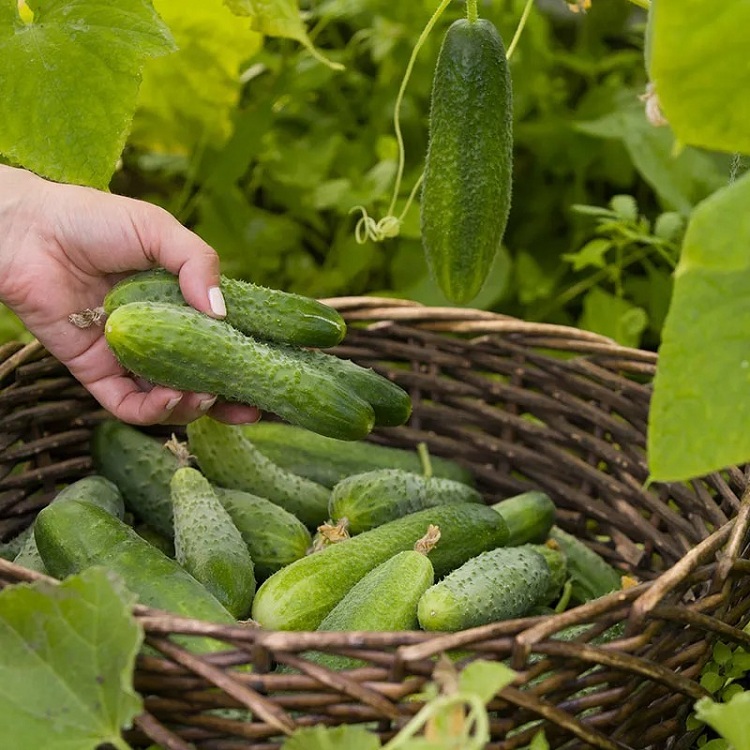
When you pick cucumbers from the vine, look for ones that are small, skinny, and dark green. They should still have prickly bumps on their skin. The smaller the diameter, the better!
Do not use a cucumber to make pickles if it is too big, light green, or has started to turn yellow. Most likely, the seed’s core will be too big, and the insides may already be soft or bitter.
Many gardeners like to show off how big their fruits and vegetables are, but in this case, smaller and thinner is better.
And over time, your plant will make more cucumbers if you pick them when they are young. So pick often and young.
Use only freshly picked cucumbers
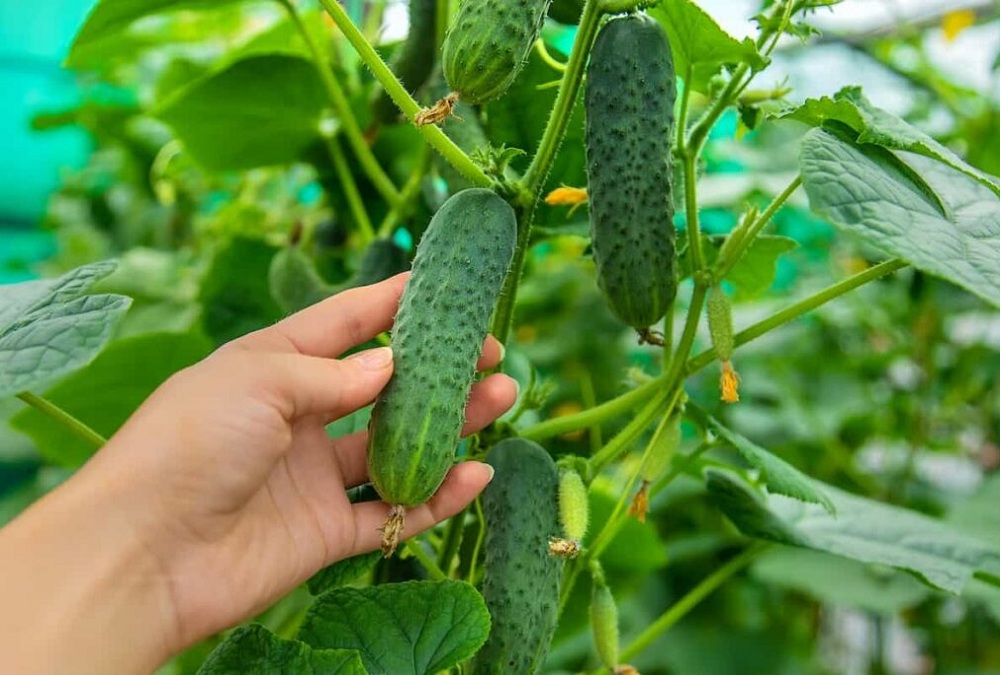
And make sure you use fresh cucumbers when you make pickles. The best cucumbers to use are ones that were picked less than 24 hours ago. This will help make sure the pickles are nice and crisp when they are done.
When cucumbers have been out for a few days, the water starts to dry up and the cucumbers start to break down. So, if you use those older cucumbers, there is a higher chance that the pickles will be too soft when they are canned.
Here, though, things can get tricky.
At the start of the season, many backyard gardens will start to make a couple of cucumbers every day. You might want to save those to make pickles, but it’s best to wait until the cucumbers are producing at full capacity.
Save the first few cucumbers to eat fresh or to make Overnight Refrigerator Dill Pickles.
Then, when the plants start making several cucumbers every day, you will have enough fresh cucumbers to make several jars of pickles.
Cut the end of each cucumber with the flower off
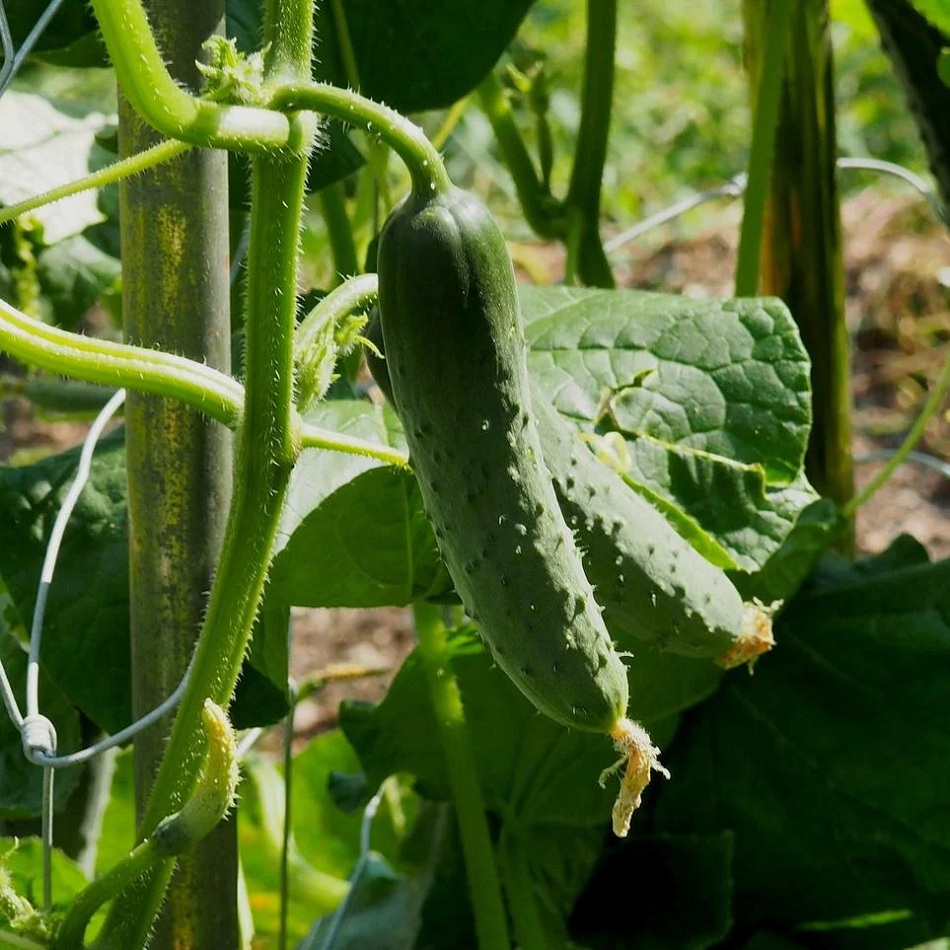
One of the most important tips for making crispy pickles is to cut off the end of each cucumber where the flower is.
The end of the blossom has an enzyme that can change the balance of chemicals in your pickles as a whole. When they are canned, this enzyme will make them soft.
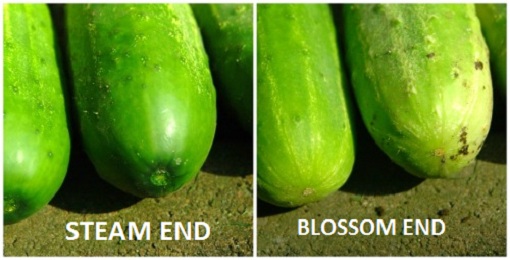
Leave a little bit of the stem on the cucumber when you pick it so you can tell which end is which. But if you buy cucumbers from a farmer’s market, you can still tell which end is the blossom end by how big and rough the tip is.
The end of the stem will have a big, indented circle, while the end of the flower will be smaller, rougher, and may even stick out a little bit.
Even so, if you aren’t sure which end is which, just cut them both off.
Avoid Over Processing
You might also end up with mushy dill pickles instead of crisp ones if you process them too much. This means that they have been exposed to very high temperatures for too long while being canned.
The key to getting crispy pickles is to can them in a hot water bath canner the right way.
But no matter what brand of canner you use, the water in the hot bath should be close to boiling before you put the cucumbers in the jars. This will help cut down on the time they spend in the hot water, both inside the jars and in the canner.
Skip the Alum
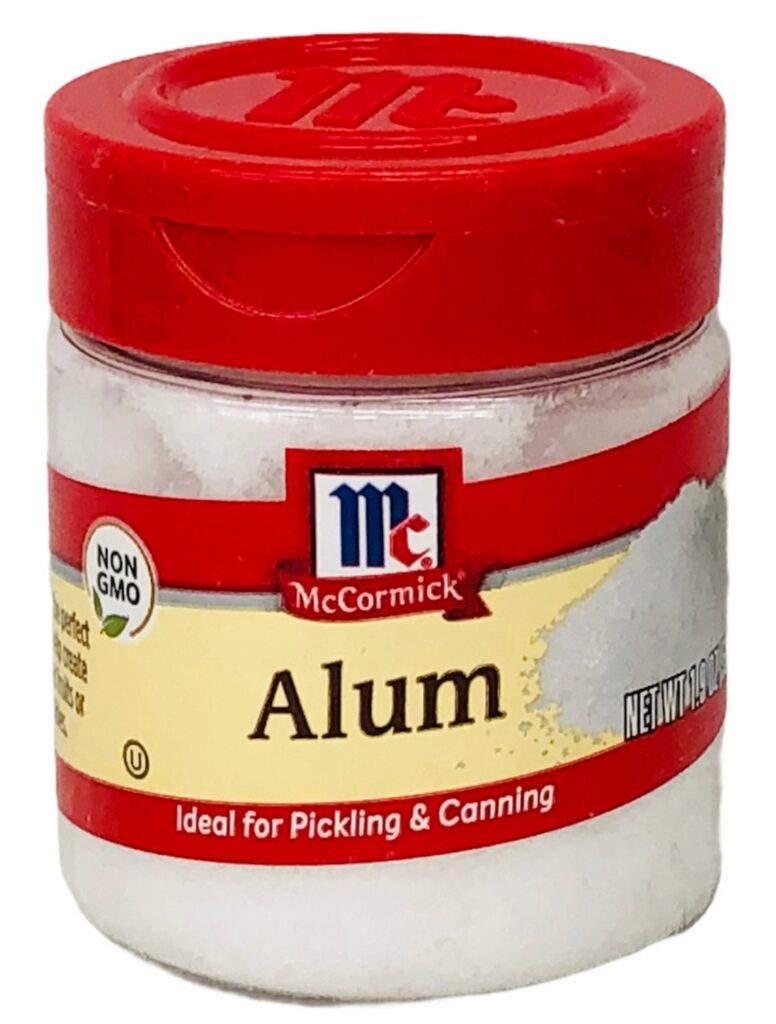
You may have heard or read that alum is the secret ingredient in pickle recipes that make them crispy.
But the FDA says that alum is no longer a good thing to use when canning pickles.
Many grocery stores still have alum on the shelves in the spice aisle or the canning section. But it’s important to know that it’s no longer okay to can pickles in it.
Put a grape leaf in each jar
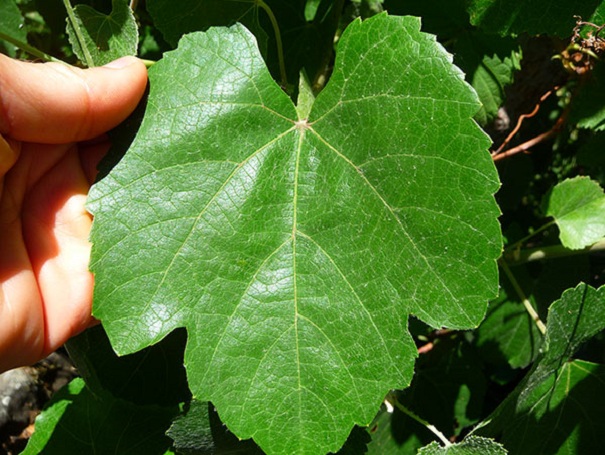
And finally, our seventh tip for making crispy dill pickles is to put half of a grape leaf in each jar before putting them in the hot water bath.
This is an old method that has been passed down from generation to generation.
Grape leaves, which are high in tannins, keep lacto-fermented foods crisp without changing how they taste.
We can easily get grape leaves because we have a vineyard in our backyard. But you can also get them by asking your neighbors, visiting local vineyards, or picking them from wild plants.
Even so, rumor has it that if you follow the other tips above, you might not even need the grape leaves. We just keep using heirlooms because they are easy to find and, well, it can’t hurt!
Recipe for Crispy Dill Pickles
Ingredients
- 6lbs pickling cucumbers (3-4 cucumbers per jar)
- 3 cups white vinegar
- 3 cups water
- 4 Tbsp. pickling salt
- 7 peeled cloves of garlic (peeled)
- 7 tsp. dill seeds
- 3 1/2 tsp. whole black peppercorns
- 4 large fresh grape leaves
Instructions
- Wash or sanitize the jars in the dishwasher and keep them warm.
- Start the water bath now. When it’s time to add the jars, the water should be close to boiling.
- When you wash cucumbers, make sure to scrub the skin well.
- You can slice, dice, or spear the cucumber after cutting the ends off.
- In a medium sauce pan, bring vinegar, water, and salt to a boil over medium-high heat.
- Place half a teaspoon of peppercorns, a teaspoon of dill seed, and a garlic clove at the bottom of each jar.
- Fill each jar with cucumber slices.
- Pour hot brine over the cucumbers, leaving 1/4 inch of space at the top of each jar.
- To release any air bubbles, rub the inside of the jar with a plastic utensil.
- On top of the cucumbers, put half of a grape leaf.
- Use a clean, damp cloth to wipe the top of the jar, and then put the hot lid and band on it.
- Put in a hot water bath and cook at a rolling boil for 10 minutes.
- Take the jars out of the oven with a jar lifter and set them on a thick towel.
Notes
After 24 hours, press down on the center of the lid to make sure the jars are sealed. If nothing happens, it is sealed. If the lid can be pressed down, put it in the fridge and use it within two weeks.
Wait at least two weeks before you open your first jar of pickles. Trust me, it’s worth it!
