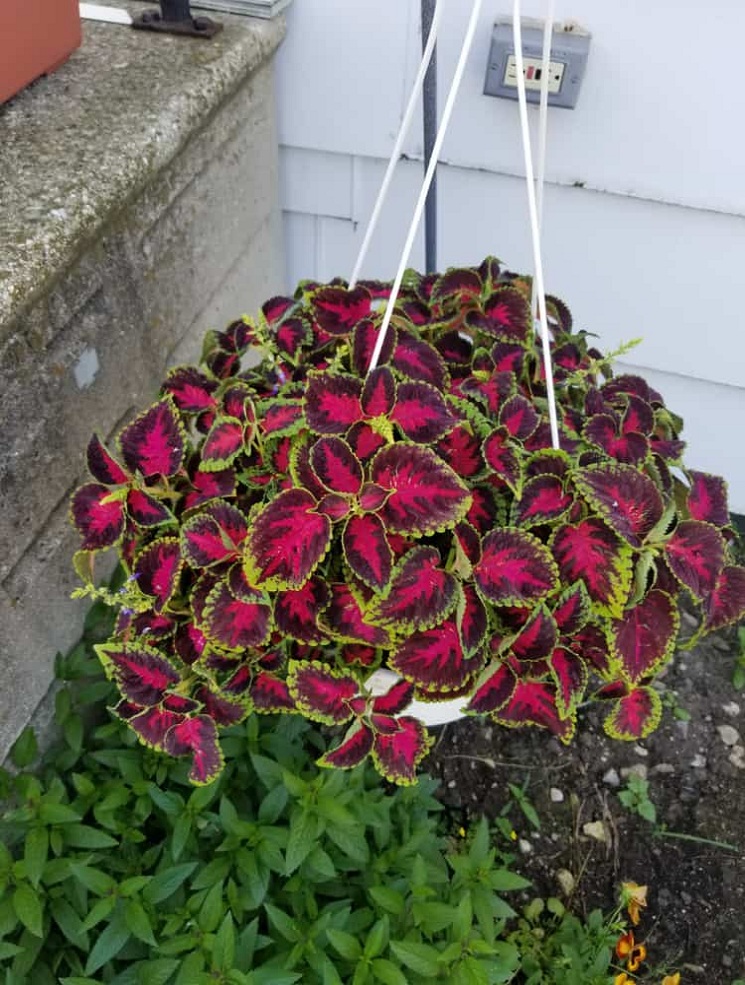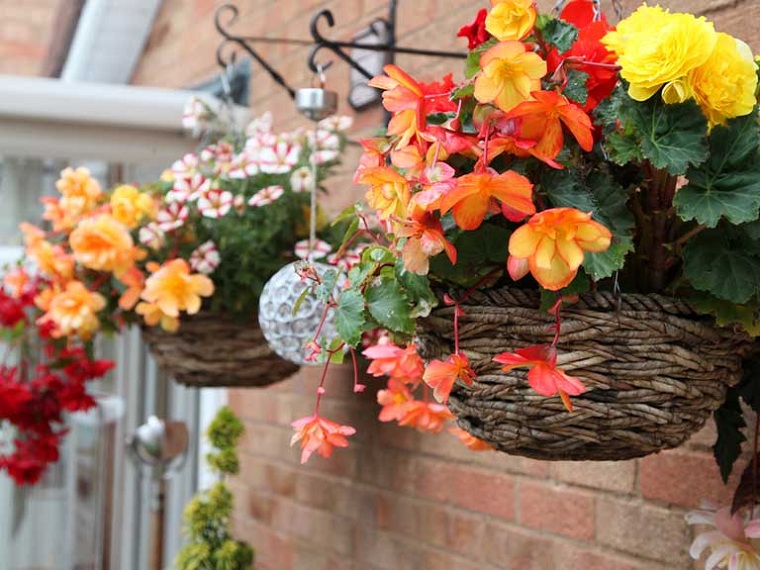
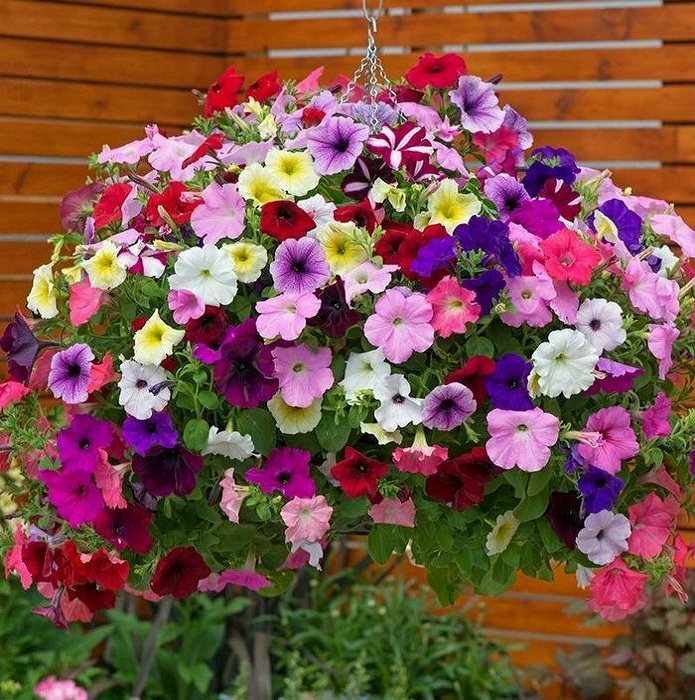
Plants in a hanging basket can brighten up any room. They can serve as a stunning landscaping focal point, spruce up an otherwise dull porch, or add vibrancy to a patio.
But, oh my, are they pricey! In fact, the cost of these planters has exploded in recent years. A little basket with a diameter of 8 inches to 10 inches can cost you $20 or more.
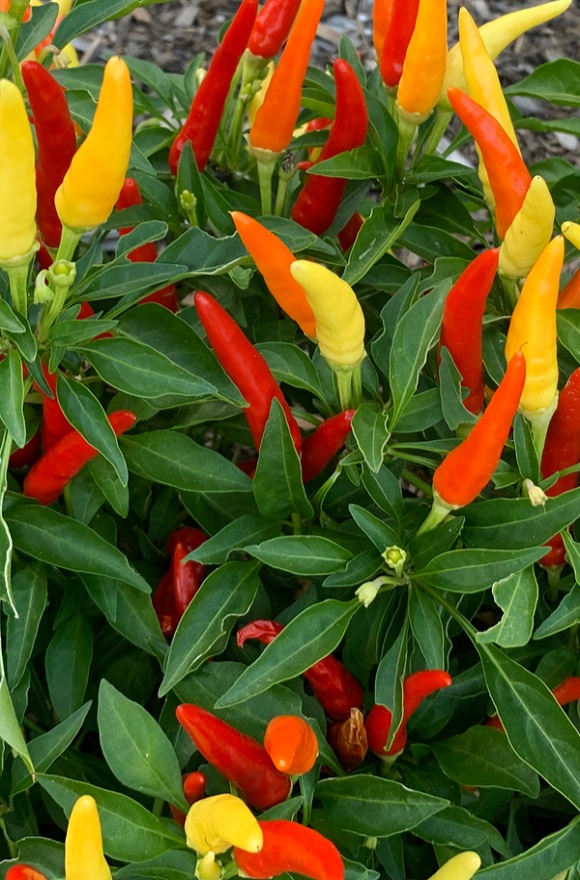
If you want something bigger than that, you can tack on another $40-$50 to the price tag without batting an eye. And that’s why, a few years ago, we started growing all of our hanging baskets from seed. It’s not only simple and cheap, but it also lets you grow a wide variety of fascinating and unusual species.
Here’s a look at how to get the best-looking hanging baskets on the block by growing your own plants this year.
The Key to Success
The key to successfully developing baskets from seed is to start them off in a warm, humid environment as early as possible. This involves starting seeds indoors for annual flowers at least 10 to 12 weeks before you plan to plant them outside.
That’s a whole month earlier than you’d normally start vegetable seeds, but it’s crucial. This will give the plants plenty of time to mature and bloom, bringing instantaneous vibrancy to your outdoor space.
Seeds Vs. Purchasing Transplants
Buying transplants to grow your own flower baskets is always a possibility. In addition, you can save a ton of cash by using that technique.
Although it is possible to germinate seeds in hanging baskets, we find that starting annuals in seed trays is far more successful. Until they are large enough to be transplanted (4–6 weeks), you can concentrate your lights and growth efforts in a much smaller area.
Starting plants on a windowsill is something you should avoid when growing hanging baskets from seed. Because of the lack of light, plants will be stunted in their development. Use fluorescent or LED store lights – they’re cheap and effective!
Transplanting Seedlings Into Baskets
When plants are 4 to 6 weeks old, they can be moved into sturdy hanging basket containers to keep growing. Doing this at a young age speeds up the process of the plants being rooted in their permanent soil.
The secret to developing large, gorgeous baskets is to use enough plants to fill the space without crowding out the soil too early in the growth season.
We have found the following calculations to be the most effective for optimum spacing over the entire growing season:
10″ baskets – 5 to 6 plants
12″ baskets – 6 to 7 plants
14″ baskets – 7 to 8 plants
16″ baskets – 8 to 9 plants
18″ baskets – 9 to 10 plants
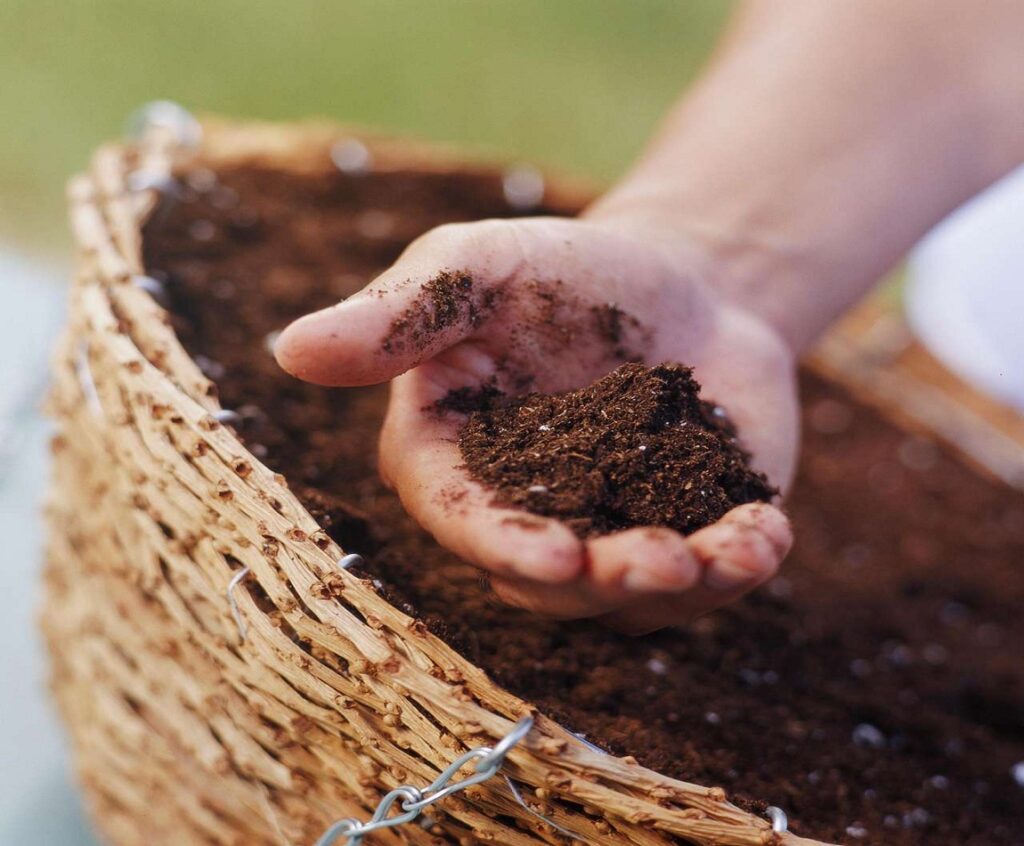
When transplanting, fill your hanging baskets with high quality commercial or homemade potting soil. To encourage steady, robust development, we mix 1/2 cup of worm castings into the soil of every hanging basket we sell. They are truly our hidden weapon!
Early Basket Planting
After you’ve transplanted your plants into baskets, you can start taking advantage of warm days by setting them outside.
Hanging baskets, unlike bedded floral annuals and vegetable garden plants, are easy to bring indoors when frost approaches. So, on those nice early spring days, take them outside and let them develop as much as they can.
In the meantime, fluorescent or LED shop lights can be installed over top of them to keep them growing. Keep the lights close, no more than an inch or two from the tops of the plants, just as you would with vegetable gardens.
If you put your baskets and plants in a warmer room, they will grow stronger and faster.
Fertilize Right
Even if you have excellent potting soil, fertilizing your hanging baskets is essential if you want them to thrive and look good all year. After all, the nutrients in any soil have a limited lifespan.
Fertilizing the plants lightly but regularly after you’ve transplanted them into the baskets will help them thrive. For us, a liquid fertilizer is the best option for this purpose.
Liquid fertilizers can be absorbed by the plants both through the leaves and the roots. This double dose is extremely beneficial to plant growth and bloom.
However, the trick is to consistently apply a small amount of fertilizer over time. Plants need only a dose every two to three weeks to be healthy and productive throughout the season.
For fertilization, we rely on homemade compost tea or worm casting tea. However, there are several effective organic alternatives available.
An excess of fertilizer at one time causes plants to expend their energy developing excessive foliage and root systems. If you give them too little, they won’t bloom.
As your plants get stronger and the daytime temperatures start to rise, set out baskets more often so they can get used to living outside.
By the time the spring season is in full swing and the danger of overnight frosts has passed, your plants can be left out all the time to show off their splendor.