Cleaning your TV screens the right way is crucial. Not only does it maintain your home’s cleanliness, but it also guarantees a clear, streak-free picture for your favorite movies and shows. When it comes to electronics like televisions, there are specific precautions to prevent damaging sensitive components or anti-glare coatings. Following these how-to guides will ensure your TV stays pristine and functional.
How to Clean Plasma, LCD, LED, OLED TV Screens
Can you use glass cleaner on your TV screen? This common question often arises when it comes to TV screen cleaning. The simple answer is no. Glass cleaner, typically containing ammonia and alcohol, can potentially harm your screen due to its harsh chemicals. The good news is that all you truly need are water and a microfiber cloth for an effective and safe clean. Below are the steps to guide you on how to clean your flat-screen TV without causing any damage.
Supplies:
- Microfiber cloths
- Optional: TV screen cleaner

Step 1: Turn Off and Unplug the TV
Before diving into cleaning, it’s crucial to switch off and unplug your TV. This not only ensures safety but also makes it easier to spot stains and streaks on the screen without any glare.
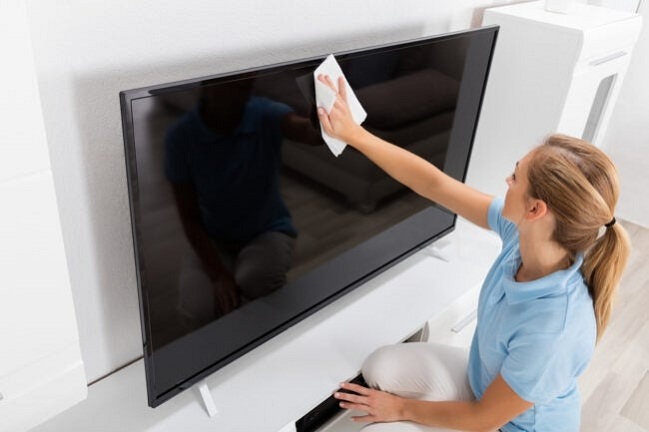
Step 2: Wipe Down with a Dry Microfiber Cloth
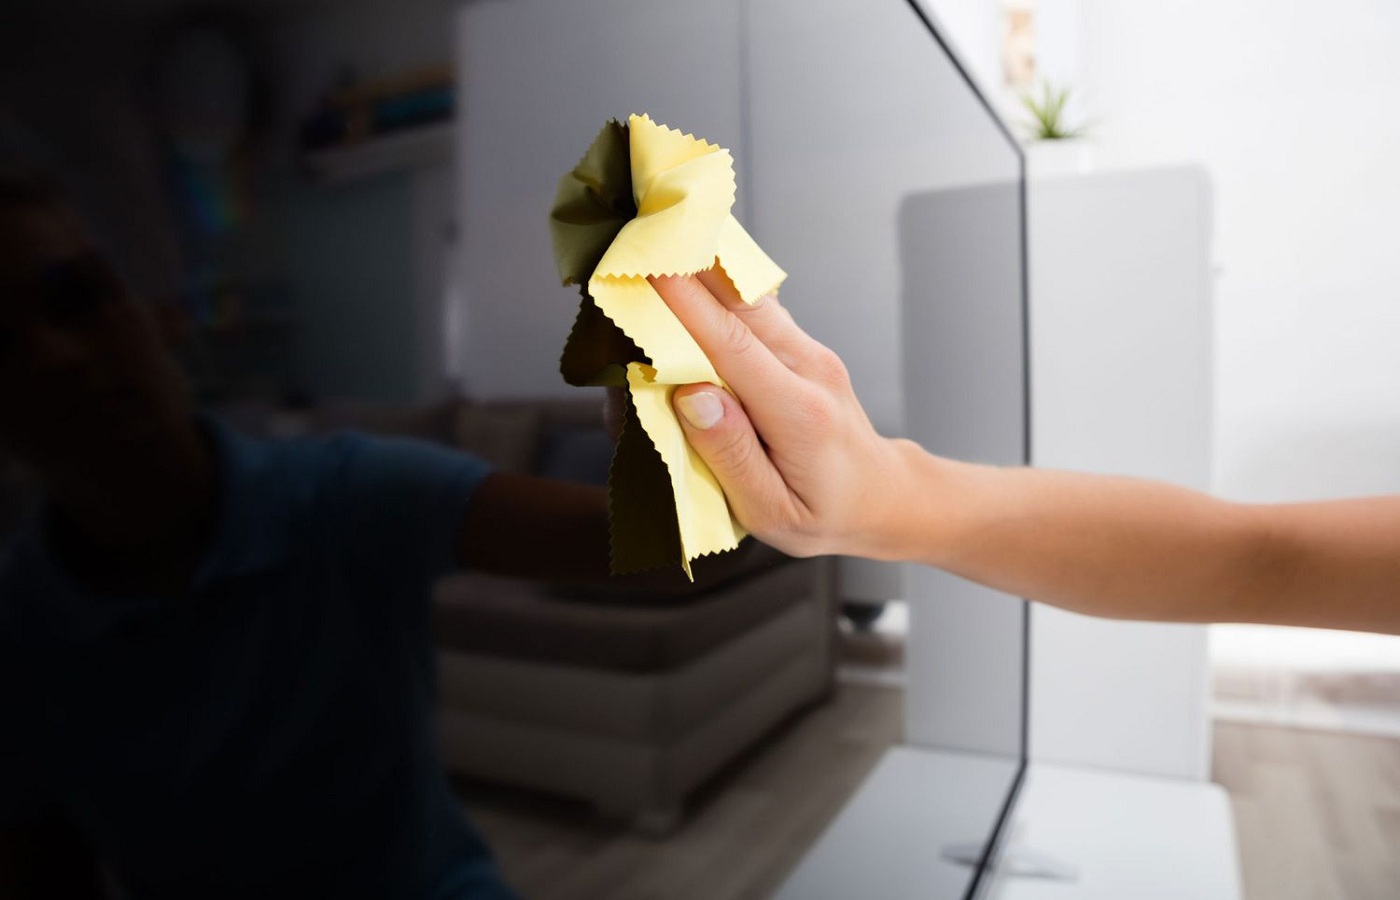
Using a dry microfiber cloth is key to avoiding scratches on your TV screen. Unlike paper towels or tissues, microfiber is gentle and effective at trapping dust. Employ soft, circular motions to remove dust and debris. Often, a dry cloth is all you need.
Step 3: Dampen the Cloth for Stubborn Stains
For persistent stains or streaks, lightly dampen the microfiber cloth with water. Ensure it’s not soaked, as excess moisture can damage your TV. Avoid directly spraying water on the screen. Gently wipe to remove dust or stubborn spots. Alternatively, opt for a TV screen cleaner, but choose one without harmful chemicals.
Step 4: Dry Thoroughly with a Fresh Microfiber Cloth
To prevent moisture-related damage, use another clean microfiber cloth to thoroughly dry the screen and surrounding areas. Leaving any moisture behind could lead to problems or safety hazards. So, ensure everything is perfectly dry before plugging your TV back in.
With these simple steps, you can keep your TV screen pristine, free from streaks and looking its best.
How to Clean Old-School CRT TVs

If you’re dealing with an old tube television, the process of cleaning the TV screen may differ slightly from cleaning modern flat screens. Tube TVs typically have glass screens that can withstand some cleaning products, like alcohol, which should not be used on flat screens. Here’s how to clean an old tube TV screen:
Supplies Needed:
- Microfiber cloths
- Rubbing alcohol
STEP 1: Turn Off and Unplug the TV
Safety is paramount. Before you begin cleaning your TV screen, make sure it’s powered off and unplugged from the wall. This not only ensures your safety but also provides better visibility for streak-free cleaning.
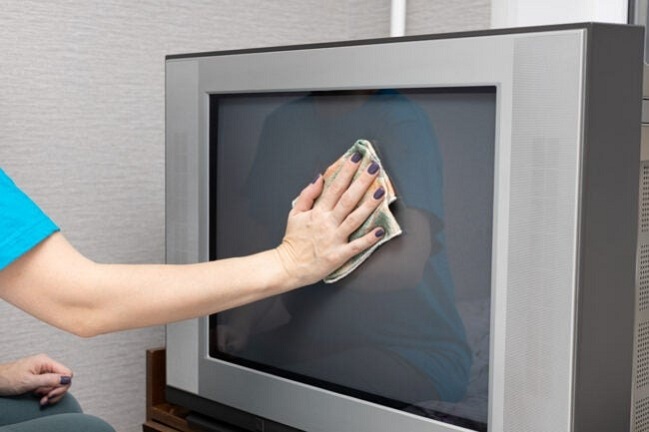
STEP 2: Wipe Down the Screen Using a Dry Microfiber Cloth
Once the TV is safely disconnected, use a clean, dry microfiber cloth to gently wipe the screen. Microfiber cloths are ideal as they won’t scratch the screen and effectively remove dust and loose debris.
STEP 3: Wipe the Screen with a Microfiber Towel and Cleaning Solution
Since these screens are made of glass, you can safely use a cleaning solution. Mix rubbing alcohol and water in a 1:1 ratio to create a DIY cleaning solution. Dampen a clean microfiber cloth with the solution, ensuring it’s not overly wet. Use the damp cloth to wipe the screen, addressing any stubborn messes with gentle scrubbing. Don’t forget to clean the top and side panels of the television.
STEP 4: Ensure Everything is Dry
Just like with flat screen TVs, it’s crucial to ensure everything is dry. Wipe the screen and other components using a clean, dry microfiber towel. Wait at least 15 minutes for the TV to air-dry completely before powering it back on. This ensures a streak-free and spotless screen.
How to Clean Your Remote Control

When it comes to remote controls, frequent cleaning to remove germs is a must. However, it’s important to note that cleaning methods can vary between different remote control models. If you’re uncertain, always consult the manufacturer’s directions before attempting to clean your remotes.
- Microfiber cloths
- Rubbing alcohol
- Cotton swabs
SUPPLIES
- Microfiber cloths
- Rubbing alcohol
- Cotton swabs
Step 1: Remove the batteries and loosen trapped debris. Begin by taking out the batteries to prevent any accidental activation. Turn the remote control upside down, with the buttons facing down, and give it a few solid taps. This will help dislodge crumbs and debris. It’s best to do this over a sink or a sheet of newspaper to avoid making a mess.
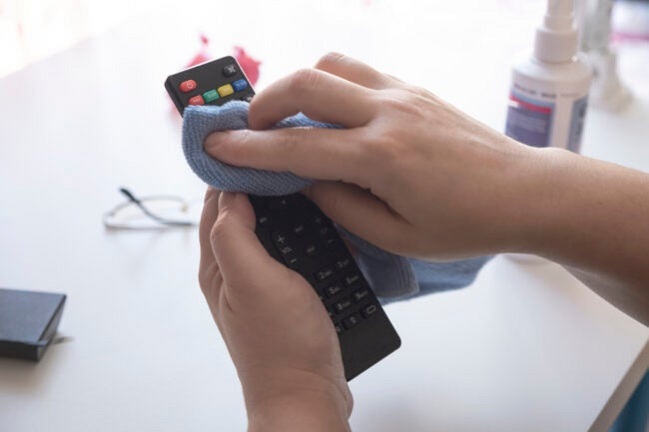
Step 2: Prepare a cleaning solution and wipe down the remote. Create a cleaning solution by mixing equal parts rubbing alcohol and water. Dampen a clean microfiber cloth with this solution, making sure it’s not soaking wet, and wipe down all sides of the remote. For those hard-to-reach spots around the buttons, dip a cotton swab into the alcohol and water mixture and use it to clean thoroughly.
Step 3: Dry the remote and reinsert the batteries. Using a dry microfiber cloth, ensure the remote is completely dry. If it feels even slightly damp, allow it to air-dry thoroughly. After confirming it’s dry, reinsert the batteries, and your clean remote is ready to use.
Remember, these steps may vary slightly depending on your remote’s make and model, so always consult the manufacturer’s instructions if you’re unsure.
Final Thoughts
When it comes to cleaning a modern flatscreen TV, always avoid harsh chemicals like ammonia and alcohol. These can harm the screen’s sensitive components and coatings. Instead, the process of how to clean a TV screen is often as simple as using a soft cloth and a small amount of water.
After you’ve given your television screen the care it needs, don’t overlook cleaning your remote control to eliminate any hidden germs and bacteria. A clean TV and remote enhance your viewing experience and maintain the longevity of your devices.

