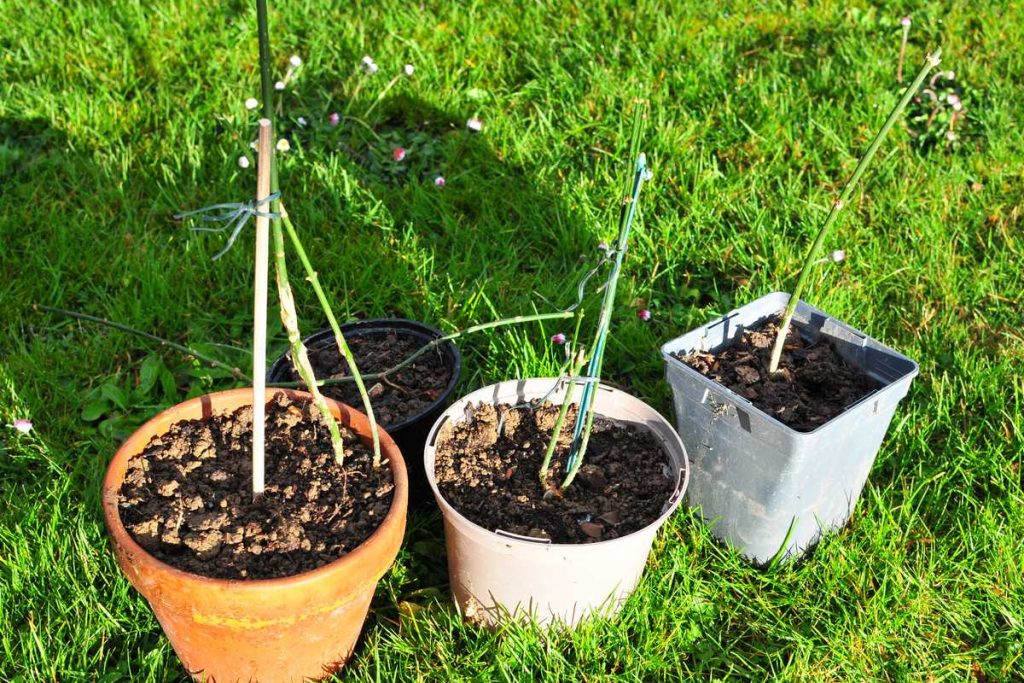
Do you love the powerful fragrance of your summer jasmine flowers? Would you like to make cuttings of this climbing plant to replant elsewhere or give some around you? Nothing’s easier ! White jasmine can be taken very easily in water, in pots, or by layering its long shoots. Here are all the detailed explanations to know when and how to perform these 3 techniques.
How to layer jasmine?
Climbing jasmine tends to produce long shoots near the base of the plant. So might as well take the opportunity to try a layering by sleeping . Easier to make than a cutting , it is a very practical technique to faithfully multiply this beautiful climbing plant.
When to layer jasmine? Layering can be done year-round, with a preference for spring or early fall .
- Choose a long branch. It should be green in color.
- After having flattened it on the ground, cover one or more sections with earth. Spread over a mulch of dead leaves, compost or shredded branches.
- Rooting is quite long, count a few months but this wait is then compensated by obtaining more developed plants than cuttings.
- After this time, use a trowel to gently loosen the soil around the covered parts.
- Then slide the tool under the roots to lift and extract the root ball.
- Using pruning shears, cut the vine shoot that connects your young jasmine to the mother plant. Prune flush with the roots to release it.
- Shorten aerial stems to 25 or 30 cm in length, just above a node.
- Repot your new white jasmine cutting in a terracotta pot using a mixture of soil, garden and compost.
- Finally water and plant a stake to be able to straighten and tie the stems to it.
You can thus keep your young jasmine in a pot for a few weeks or a few months so that they take root better.
You can also replant them immediately elsewhere if you wish, at the foot of a support: a trellis, a fence or an arch.
Stewed jasmine cutting
Jasmine can be cut very easily during the summer .
- Take the ends of stems about 20 cm long. The ideal is to use young shoots that have grown in the spring.
- Remove all leaves from the base of the cuttings . Keep only those located at the end.
- Plant your prepared cuttings in a terracotta pot filled with a mixture of good garden soil and river sand or seedling compost.
- Prick the cuttings at the edge of the pot, near the walls. This is a trick that allows for faster and better rooting.
- Water to moisten the soil, then cover with a piece of plastic bottle or freezer bag to keep the cutting smothered .
- Place your pot in the shade, protect it from frost and cold all winter.
If you make your jasmine cutting in the summer , rooting takes place slowly during the fall and strengthens throughout the winter. You can then plant your new jasmine in its final place the following spring.
How to make a jasmine cutting in water?
This is to make a herbaceous cutting . It should be done in the spring .
- In May-June, cut the ends of young stems 10 or 15 cm long.
- Remove all the leaves located at the base in the portion of stem that will be immersed in water to prevent them from rotting.
- Fill a glass or a small pitcher with preferably rainwater. Plunge the cuttings into it.
- Change the water regularly to avoid bad odors and stagnation.
Once the first roots are visible , repot each cutting in an individual pot so that the rooting is reinforced. The final planting in the garden can be done when some roots start to come out of the drainage hole at the bottom of the pot.
