The topic of how to keep pumpkins from decaying is one that a lot of people have every October. Today, we’ll discuss a few tips and strategies for preserving Autumn’s globed gems for longer than you ever imagined!
Make Sure You Get The Right Pumpkin First
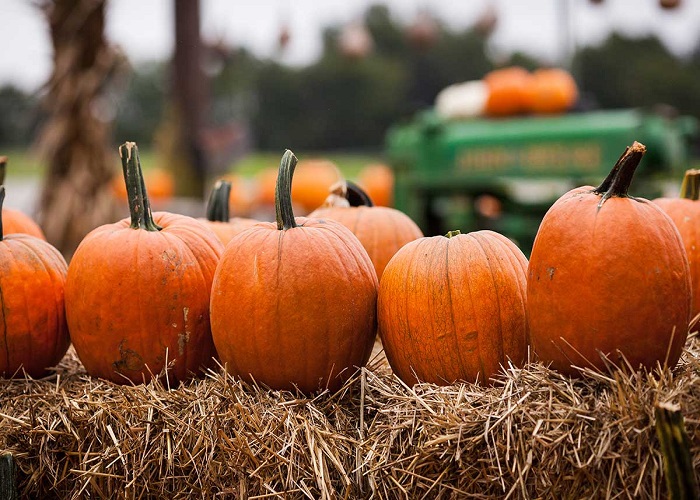
Choosing a healthy fruit is the first step in growing a pumpkin that will last you through the full fall decorating season. You’ll need to search for two key signals to its general health when you select one out of the many.
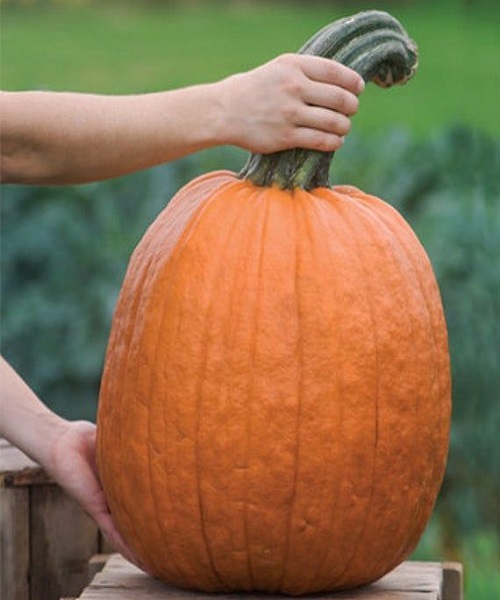
Start by avoiding pumpkins with obvious cuts, bruising, and discoloration. Bruises and cuts on the skin, as with any vegetable, are the first spots to go bad.
Pay attention to the stem as well as the skin’s flaws. Loose or broken stems are a warning sign that the fall fruit is in peril. Pumpkins with sturdy stems, at least two to three inches long, should be avoided at all costs.
The stems are a good indicator that it has been thoroughly cured, which suggests that it will last a long time on the shelf. What if there is no stem, to begin with? Please don’t bring it back! When the stems are removed from a pumpkin, it is the most susceptible to deterioration.
Clean and disinfect
It’s now time to clean your newly chosen fruit! All fruits have bacteria on their skins that will eventually cause the skin to decompose over time. A mild bleach solution is preferable to water when it comes to removing some stains.
Bleach eliminates any microorganisms on the pumpkin’s surface, and it also encourages the skin to oxidize. Use a solution of 2 tablespoons of bleach to 1 gallon of water to clean your choice.
Always use protective gloves when working with bleach. After a few hours, set out the pumpkin to dry in the sun. Finally, it’s time for the last step!

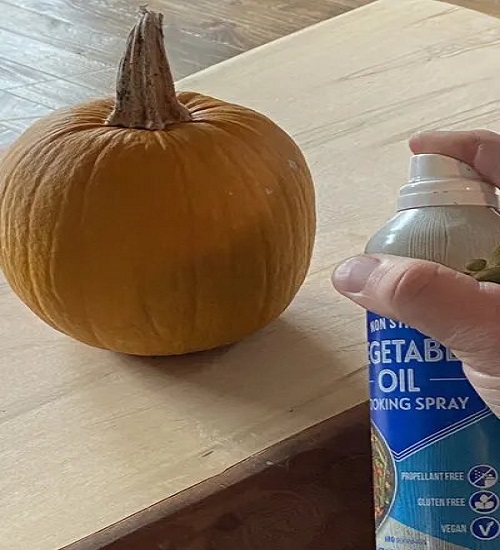
Use vegetable oil to protect your pumpkin
Your pumpkin is now ready for its final coat of polyurethane. We do this by applying a thin layer of vegetable oil to the surface.
Vegetable oil is a better option than WD-40 or petroleum jelly for coating pumpkins. In addition, it shields the user from harm.
If you plan on painting your pumpkin, apply the vegetable oil before you begin painting. Even though paint helps seal the skin, you’ll still need to protect the rest of the body if you don’t paint the full globe.
The average oiled, bleached, and well-cleaned pumpkin can survive anywhere from 45 to 60 days!
Protection for carved pumpkins
What about pumpkins that have already been carved? There is no going back to the orange globes once they’ve been carved. You may, however, extend its life with a little more care.
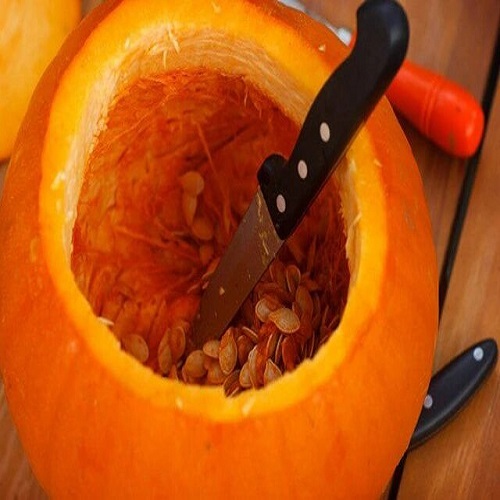
Sharpen your knife before you begin to cut. If it’s crisper, the better! To speed up decomposition, use a dull knife. Cleaning and sharpening a knife will result in cleaner cuts that are easier to safeguard in order to prolong its usefulness.
Thoroughly clean the pumpkin after the carving is complete. Remove the seeds and pulp completely. It will swiftly decompose and spread to other parts of the body if left unattended.
A bath is in order after carving and cleaning. But this time, you’re going to put the entire pumpkin in the water. Pour water over the pumpkin to completely submerge it, using the same 2 tablespoons of bleach per gallon ratio.
After 5 minutes of soaking, remove and allow to air dry in the sun. Apply a final coat of vegetable or mineral oil with your hands to the entire pumpkin. Five to seven days can be gained by performing this simple operation.