Soil generally looks the same, especially if it’s in a garden or a pot. But if you want the best soil for your garden, it’s important to understand the distinctions among these 3 basic soil types:
- Topsoil: This is the top 8 inches of garden soil before adding organic matter. It can have many different textures.
- Garden Soil: This is organic soil, rich in nutrients from past plants. It contains decaying matter, beneficial bugs, and drainage stones.
- Potting Soil: Garden soil and potting soil serve different purposes. It contains peat moss, perlite, and organic compost. Don’t use bad potting soil that can damage your soil.
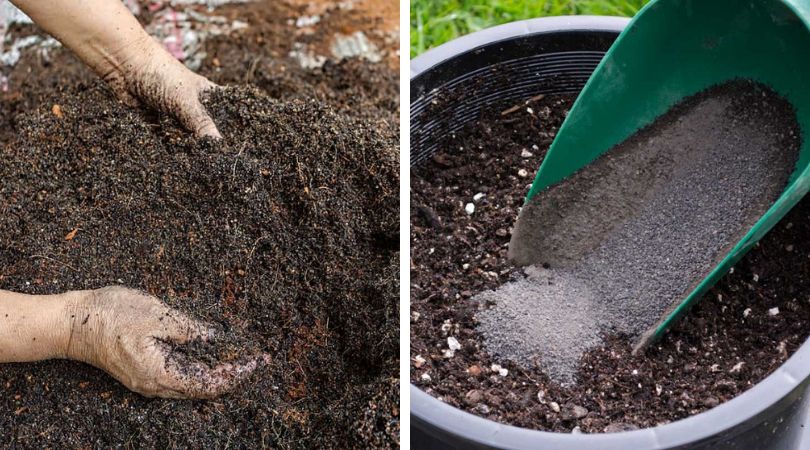
A good soil is the most important factor to consider when beginning a garden, whether it is an outdoor or indoor garden. Making your own garden soil at home is a great way to better cater to your plants’ specific requirements. Here’s how!
WHAT DO YOU NEED TO MAKE GARDEN SOIL?
It’s easy to make your own garden soil, and we’ve written down the steps:
You don’t need a lot of stuff to follow this tutorial. The following is a list of what you’ll need to start.
- ¼ compost
- ¼ native soil
- ¼ sphagnum peat moss
- ¼ pumice stones/rice hulls/lava rocks (for aeration)
- Neem/Karanja cake
- Kelp meal
- Crustacean meal
- Basalt
- Glacial Rock Dust
- Gypsum
- Oyster Shell Flour
- Soil testing kit

DO A SOIL TEST
In order to get the best results from your garden, you may need to adjust the soil’s pH. This is why testing the soil is one of the first things you should do. Soil can be tested in a number of ways, including with a store-bought device, with a do-it-yourself kit made from common household items, or by hiring a professional.
Keep in mind that it may take a professional a week or two to get results if you decide to hire them.
If this is not an option, there is a short guide at the end of the article that will tell you what to do if you cannot or do not want to test your soil.

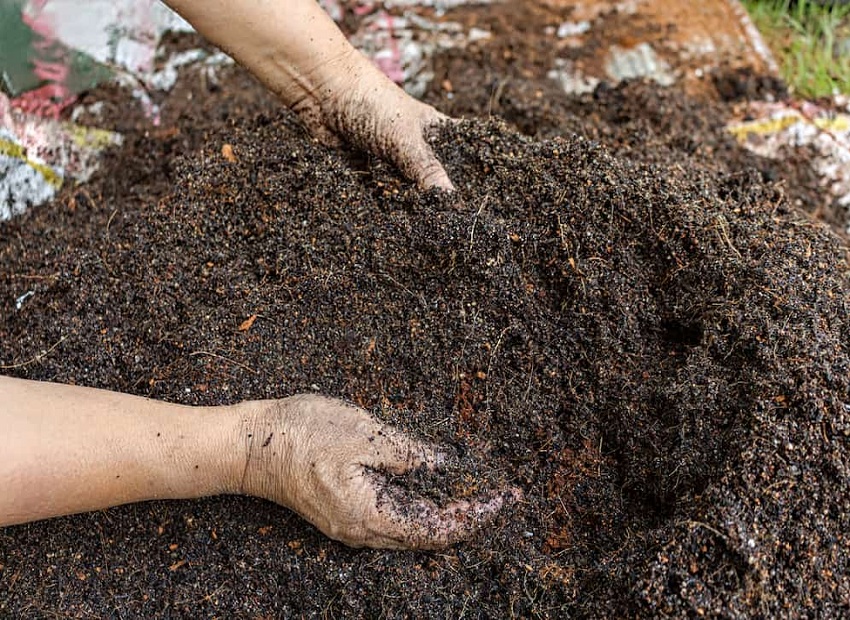
CREATE A BASE
Find out what your soil’s pH is, and then get to work on the foundation. Use a ratio of 1:1:1:1 when mixing in compost, native soil, sphagnum peat moss, and an aeration component like pumice stone, lava rock, or rice hulls. This translates to a ratio of 2.5 gallons of each component per cubic foot of soil. If you have a compost pile, you can use that to enrich the soil in your garden.
ADD THE ADDITIONAL NUTRIENTS
Once your foundation is set, you can begin nourishing it. Neem and Karanja cake can be added for supplemental nitrogen and aeration. Aeration and drainage are provided by kelp meal and crustacean (crab) meal, as well as phosphorus, nitrogen, calcium, and chitin.
Crab meal is regarded by many gardeners as a soil superfood, but only half a cup per cubic foot of soil is needed to see results.
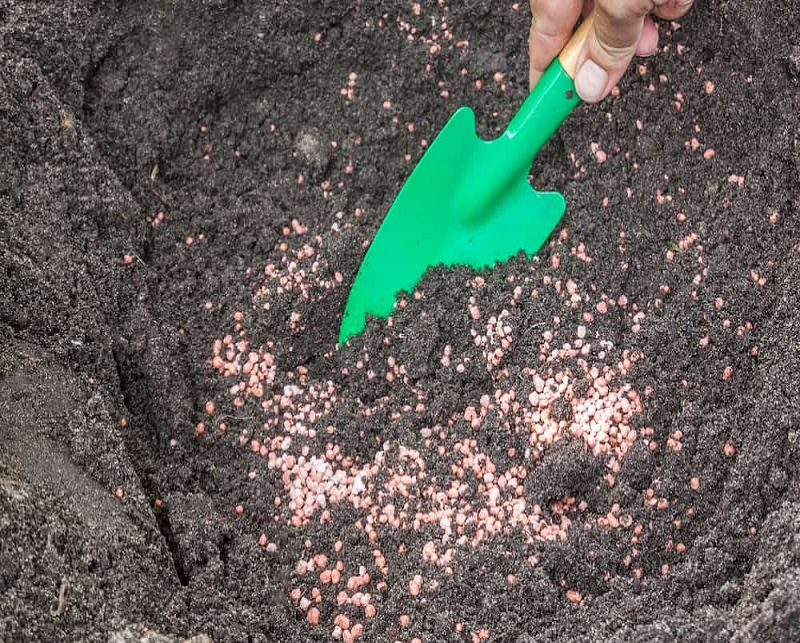
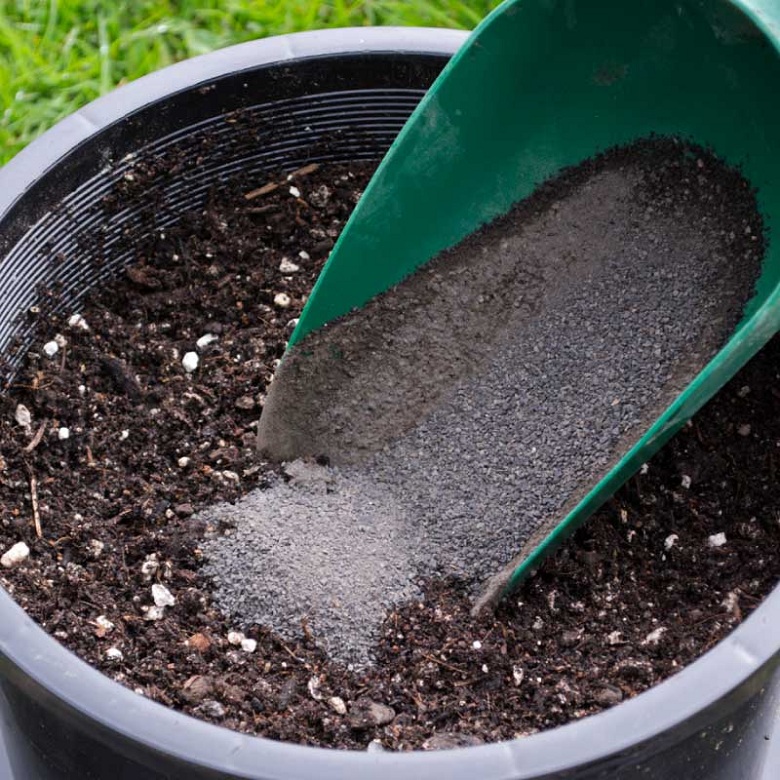
ADD MINERALS
After you’ve added your nutrients, it’s time to add some minerals. For every cubic foot of soil, you need to add a cup of each mineral listed below.
- Basalt – high in magnesium, calcium, and iron.
- Glacial Rock Dust – will aid in soil remineralization.
- Gypsum – to aid in moisture absorption.
- Oyster Shell Flour – to boost the calcium and micronutrient content of your mix.
MIX EVERYTHING
Combine all of the ingredients and place them in a container. And finally, water the soil and leave it to dry.
IF I DON’T WANT TO OR CAN’T TEST MY SOIL, WHAT SHOULD I DO?
Testing your soil for accuracy is highly recommended, but we understand that this is not always possible. In the event that you are unable to acquire soil testers or are unwilling to conduct your own soil tests, here is an alternate method for preparing your garden soil:
Add compost to your soil and mix it well as a first step.
Next, mulch the area, water it, and let the soil dry out in the sun for a few weeks. This is a way to get rid of any bacteria or diseases that might be in the soil before you use it in your garden.
After a couple weeks, if it hasn’t rained and isn’t wet, your soil is ready to plant in. However, if you choose this method, keep a close eye on your crops for signs of nutrient deficiency. You will need to fix this as soon as possible, or your plants could die.