Because the garden is in perpetual motion, because one-day landscaping ideas quickly give way to new projects, it may happen that an ornamental or fruit tree planted in previous years or seasons does not is no longer really in its place. How then to transplant it without slowing down its development?
When to move a tree?
Fall is the best time to plant deciduous trees and shrubs, but it’s also a great time to move them.
In order to increase the chances of recovery, it is imperative that a tree be transplanted during this period of vegetative rest which extends from late autumn to early spring.
Wait until the weather is favorable to move the tree. Do not do it :
- During or just after a heavy period of rain because the soil, soaked in water, is difficult to work.
- In periods of frost because the earth is hard to dig and especially the cold risks burning the weakened roots.
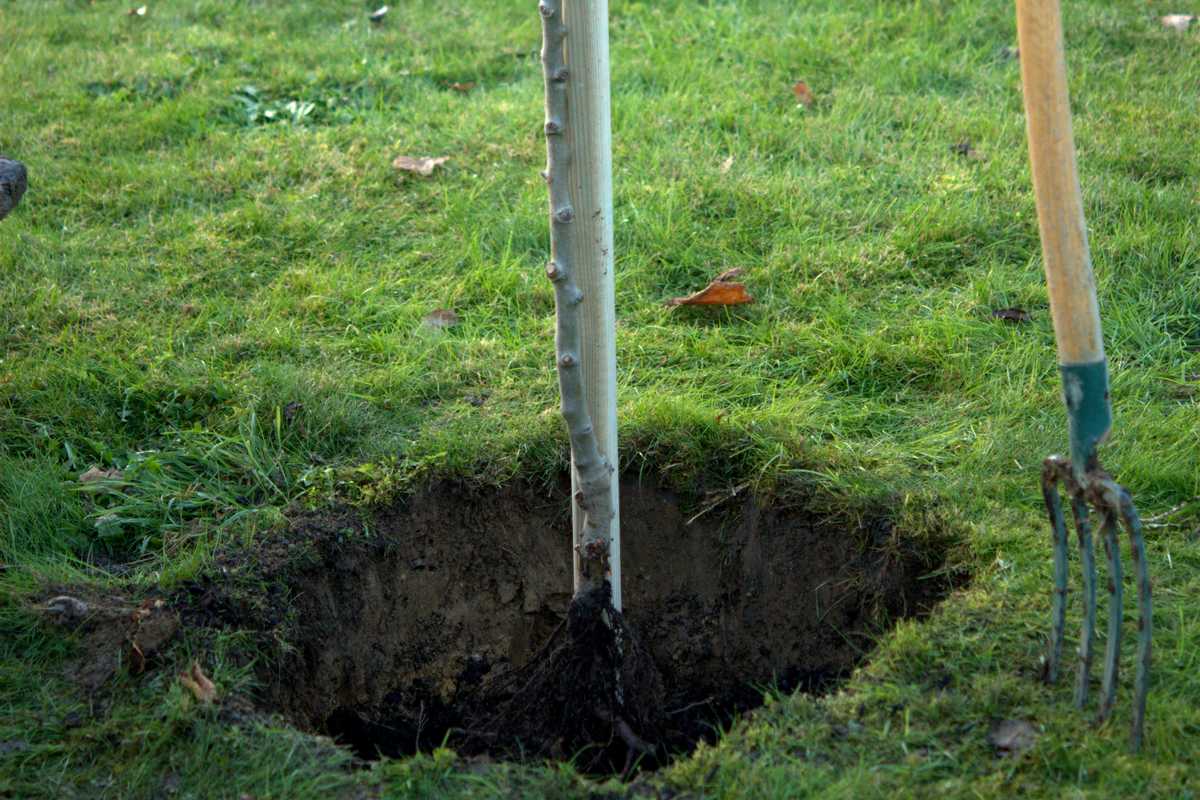
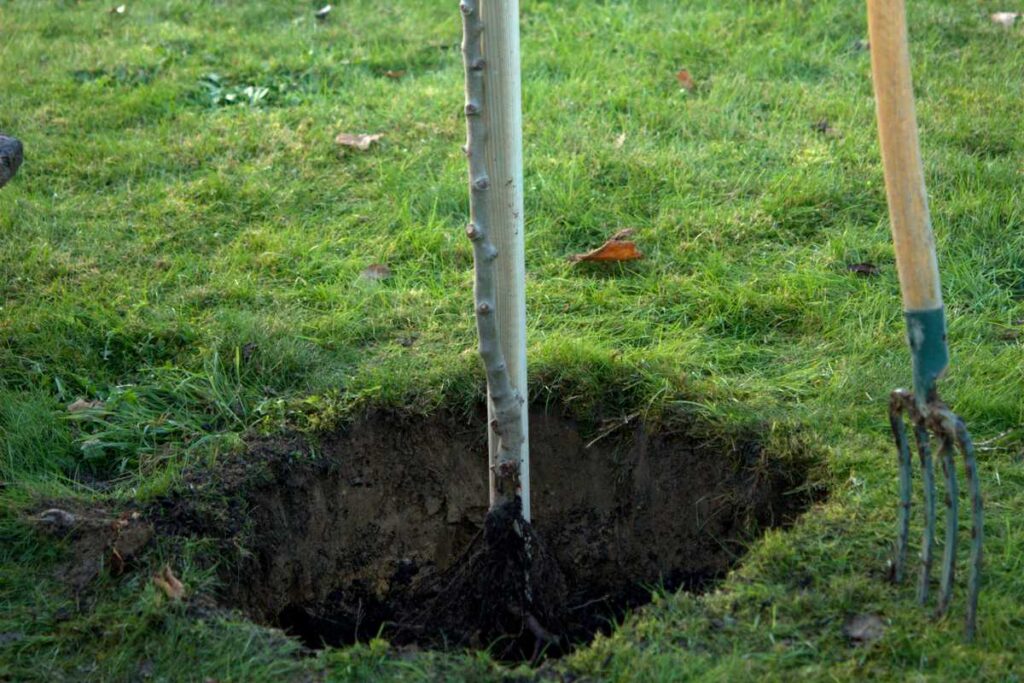
Tree transplantation Step-by-step
- Start by pushing in your right spade to its full height, drawing a circle about 50 cm all around the trunk. In clayey terrain, use more than a fork-to-spade to loosen the surface crust.
- Inside this large circle, draw a second one with the spade, about 40 cm from the trunk.
- Between these two circles, dig a deep circular trench with the help of a pickaxe. The most superficial roots are here cut clean.
- Then clear some of the soil on the outskirts to allow the tool to go under the root ball. Be patient to snip off the deepest roots.
- Depending on the height and age of the tree, the use of a small arboreal saw may be necessary to cut thicker roots cleanly.
- Gradually lay the tree down by levering it until its clod of earth is completely free from the ground.
- Depending on the diameter of the root ball, then wrap it with a piece of geotextile film, burlap or a plastic bag to prevent the soil from crumbling during transport in a wheelbarrow.
- If you haven’t dug it before, open a new planting hole just a little deeper than the root ball, but much wider. The root system will find there a flexible soil, favorable to its development.
- Loosen the bottom with the fork-spade and pour in two or three scoops of compost to mix with the rest.
- Install the tree in the back of its new location, upright and remove the protection from the root ball. Remember to stake a tree that is still young, especially if your garden experiences regular gusts of wind, without tightening the ties too much so as not to strangle it.
- Fill the holes with a mixture of equal parts garden soil and compost. Halfway through filling, water copiously to begin to gently compact the soil.
- Top up with earth. Form a bowl on top to facilitate watering.
- Finish with a copious watering before mulching the shredded material. They will protect the root ball from the cold and from the compaction resulting from repeated rains.