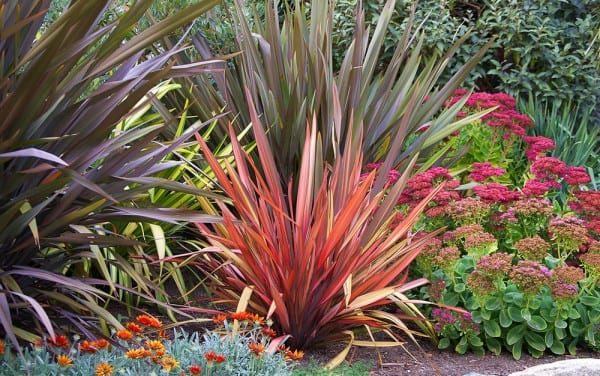
Parmi tous les plaisirs automnaux de la sculpture de citrouilles et de la cueillette de mûres, il est facile d’oublier les autres travaux importants du jardin d’automne qui doivent être effectués. Il s’agit de préparer votre jardin pour l’hiver à venir, et un rangement rapide de vos bordures maintenant pourrait vous éviter bien des chagrins à long terme.
It used to be the case that gardens were stripped back completely and left bare for winter, but nowadays it’s more common for people to make some effort to keep some structure and colour in their garden over winter.
And it really pays off – looking out your window on dismal winter days and seeing a garden that still has some colour and shape can really lift your spirits.
To help you put together your autumn gardening to-do list, I’ve outlined below some of the key jobs that need doing, and how best to do them. This not only protect your garden from winter frosts, but also keep it looking lovely.
LIFTING PERENNIALS
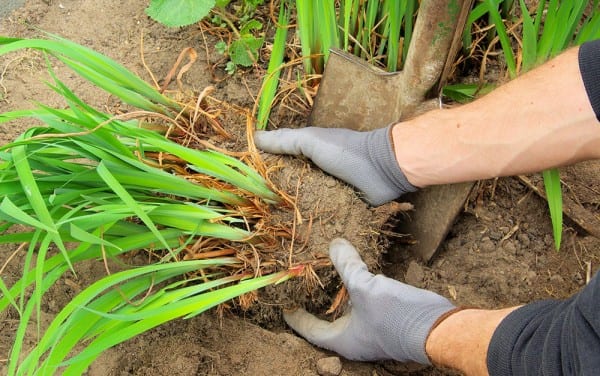
Some of your perennials will need lifting out and moving indoors or to a more sheltered location before they are frost damaged, in order to help them survive the winter.
Tender varieties like cannas, dahlias, geraniums or fuchsias need to overwinter in a cool but frost-free place like a shed or greenhouse.
First, cut the stems back to 5-10cm from their base. Then, dig up the plant using a fork and remove as much soil as possible from the roots.
Store them in just-moist potting compost in trays or pots, and place out of direct sunlight. Keep them ventilated and check regularly for rotting and mould.

Larger perennials such as Sedum or Alstroemeria will also need lifting so that they can be divided; this is usually necessary every two to four years in order to prevent the plants from getting too large for their space and becoming congested.
Dig them up using a garden fork and shake off any excess soil. Carefully divide the plant by pulling it apart with your hands. For large or tough plants, divide using forks.
Place two forks into the clump, back to back, and push the handles together the prise the plant apart.
Repeat until you have good-sized clumps and replant immediately, watering them in well.
COLLECTING SEEDS

More hardy perennials will need simply cutting back to ground level as they die down in order to keep borders neat and tidy.
Stems, dead leaves and seed heads can all be removed, and the seeds collected, but it is definitely worth keeping some seed heads in place, as they will provide striking and decorative structure to your borders over winter and look great with a light covering of frost.
Store them in just-moist potting compost in trays or pots, and place out of direct sunlight. Keep them ventilated and check regularly for rotting and mould. Seeds are ready to be collected once the pods have turned from green to brown.
To harvest your seeds, place a freezer bag or paper envelope over the seed head and then cut it off underneath using garden scissors, taking care not to spill too many seeds on the ground.
Dry your seed heads out for a few days by spreading them out on some newspaper in a dry place such as an airing cupboard. Then put them inside paper envelopes (or Tic-Tac boxes, as I like to use) – and don’t forget to label them!
Pop them all in an airtight container and keep them somewhere cool – the fridge is great if you have room. They’ll be ready to sow in spring.
For plants that still have some life in them, keep deadheading to prolong flowering time for as long as the weather permits.

MULCHING
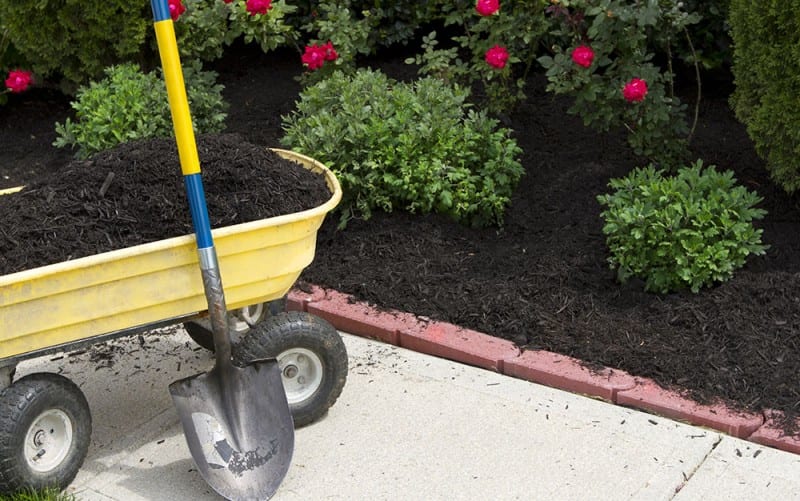
Protect plants over winter with a mulch – a layer of organic matter spread over the soil. You can use materials such as organic compost or bark chippings. This helps limit weed growth, improves soil structure and shields plant roots from cold temperatures.
To apply mulch, first remove weeds and then spread your mulch material about four inches thick over the entire surface of the soil. Take care to avoid the mulch from coming into contact with the stems of trees and shrubs, as this can cause rotting.
PLANTING
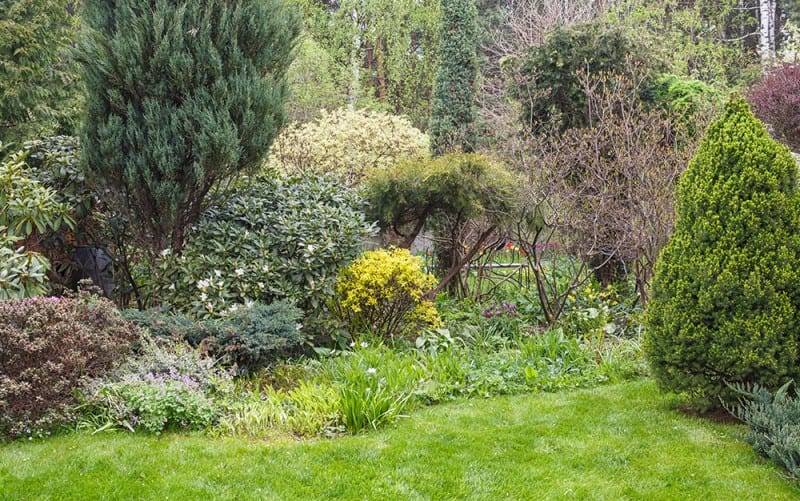
If your garden always looks bare over winter, then you might need more evergreens or winter-flowering plants in your garden.
Remember that evergreen doesn’t just mean large conifer trees; there are loads of shrubs, climbers and flowering plants that keep their leaves over winter. Make sure you plant anything new before the ground hardens with frost.
Dot evergreen plants around your garden to create a framework that stays in place all year round. Some good examples include Holly, Photinia and Euonymus.
Plant smaller winter-flowering plants such as snowdrops at the front of your borders. Little splashes of colour against a backdrop of green will keep your garden looking vibrant over the colder season.
PRUNING
Don’t forget to tidy up deciduous shrubs and trees that are getting a little out of hand with some careful pruning.
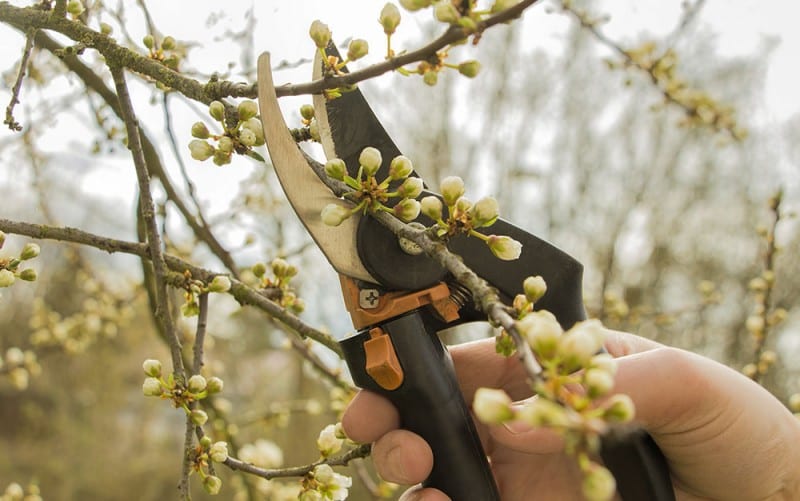
À l’aide d’une paire de sécateurs, coupez tous les arbres et arbustes envahis par la végétation en vous assurant d’enlever tout ce qui est mort, malade ou endommagé. Cela laissera plus de lumière dans votre jardin en hiver, tout en aidant à protéger vos arbres contre les vents forts ou les fortes gelées qui pourraient leur faire perdre leur forme.
It will also make you garden look neater overall .
