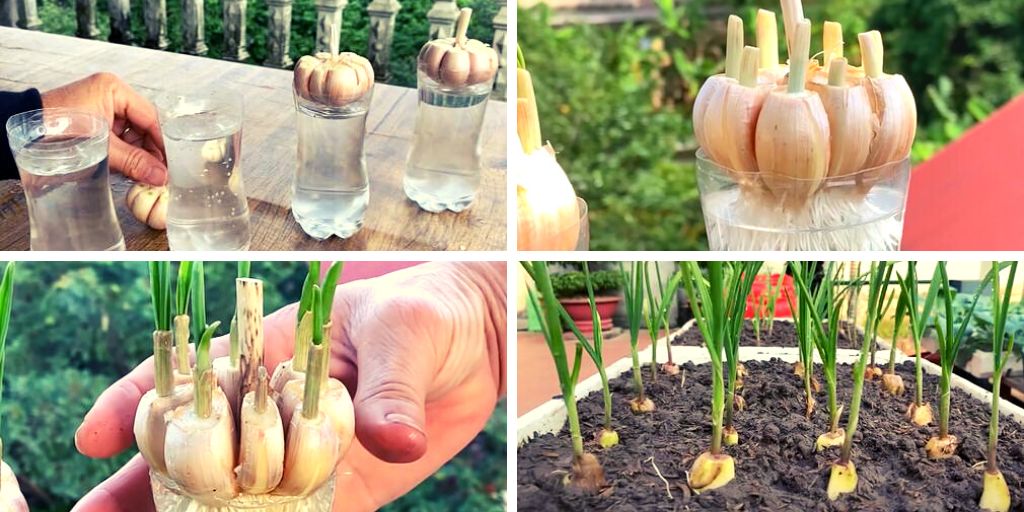
See how easy it is to grow an endless supply of garlic right in your own kitchen with this secret method!
Do you know that you can grow as much garlic as you want from the garlic cloves in your kitchen? You can even do this in a small space. Find out how to quickly root garlic in the tiniest of spaces so you may eat these spicy green and garlic cloves right from your own backyard harvest. How to Quickly and Easily Root Garlic?
Pick a Healthy Bunch of Garlic Bulbs
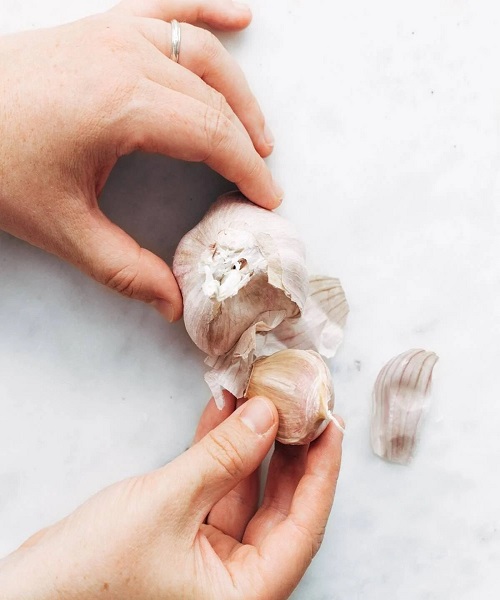
Garlic can be easily multiplied by purchasing a fresh bunch from a farmer’s market or supermarket shop. Make certain that the bulbs are large and plump, but also not too dry.
Give the top a clean cut
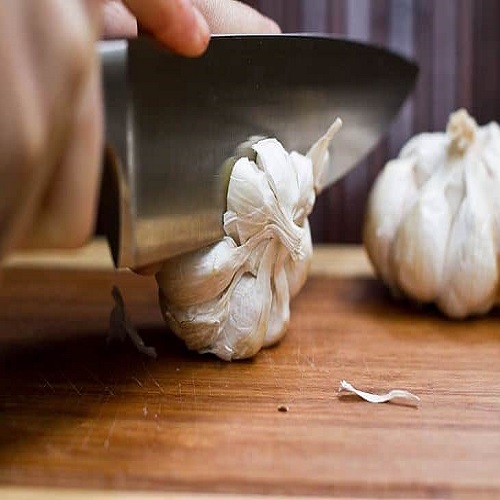
Using a sharp, disinfected knife, cut the top piece of the garlic bunch a bit, making sure to remove the top end from each clove. Each clove has a green bud in the middle, which will be exposed by following this process. Another plant will grow from this.
While slicing the top, be careful not to cut the centre part that holds the cloves together.
Cut a Small Soda Bottle to Fit the Entire Garlic Bulb
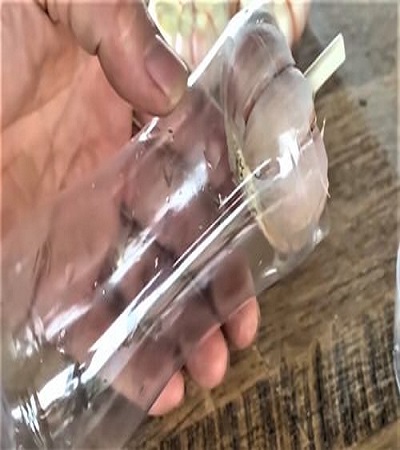
Using a pair of scissors, cut off the top of a small soda bottle. This will provide space for the garlic bulb and keep it firmly in place once it is inserted. Another option is to use a narrow-mouthed glass container to hold the entire garlic bulb.
Add Water
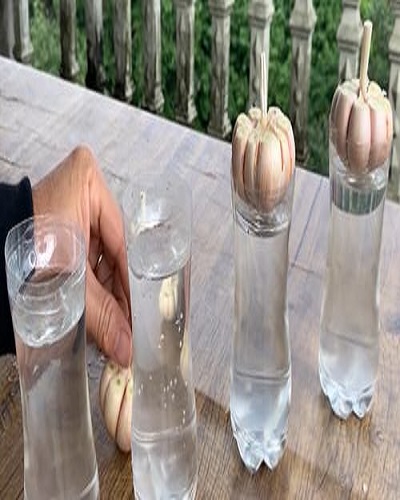
Each garlic bulb should be positioned so that the root part is facing down and the top part that you sliced is facing up.
If you don’t have a bottom, make sure the water reaches the bottom. Also, keep this arrangement in a position that gets plenty of broad daylight and some mild morning sun exposure.
Root Growth
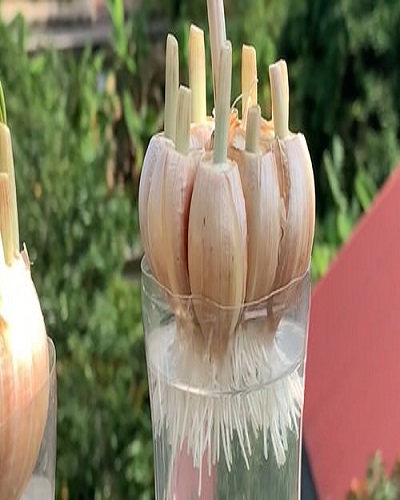
After a few days, you’ll notice a difference, and as time passes, the bulb’s bottom will begin to develop roots in the water. This is a sign that the garlic cloves are doing well and will be ready to grow in a short time.
Meanwhile, if the water becomes murky, replace it with new water.
New Growth
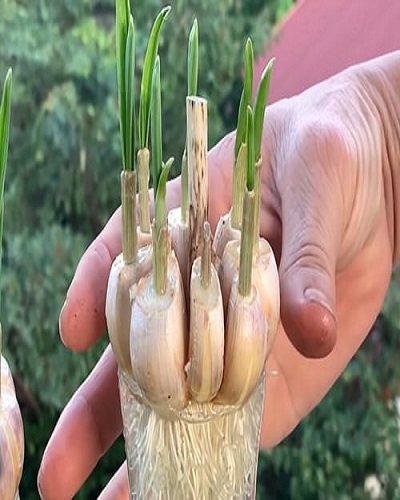
New growth will appear at the top of the cloves after a few days. If all goes well, the roots will fill the pot and the cloves will begin to thrive with abundant green growth in a matter of weeks.
At this point, you can keep growing the garlic cloves in water and keep cutting off the greens so that you always have fresh garlic for cooking. If you want to increase the amount of garlic bulbs you harvest, then read the bellow steps.
Separating and Planting the Cloves
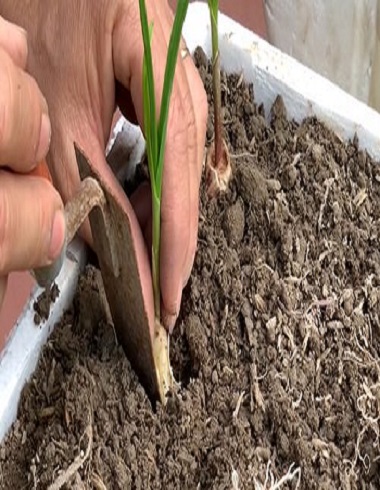
Snip off the shoots as soon as you see healthy root development and top growth, and incorporate them into your diet.
The cloves must be separated from the bunch and prepared for planting individually if you intend to develop more bulbs from them.
You can now plant your seeds in pots or garden beds after they have been separated.
Grow them as individual plants

Add some planting soil to a tray, windowbox, or pot and plant these cloves. The recommended distance between each one is 2-3 inches. Keep them well watered and in an area that gets a lot of sunlight.
Key Points
- Soil should be adjusted with plenty of organic matter if you want to grow healthy bulbs.
- While growing in water, give the garlic cloves a full day of indirect sunshine. Once you’ve planted the cloves, they’ll need at least 4-5 hours of sunlight each day.
- Avoid letting the soil fully dry out. Keep the soil wet throughout.

