
Plasticulture production is a multi-billion dollar business that is used globally with great yield improvements. It may seem paradoxical to combine plastic use with gardening, but it is a multi-billion dollar industry that is used worldwide with excellent yield increases. What is plasticulture, and how can you use it to improve your home garden? Continue reading to find out more.
What is Plasticulture?
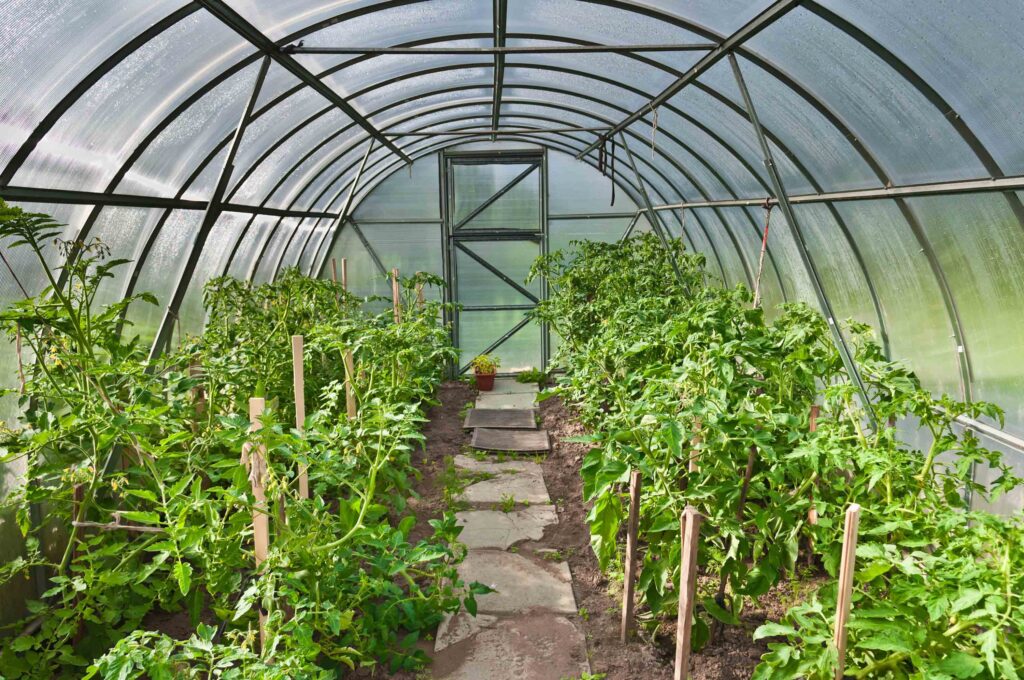
Plasticulture is the use of lightweight plastic or mulch to the seed bed in order to manage soil temperature, conserve moisture, and keep weeds and insect invaders at bay. Row covers and greenhouses are examples of plasticulture.
Plasticulture procedures essentially double or treble the garden’s efficiency while allowing the gardener to harvest weeks sooner than usual. The initial expenditures of employing plasticulture in the garden are unquestionably an investment, and system maintenance may take some time to master, but the work is well worth it.
How to Apply Plasticulture Methods
Plasticulture involves the use of plastic mulch in connection with a drip irrigation system delivered through a network of plastic tubing installed beneath the mulch, which is frequently used in conjunction with raised beds. Plasticulture in the garden heats the soil, allowing seedlings to emerge sooner and reducing the need for a long growth season. This is especially true for commercial gardeners who cultivate strawberries, tomatoes, and cantaloupes, which may then be harvested and sold sooner than using traditional techniques.
While plasticulture has many advantages for commercial farmers, it also has many advantages for home gardeners. Here are the fundamentals for getting started:
- The site must be adequately prepped before employing plasticulture production procedures. It would be advisable to take soil samples to check for nematodes and to evaluate nutrient levels. If nematodes are found, fumigate the soil and amend it with mulch, lime, or whatever else the soil test suggests is necessary. All of this may be handled via your county extension office.
- Next, the soil must be tilled either with a rototiller or by hand. In any case, it’s critical to construct a bed with loose, friable soil that’s free of stones, clods, and other debris.
- It’s now time to set up your drip system. In compared to traditional irrigation systems, a drip system saves money and is ecologically benign. The roots absorb what they need, when they need it, thanks to the drip system’s gradual and continuous application of little amounts of water to the plant. It also avoids valuable nutrients from being washed away in the soil when utilizing a traditional watering system.
- After that, it’s time to put down the plastic mulch. Plastic laying machines are an option for large estates, but those of us with smaller gardens may lay the plastic and cut it by hand. Yes, it takes some time, but it is well worth the effort in the end.
- You are now ready to plant after completing this step.
On the Internet, you may get more detailed instructions on how to use plasticulture methods in your garden. Depending on the size of the space, the crops planted and for what purpose, and the amount of energy you want to put into maintaining the area, the procedure can be very easy or quite complex.