When it comes to planting garlic in the autumn, a few basic tips will go a long way toward creating a great crop that is ready to harvest in the early following season.
Garlic is not only simple to grow, but it improves with each year’s harvest as you pick out the best bulbs to transplant.
What are the requirements for a successful garlic harvest?
That’s actually the best thing of all. Growing garlic in a garden is one of the easiest things to do. It naturally repels most pests, and it requires little to no upkeep or care. It also doesn’t need to be watered or fertilized very often.
Garlic Planting Instructions
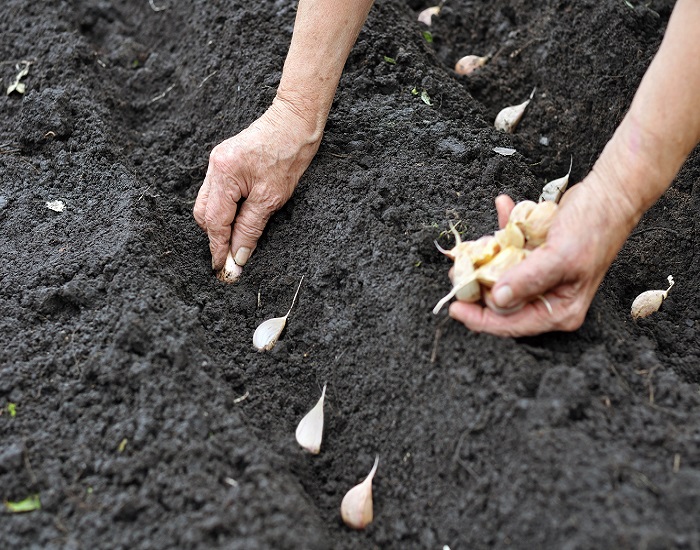
Raised beds and raised rows can be used for planting garlic. The most important factor is the amount of room between each element. Within rows and between rows, bulbs should be spaced 4 inches apart.
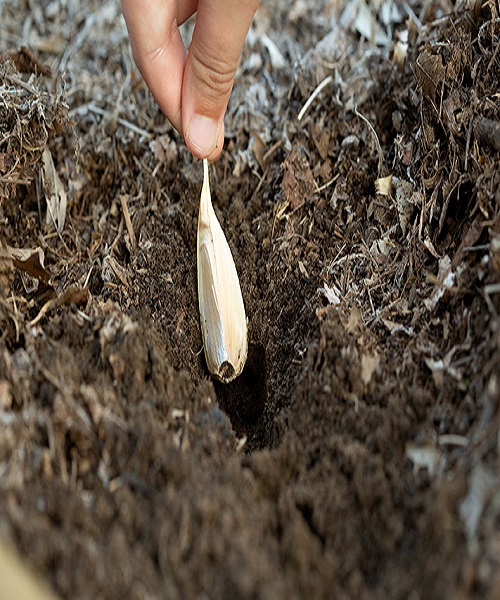
Start by digging a 3 to 4 inch deep hole. Place an inch of compost in the trench’s bottom before planting. Each bulb should be gently pushed down into the compost layer when you plant it.
Next, sprinkle a teaspoon of worm castings over each bulb as you plant it. Nutrients for the bulb are readily available from this source. It’s a terrific way to increase the quality of your bulb production.
Plant Up
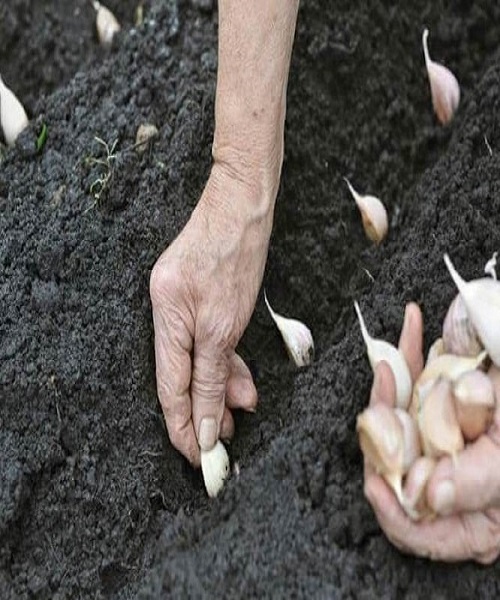
The flat end of each garlic clove should be placed down when planting it, with the pointed end facing up. The sprouting end of the point tip is designed to allow rapid sprouting through the soil.
The final step is to cover the cloves with the remaining soil. Simply cover the trench with a layer of dirt that’s the same height as surrounding soil, and don’t tamp down the earth.
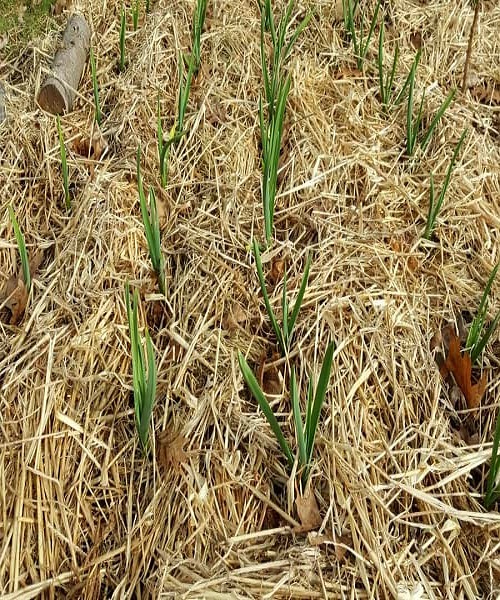
Cover your crop with a thin layer of straw, about an inch thick, as soon as it is planted. This method allows the garlic to thrive while keeping weed seeds out of the soil. The bulbs and mulch will settle in better if you water the crop in after applying a light layer of mulch on top of them.
Use Mulch to Control Weeds & Protect Your Garlic Plants During Winter
A few extra inches of straw mulch is applied to help protect the crop during the winter, once the seedlings have sprouted. To avoid weeds, you can use shredded leaves, but make sure the crop is covered first.
One of the most important aspects of cultivating mulch is preventing it from competing with weeds. Your garlic harvest will be reduced if your garlic patch is overrun by weeds, because weeds fight with garlic plants for nutrition.
Drought doesn’t seem to affect garlic too much. It will continue to thrive if it receives the typical amount of rain. You should irrigate the crop if the weather is dry for more than 10 to 14 days in the fall.
Spring maintenance
This year’s garlic crop will emerge from its winter hibernation once April arrives. In the early spring, apply a little extra mulch to help keep out weeds. The only thing that has to be done in advance of harvest is to keep the weeds at bay.
Is there a way of determining when the garlic is mature enough to be picked? Harvest times can vary widely from region to region. Early in the summer, you’ll notice a browning of the crop’s tops. After two-thirds of the tops have browned, the garlic crop is ready for harvest and curing.
Depending on where you live, it might range from the middle of June to the end of July.
A few weeks after harvesting the garlic, it must be cured to dry out and be ready for long-term preservation. You don’t want to ruin your crop by washing it! In order to avoid premature rot, allow the soil surrounding the cloves to dry up naturally.
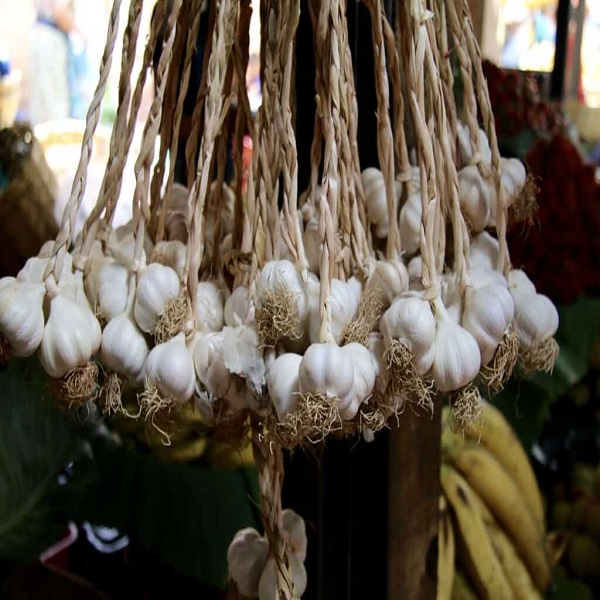
You can air out your produce by hanging it in the barn. After about a month or so, the heads can be cut off with a little bit of the stem attached and stored.
Planting Garlic: The Keys to Growing a Successful Crop
Important Tips
Early October is the ideal time to sow hardneck garlic in the Midwest and the North. In Ohio, the planting season begins in the first few weeks of September.
This gives it a few of months of cool weather growth to establish itself. Following that, it goes into hibernation for the winter, waking up again in the spring. In late June or early July, the crop is usually ready for harvesting.
Soaking Garlic Seeds Before Planting Them
A solitary seed can be found in each clove of garlic. It will develop into a complete bulb after it is planted.
In June, you can harvest your bulbs, and the largest ones are saved to be used as “seed” the following fall. With that said, larger cloves mean larger mature bulbs when harvested.
Siberian hardneck garlic is one of the varieties that we grow. It’s a great choice for storing during the winter because it grows well and is easy to maintain.
Separate the cloves one by one before planting them. The papery skin should always be kept intact whenever you can. The skin acts as a barrier for the garlic, preventing it from decaying until it has sprouted.
A Little Tip – Pre-Soak the Bulbs
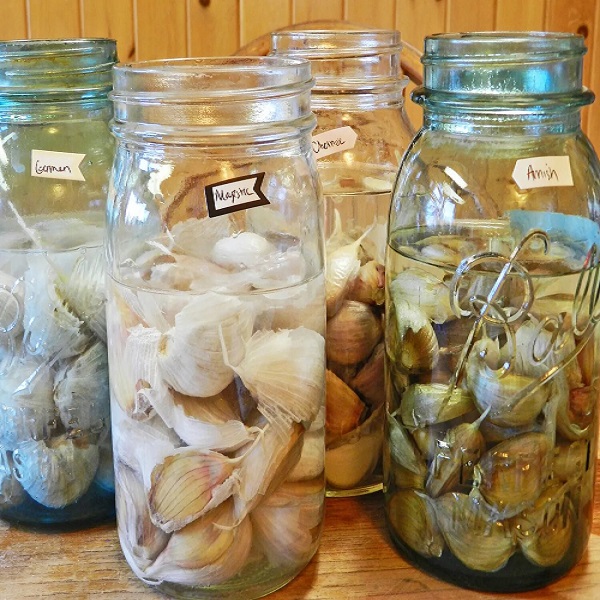
Your bulbs will thrive if you immerse them in water overnight before planting. Add a teaspoon of baking soda to a quart jar of water. Then add the cloves and allow them to soak for a few minutes before serving.
Preventing ground decay is another benefit of this soaking. Many parts of the country see a lot of rain in the fall, and garlic might benefit from a little extra protection from wet soils.
Soil Preparation
Like other vegetables, garlic thrives in rich, well-drained soil. Compost should be worked into the soil before planting to help it become more fertile.
Garlic thrives in the company of compost. In addition to providing nutrients to the soil, it also helps to loosen the earth so that bulbs can thrive. And, like with all root crops, the presence of loose soil can make a significant difference in the size of the final crop.
