The foundation for your plants’ long-term health is laid in the care you take while repotting them. Make sure your houseplants have a happy and healthy life by following these steps before you put them in the ground.
Here are 10 Things to Check Off Your List Before Bringing Houseplants Inside.
Scratch Rootballs
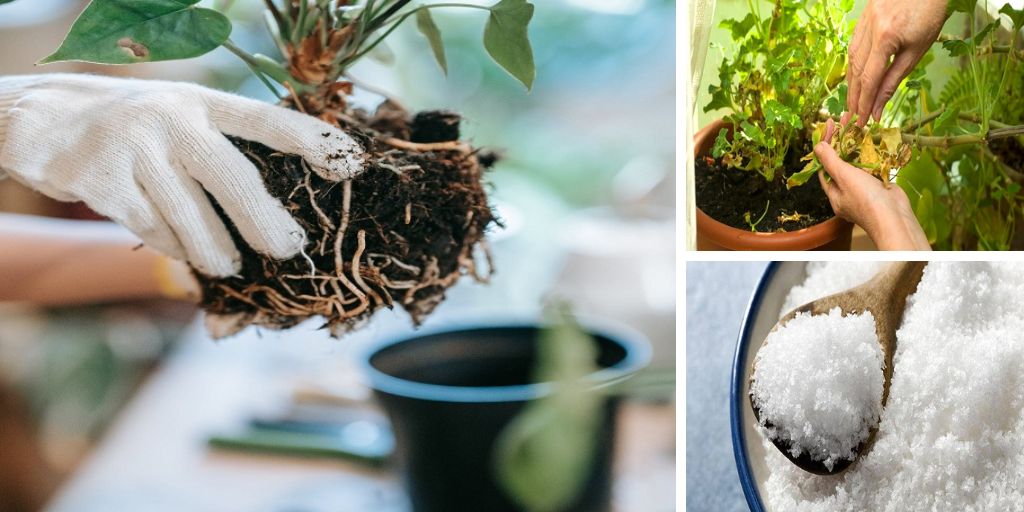
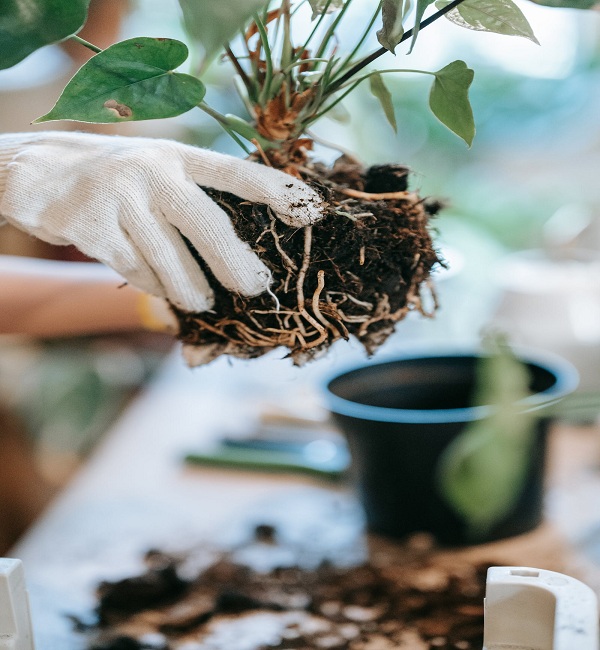
Look at the roots while you’re repotting the plant. Scratching the roots a little bit can help them loosen up if they are packed in tightly. In addition, if you notice any rotten or brown spots, cut them off.
You should do this carefully, without damaging or shattering the rootball. By exposing the roots through scratching, the new pot’s soil may better absorb water and nutrients from the plant. This will give the plant a better and stronger root system to use in its new container.
Use Water Absorbing Crystals
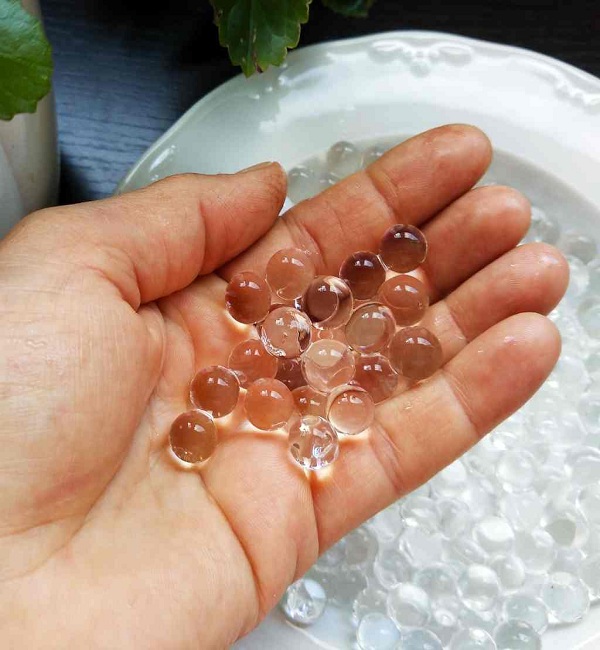
Crystals and hydrogels that collect water have the unique ability to store this liquid and slowly release it back into the environment. This feature is great for busy gardeners who don’t have time to tend to their plants, especially when it comes to watering.
Add a handful or more (the exact number may vary depending on the volume of soil) of hydrogel crystals to a pot of medium size after you have prepared the potting mix. Your houseplants will be able to take in just the right amount of water and flourish as a result.
Remove Dead Leaves & Spent Blooms
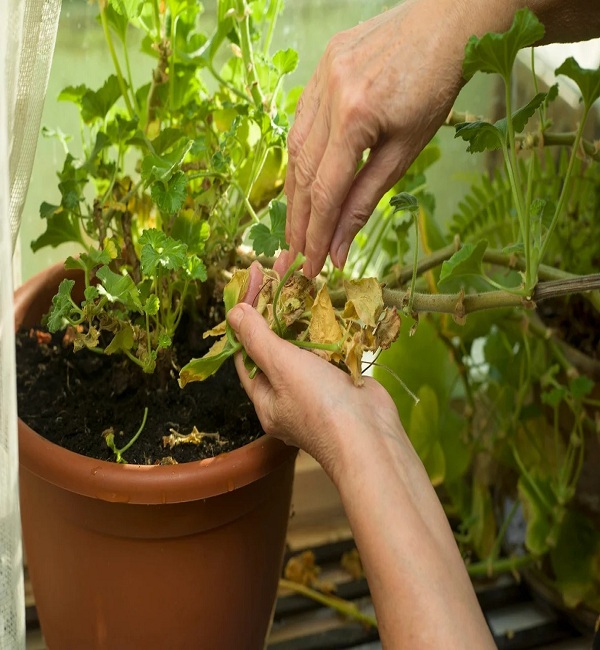
By removing the plant’s spent blooms, discolored leaves, and dead, twisted stems, you’ll provide room for the plant’s healthy parts to expand and flourish.
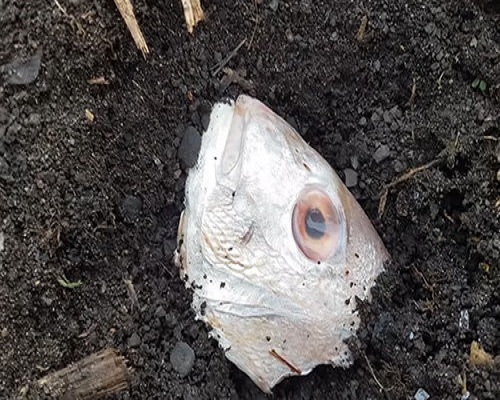
Put Fish Head into the Potting Hole
Magnesium, calcium, phosphorus, and manganese are just few of the minerals packed into a fish’s brain. By being broken down gradually by microorganisms in the growth medium, they aid the plant in producing thick, healthy leaves.
The growing medium should fill about a third of the pot, followed by the fishhead, then the soil. The organisms in the medium will do their part to ensure that your plant gets the most out of the fish waste you provide by watering it as needed.
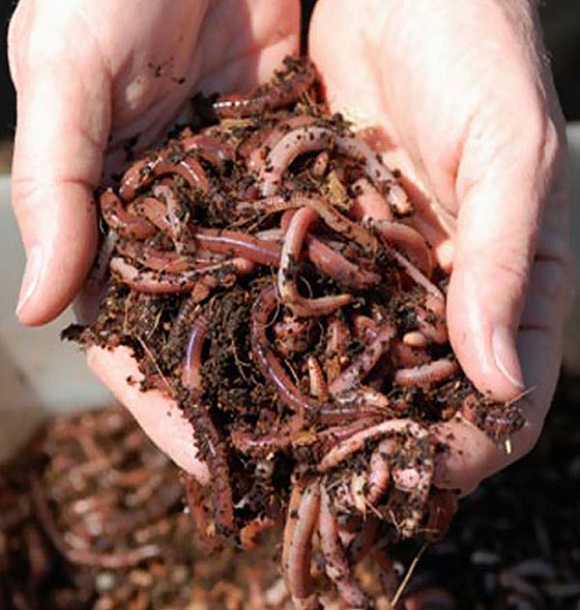
Mix Vermicompost in the Growing Medium
Before you put your new houseplant in its pot, mix some vermicompost into the soil to give it a head start. It’s a great addition to the soil because it aids drainage and stimulates plant growth naturally. Plants like philodendrons and pothos will thrive in them. Never apply it to succulents.
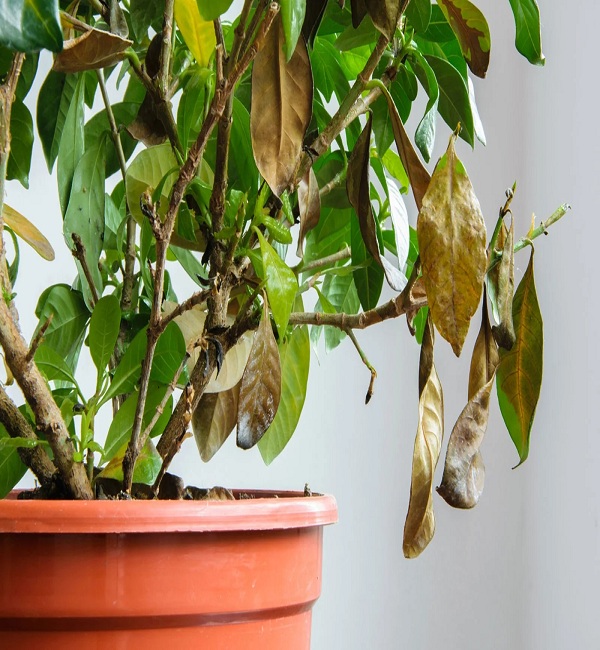
Examine the undersides of the leaves
If you look closely enough at the plant’s underside, you can learn a lot about it. Look for discoloration, rot, and other telltale symptoms of disease and pest infestation. To prevent the problem from spreading to the rest of the plant, remove the leaves that are showing symptoms before planting.
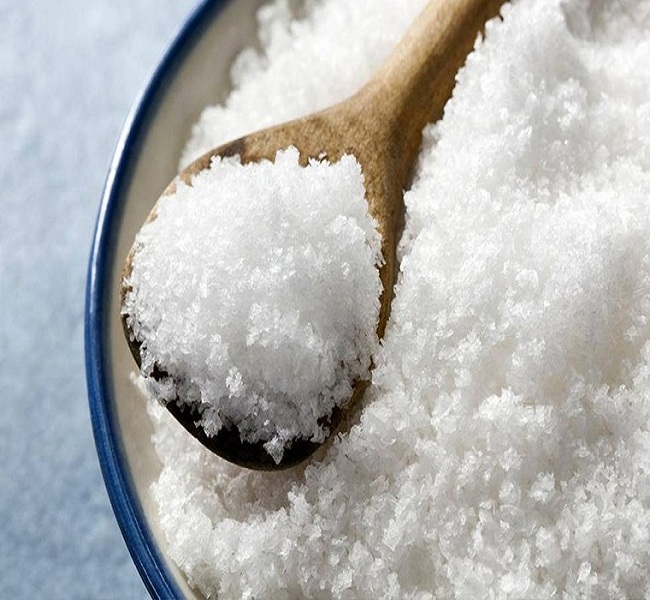
Add Epsom Salt
The easiest technique to prevent the drooping and yellowing of the leaves that arise from transplant shock is to use Epsom salt. The increased production of chlorophyll aids the plant’s recovery and nutrient uptake.
Magnesium, which is present in Epsom salt, improves the uptake of other essential plant nutrients like nitrogen, phosphorus, and sulfur. After planting, moisten the medium as needed with a solution of 1/2 tablespoon of Epsom salt in 2 liters of water.
Once a month, give your plants a solution made from two tablespoons of Epsom salt and one gallon of water.
Throw a diaper into the pot
Cloth diapers are constructed from a breathable layer of cotton fiber and moisture-wicking crystals. This remarkable combination helps the diaper to remain moist for a long time.
Due of this feature, diapers are a great option for indoor plant watering for picky gardeners.
Put the diaper inside a bowl, and fill it with water. Toss the gel-like substance into the basin by tearing it into smaller pieces once it has soaked. To make a gel, just add more water. You may make soil that is both absorbent and light and fluffy for your container plants by mixing equal volumes of potting soil.
Tip: In the event of overwatering, you can use diapers to soak up the excess.
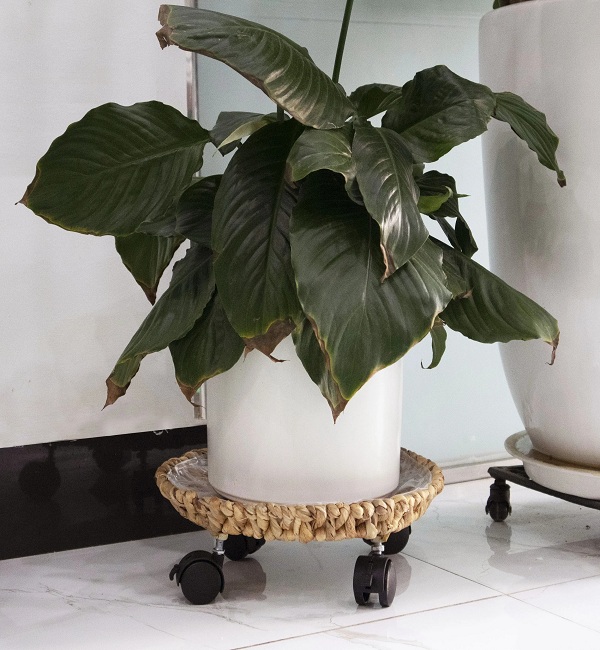
Place the Big Pot on a Tray with Castor Wheels
Putting a large houseplant on a tray with wheels will make it much simpler to relocate it as it grows. If the plant is in a dim room, this will help it thrive.
The plant can be wheeled out to the balcony or other light-filled location, where it can remain for three to four hours, before being returned to its original location inside.
Sterilize the Pots
In order to prevent the spread of pests and illnesses, old pots should be sterilized before being used to cultivate fresh plants. It’s possible that the new roots will be harmed by the trapped growing media in these containers.
ISU recommends soaking the containers for at least 10 minutes in a mix of one part household bleach to nine parts water. Then, use steel wool or a wire-bristle brush and a solution of dish soap and water to scrub the pots clean of mineral deposits and other grime.
Rinse pots completely before soaking them in a pail of clean water until ready to use.
Bonus! Place Newly Purchased Plants in Quarantine
You should put the plant in quarantine after you’ve potted it up and brought it home from the nursery. For the first week in its new home, the plant should be protected from direct sunlight and instead placed in an area that receives filtered light.
This procedure ensures the plant is free of harmful pests and diseases that could quickly spread to other plants. This helps the plant adjust to its new surroundings.

