Want to make your own DIY fairy house planter? Here’s how to make a sweetly whimsical one using a terra cotta pot and other inexpensive items. It’s really easy, so why not give it a try?
If you’ve been on Pinterest or thumbed through decorating magazines lately, you know fairy houses and gardens are all the rage! They add such a fun touch to the garden, and I honestly like them better than yard gnomes. Yes, I know everyone loves gnomes, but they’ve been popular for so long that I am kind of ready to move on. And that’s why I think I just like these houses and gardens better because you get to imagine who or what lives there! You know?
Supplies for your DIY fairy house planter – make it YOURS.
I decided I wanted to make my fairy house to be a planter out in my front garden, so I figured the easiest way to do that was to start with a pot. Luckily, I have a large collection of different sizes of terra cotta pots scattered around my porch (because I replant things a lot). But, if you don’t already have one lying around, they are very inexpensive to purchase. I already had Gorilla glue, which I know works really well for outdoor use. One day when I was at the dollar store, I found bags of rocks and pebbles in the floral section (where the floral foam, silk flowers, and vases are located). So I grabbed a bag of small rocks for a dollar and a bag of green moss (well, actually I got 1 bag of green reindeer moss and 1 bag of brown but only used the green…) also for a dollar!

How I got my window for FREE!
My daughter was working on a project for school and we had to go to Joann fabric and all of their garden items were on sale, so that is where I got my resin door. It was on sale for 5.99 but I have seen really cute DIY doors made from popsicle sticks, too. All of the fairy “supplies” were all jumbled together, and as I was looking, I noticed a perfect-sized window that had obviously fallen or was torn off one of the pre-made houses, since it still had bits of glue and paper on the back. A store employee was right there, so I asked her if I could buy the window. She laughed and said that I could just have it. Sweet! So I got my window for free!!! (By the way, I have included a complete list of the supplies I used at the bottom of this post.)
Because all the items they had were so darned cute (and on clearance!), I also bought a small metal chair and resin table (that looked like wood) to go along with my house.
How to make the fairy house.
Attach the door first.
To use Gorilla glue, one of the surfaces you are gluing needs to be dampened first. Use a spray bottle to wet the surface.
Put the glue on the door.
Adhere the door to the pot.
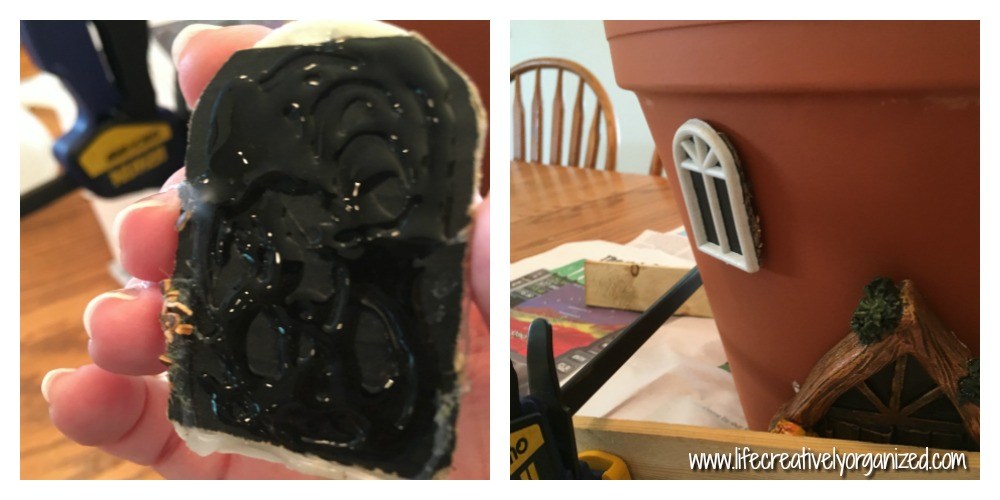
The directions state to let the glue dry for 30 minutes. Since I wanted to make sure it had a good seal, I used scrap wood and clamps to keep it firmly pressed. This particular Gorilla glue dries white, so if you have a bunch that oozes out around the door, just trim it with a knife or scissors, but it can easily be covered up with bits of moss later, so, don’t worry, it doesn’t have to be exact.
Attach the window.
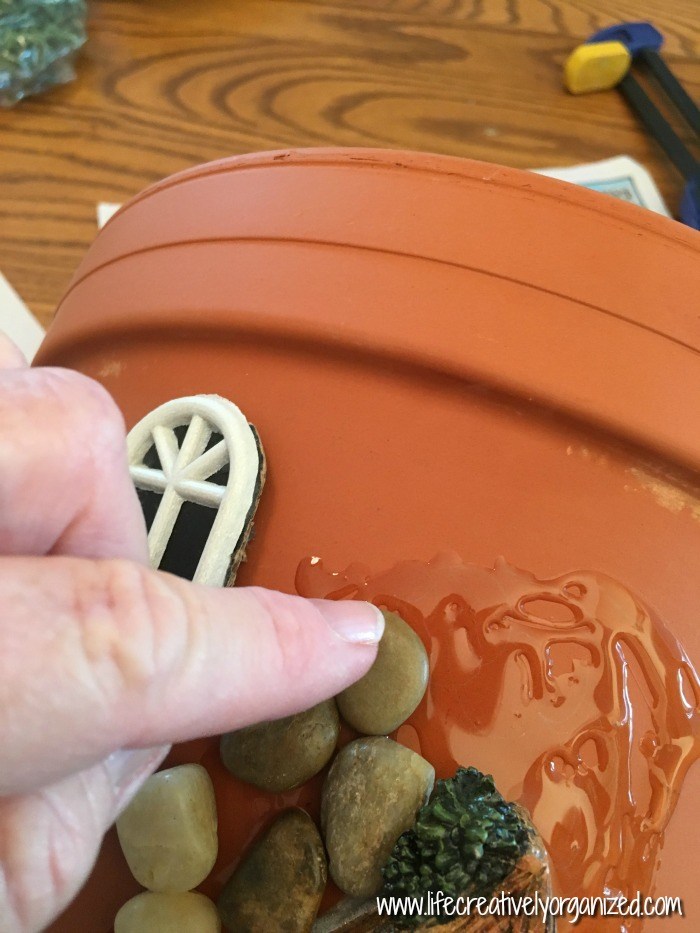
Since the window is so light, I simply used the multi-purpose glue, and it worked great. No clamping needed!
Put on the stones.
Once the door is dry, begin adding the stones. Because I didn’t want to hold the stones for 30 minutes while using Gorilla glue, I opted to use another glue we had, called 527 multi-use glue. I use it for almost everything. It dries clear and peels off fingers relatively easily, unlike Gorilla glue.
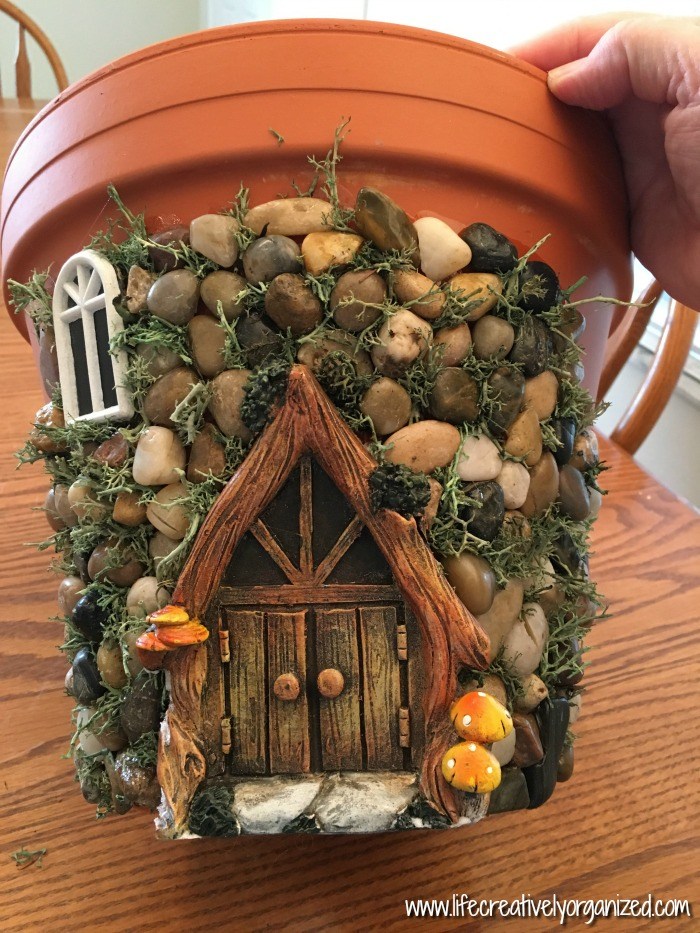
Work on one side of the door at a time, otherwise the stones will slide off before they have enough time to set. Trust me, I learned this the hard way! I actually let the stones dry overnight. I just propped the pot between a couple of heavy objects to keep it from rolling. So it took me 2 days to have all the stones in place and dry.
Here’s the left side:
And here’s the right side:
Next, fill in the cracks with moss.
I squirted some glue in the larger gaps between the rocks and added small pieces of moss.
I would tear off a chunk and stuff it in, using a toothpick to make sure the moss got down into the crevices.
If you have moss growing near you, go ahead and use it. I don’t, and so ended up buying a bag. However, I really only used a tiny bit, so I have a lot left over to do another project! Yay!
See how nicely it filled in the gaps?
Fairy house is done, but plant-less.
Here’s what the house looked like after I put on all of the moss and everything is dry.
Add a plant and set your DIY fairy house out in the garden, so it’s ready for the fairies.
I tucked my fairy house into my front garden and planted a Bulbine inside the pot. I love the bright yellow flowers and long, thin leaves. Then, I added the outdoor seating and a large snail shell from my pond to complete the landscape.
(This post includes affiliate links to Amazon for your convenience. Click here to see my full disclosure policy.)
List of supplies for my DIY fairy house.
Terracotta pot
Gorilla glue
527 multi-purpose glue
decorative stones
Reindeer moss
Resin door
fairy outdoor seating


