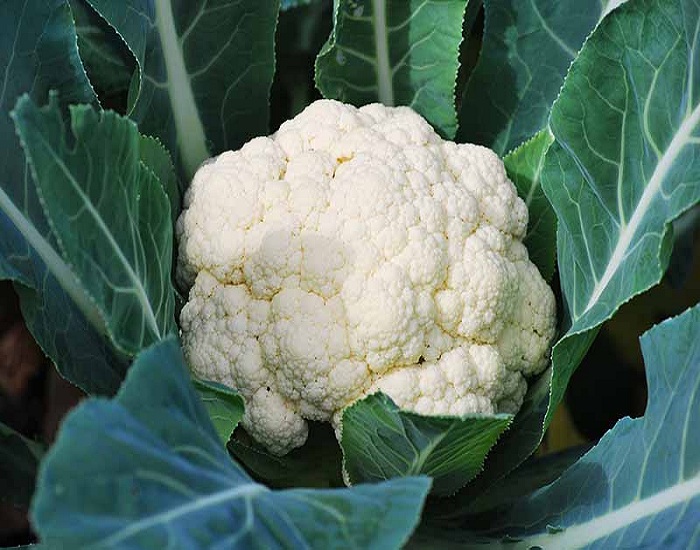
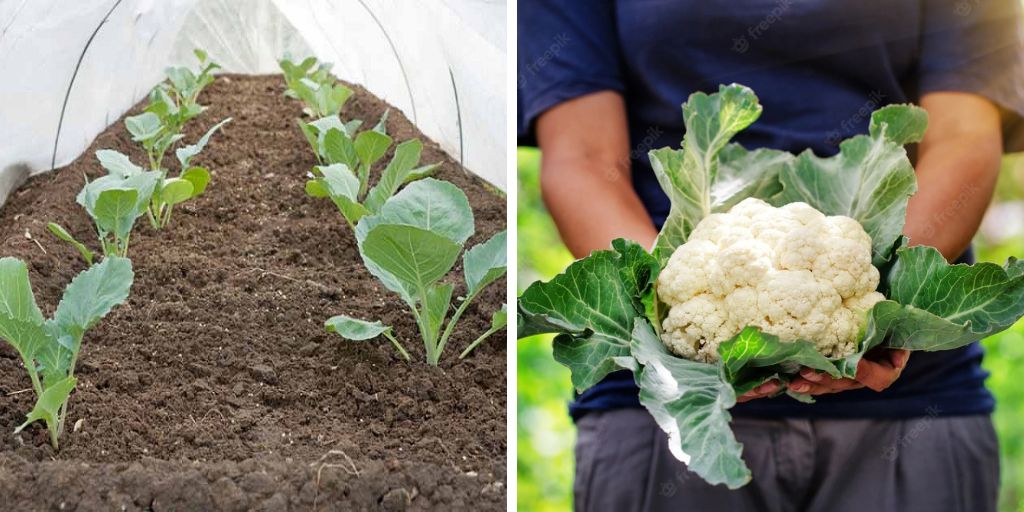
Cauliflower is becoming increasingly popular as a home garden crop thanks to the rising popularity of low-carb diets. And typically, after getting our hopes up while watching these enormous leaves expand outward from the plant’s core, we are left with a tiny, off-color cauliflower with loose curds when we finally harvest it.
Not anymore. We’ll reveal the secrets to growing large, delicious cauliflower heads in your own backyard.
Grow them Cool
This is the most essential part in cultivating any brassica, so we’ll do it first. Heat is bad for brassicas. Even more so with cauliflower.
If they do enjoy full sun, it is throughout the winter or spring.
This necessitates careful consideration of when to plant them depending on your latitude. Cauliflower, like Brussels sprouts, must be started in the fall in order to survive the mild winters in the warmer hardiness zones (zones 8-11).
Zones 2–10 experience cold winters and have a choice of planting their seeds in the fall for a spring harvest or in the spring for a summer one.
There is a sweet spot in terms of temperature for planting cauliflower. This cold-tolerant veggie thrives in temperatures around 65 degrees. Large, healthy heads are more likely the longer you can keep them at this temperature or lower.
If you want to start them in the garden later, in July or August, depending on your zone, keep in mind that they can withstand a few mild frosts. Check out when the average first and last frosts are in your area so you can prepare accordingly.
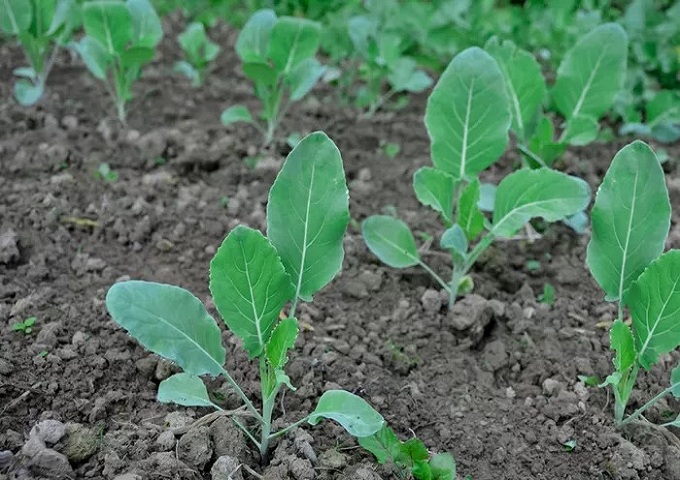
Select the Appropriate Variety
This goes hand in hand with keeping your cauliflower cool, but it’s still crucial to pick a kind that will thrive in your garden. Select a drought-tolerant cultivar if you are in a hotter region that does not receive regular rainfall. Select a mildew-resistant cultivar if you have a persistent problem with mold or mildew.
Lastly, if you want your cauliflower to have enormous heads, you should seek out a variety that is bred for large yields. There is a wide selection of colors and textures to choose from while shopping for cauliflower. Flavor is king when it comes to cultivating certain types, thus they tend to be on the smaller side. Other plants are grown, too, so you can avoid blanching the leaves if they curl.
If you want large cauliflower heads, look for a cultivar that specifies such. Some suggestions are as follows:
- Denali
- Amazing Cauliflower
- Janvel
- Adona
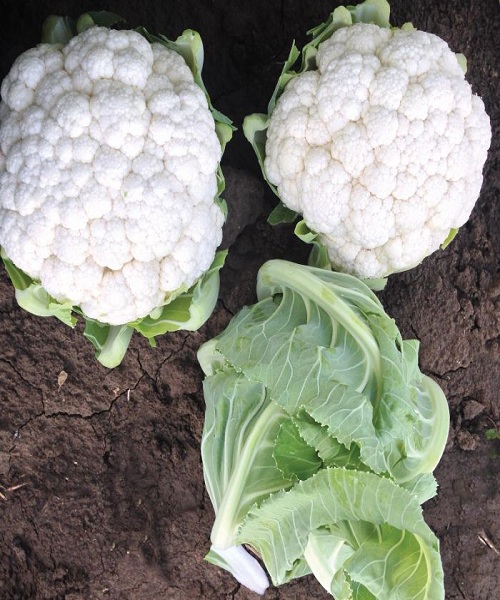
Water From Above
It is not commonly recommended to water a plant from above, if at all. We know that this practice can lead to leaf rot and the introduction of soil-borne pathogens to the plant. In general, it’s a big no-no.
Except with brassicas.
Cauliflower, as we discussed, is not a fan of high temperatures. Expect temperatures far higher than what a cauliflower like if you are planting in the fall or in one of the warmer zones. Here’s a quick tip for keeping your plants cool and collected.
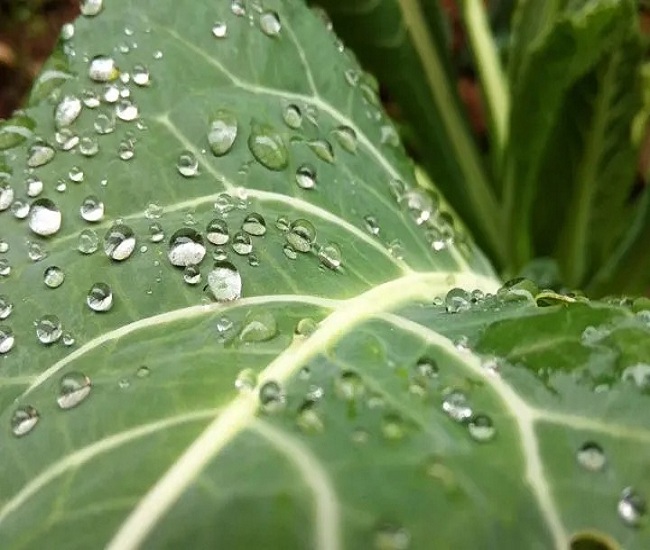
During these hot spells, in addition to watering your cauliflower at its base, you should also spray it from above with the hose to help it cool off. Use the shower function on your water wand or hose nozzle to quickly rinse it off. You must be careful not to over-wet it.
In addition to slowing the plant’s development so that it doesn’t mature too quickly during the hot spells, the light rain will also assist cool the soil and keep the plant moist, both of which will help prevent bolting.
Do not forget to mulch
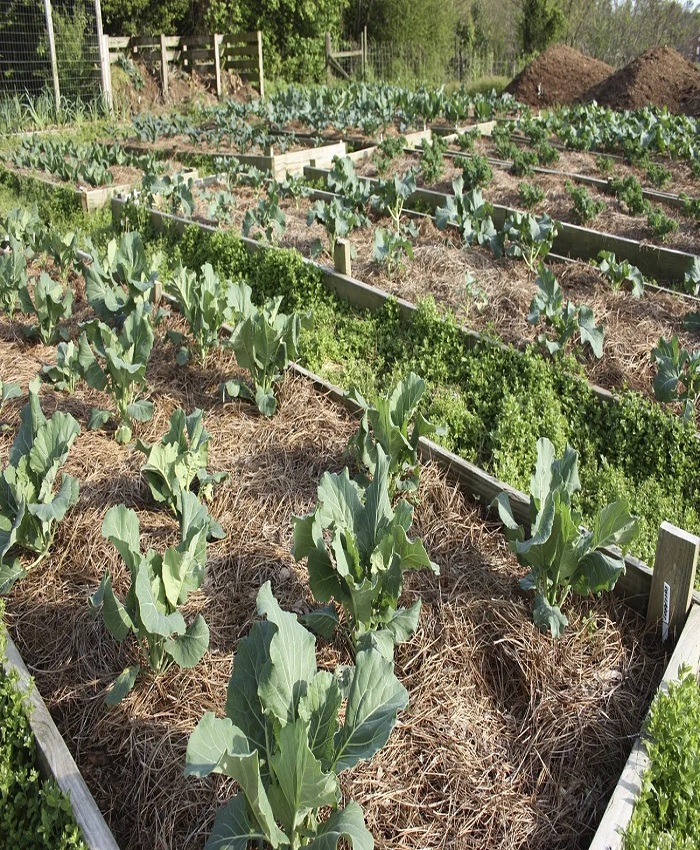
It appears that cauliflower is resistant to overwatering, making it a rarity among vegetables. Cauliflower needs to be watered practically everyday unless it rains. They thrive best when planted in damp, chilly soil.
And mulching the base of your cauliflower plants is one of the finest ways to give them what they desire. Weeds are suppressed and nitrogen is added to the soil when you use freshly cut grass as mulch.
Cauliflower plants benefit greatly from being kept moist, so be sure to do so.
Use This Fertilizer Routine
Cauliflower, like all brassicas, requires nitrogen, as I explained earlier. Cauliflower that grows to be big and crispy thanks to early fertilization.
Compost is a great approach to improve the soil at the start of the growing season. Incorporating cow manure into your garden is a terrific method to enrich the soil with nitrogen and build a water-retentive foundation.
The best liquid fertilizer should be applied to your cauliflower every three weeks.
Applying liquid fertilizer around the plant’s base and soaking it in increases the plant’s access to those nutrients.
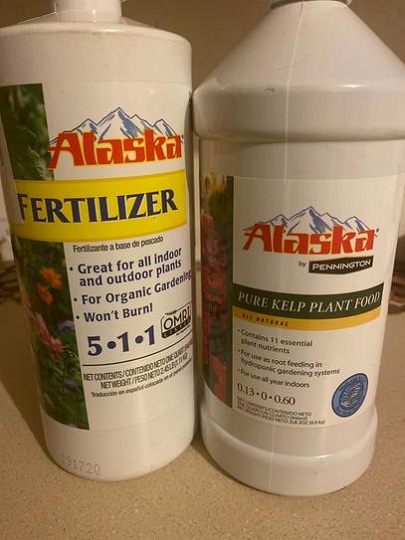
Select a nitrogen-rich fertilizer, such as:
- Alaska Fish Fertilizer
- Dr. Earth Nitro Big
- Fox Farm Grow Big
At the start of the growth season, you might also use a slow-release fertilizer, such blood meal. Put it in the hole before you plant your seed. For hands-off fertilization, blood meal is a viable choice, albeit its depletion is more difficult to predict.
The idea is to stop fertilizing the plant approximately three to four weeks before harvest so that it doesn’t use all of its resources on leaf production.
Cover Them Up
Wriggly caterpillars, which feed on brassicas before metamorphosing into moths or butterflies, are attracted to the plants because of the leaves they provide. A new generation of leaf-eating pests is born and flies away. Repeat this process over and over until the stalk is full with twiggy-looking stems instead of healthy leaves.
The growth of the cauliflower crowns depends on those leaves.
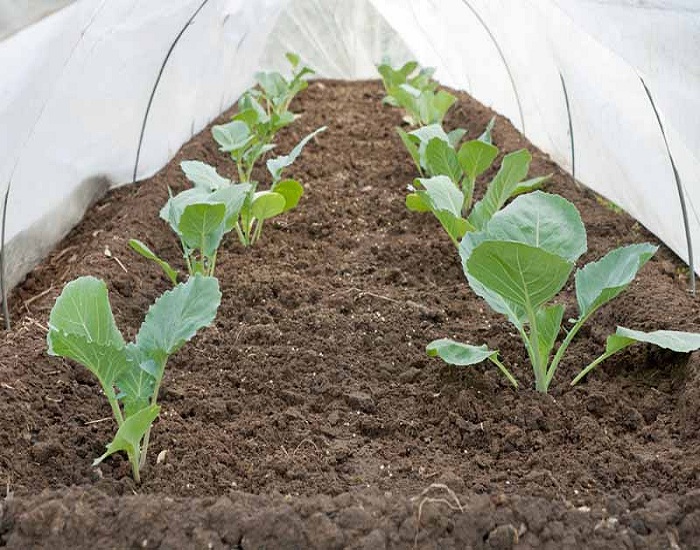
Covering your cauliflower (and other brassicas) with garden netting at the start of the season is one of the easiest ways to keep these pests under control. Insects like cabbage moths and cabbage butterflies won’t be able to lay eggs on your cauliflower if you cover it with netting.
You can also use tulle to cover your cauliflower and keep it safe. When planning a wedding or decorating for Halloween, visit your local fabric or craft store for yardage discounts on tulle.
Wrap Them Up
There is one more trick to making the most delicious cauliflower you’ve ever tasted. Using the advice in this piece, you should now be staring at some stunning cauliflower crowns.
The curds must be examined; these are the ridges that make up a cauliflower’s head.
They need to be close and developing closely. Cauliflower’s curds shouldn’t break apart when you brush your fingertips across its surface. You’ve been to the supermarket previously and know just where to find the cauliflower. (If the curds have already begun to separate, you can skip this step and consume the head immediately; it is past its prime at this point.)
Wrap the cauliflower head in its leaves by folding the leaves around it. It resembles a tent but is actually composed of leaves. You can bind the leaves together with some string or the sleeves of an old t-shirt. You want them to be dark enough to prevent the baby’s head from developing a severe headache, but not so constricting that the baby’s head can’t expand.
If you want to tie up the leaves, wait until it’s dry out and then do it. You also won’t want to water your bundled cauliflower from above after you’ve tied it up.
Right now we must wait. The cauliflower will be blanched for two or three weeks to keep its pure white color and remove any bitterness.
After exposing the cauliflower to room temperature for a period of one to three weeks, remove it from the wrapping and trim off the stem. The whole plant, including the head and the leaves, can be eaten if you uproot it. So many people waste something so rich in calcium by discarding it. Salads, stir-fries, kraut, and countless other dishes can benefit from their inclusion.
If you’ve done your homework, a little frost or two will have hit your cauliflower in the weeks preceding up to harvest, making it sweeter.
