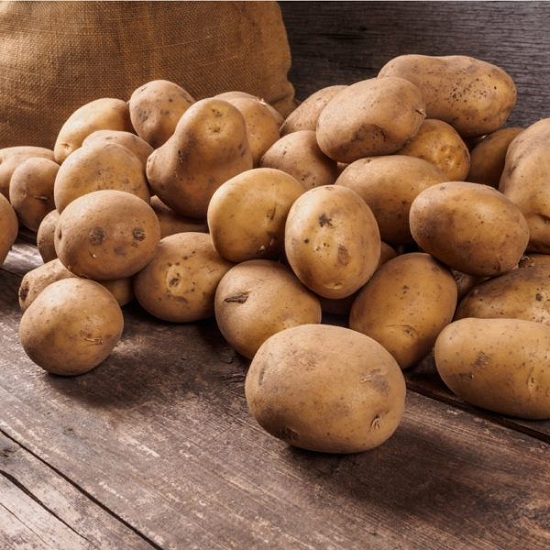
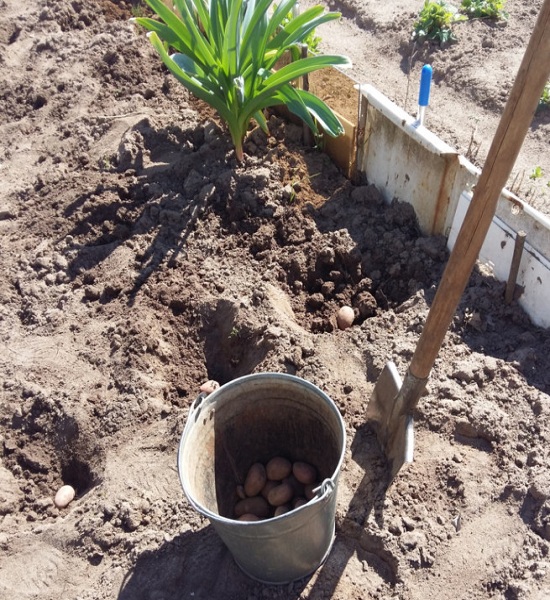
All your hard work in the garden this season has paid off, and now you’re bringing in the potatoes.
These potatoes will sprout in no time if left on the kitchen counter, so you’ll need to find another way to store them if you want to enjoy them all winter long.
Read on to find out how to store your harvest for optimal use throughout the coming months.
There’s not just one way to keep potatoes fresh for later use. You can experiment with the following 5 options until you find the one that works best for you.
Storage in a Root Cellar
Storing potatoes in a root cellar or other cool, dark spot where they won’t freeze is the conventional way.
A cold area of the basement or an unheated garage will do if your house lacks the necessary amenities.
To properly store potatoes in a cellar, you need to do more than just drop them down there; you’ll also need to cure them for several days.
How to Sort & Cure Fresh Potatoes?
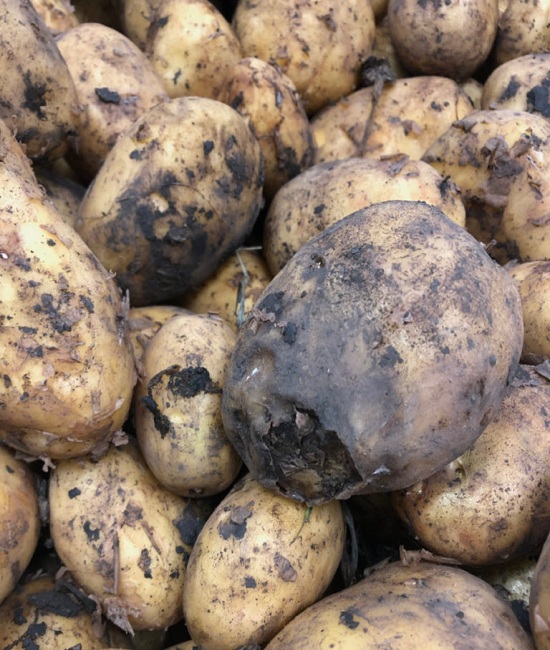
After harvesting your potatoes, sort them to identify the ones that are most suited for storing.
Take extra care not to chop through the skin or bruise freshly gathered potatoes as they lack the protective tough skin that keeps them from rotting.
The curing process can harden over small incisions, but you want huge potatoes with no major defects or punctures.
Potatoes that have been damaged severely should be consumed within a few days or preserved in another way.
Not all potato varieties are created equal when it comes to storage life. Russets and other brown potatoes with a thick skin are preferable to the more delicate fingerlings and red-skinned kinds.
Rub some of the excess dirt off your chosen potatoes, then lay them out on newspaper so that they don’t touch, and store them somewhere dark for up to two weeks to cure.
This procedure toughens the potato skin, extending the potatoes’ shelf life. It’s tempting to clean potatoes before storing them, but doing so actually decreases their longevity in the long run.
How to Preserve Cured Potatoes Fresh?
After curing, your potatoes can be kept in a cardboard box, paper bag, or even a laundry basket, as long as they have some way to breathe.
Plastic retains moisture and should be avoided. At this point, the potatoes can come into direct contact with one another, though many cooks find it helpful to separate them with a layer of shredded paper or some other buffer.
How to Troubleshoot Stored Potatoes?
Your potatoes have a potential storage life of up to eight months. There are, however, several potential pitfalls for those who are inexperienced with the procedure.
Achieve the highest possible rate of storage success by adhering to these recommendations.
- Keep your potatoes in a cool, dry place away from apples and other fresh fruit that give off ethylene gas, which can cause your potatoes to sprout or go bad.
- When potatoes are stored for an extended period of time, their starch gradually converts to sugars, giving them a more pleasant flavor. Bringing the potatoes out of storage a few days before cooking them will allow the sugar to convert to starch, preventing any negative effects on the dish.
- Potatoes turn green when their skin is exposed to light. This skin is poisonous and has a harsh flavor. Remove any unneeded greens from your food before cooking.
- It’s best to wait to wash the potatoes until right before you use them. If you don’t, you run the risk of providing a breeding ground for the microorganisms that cause decay.
- When you notice sprouts, get rid of them unless you want to utilize them as seed potatoes.
Rebury potatoes outside
Imagine you just need enough potatoes to get you through the late fall months, rather than the whole year.
If that’s the case, you can easily keep the potatoes fresh for longer by replanting them in the ground as soon as you’re done with them.
Create wide, six-inch-deep holes, lay the potatoes in them, and then cover them with loose dirt, straw, or several folds of newspaper to shield them from the rain.
This preserves the potatoes fresh until you pick them out in the fall, but they would rot if they were left linked to the dying potato plant for those extra months.
It’s worth noting that if you dig up these potatoes again and store them in a root cellar, you may potentially extend their storage life by a few months.
Slice and blanch potatoes for storage in the freezer
Freezing potatoes is preferable to canning since they last for a year or more and are easier to use than potatoes stored in a root cellar.
To start, peel the potatoes and soak them in cold water to prevent them from browning. Reduce the size of the larger potatoes you’re using so that they cook at a similar rate as the smaller ones.
Next, get some water boiling. After a second washing, blanch the potatoes for 3 to 5 minutes, depending on their size.
Once the potatoes are cooked, drain them using a slotted spoon and place them in a bowl of icy water. It stops the potatoes from cooking further, preventing them from becoming mushy.
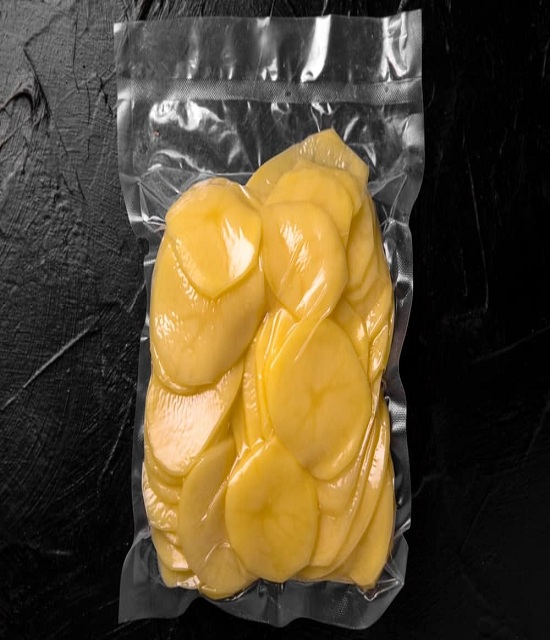
When the potatoes have cooled, rinse them and place them in a good freezer bag. A vacuum sealer is preferable since it removes more air, which might encourage spoilage.
Simply take a bag of frozen potatoes out of the freezer when you’re ready to prepare them for eating.
Defrosting them in the refrigerator overnight is preferable to microwaving them because of the improved texture.
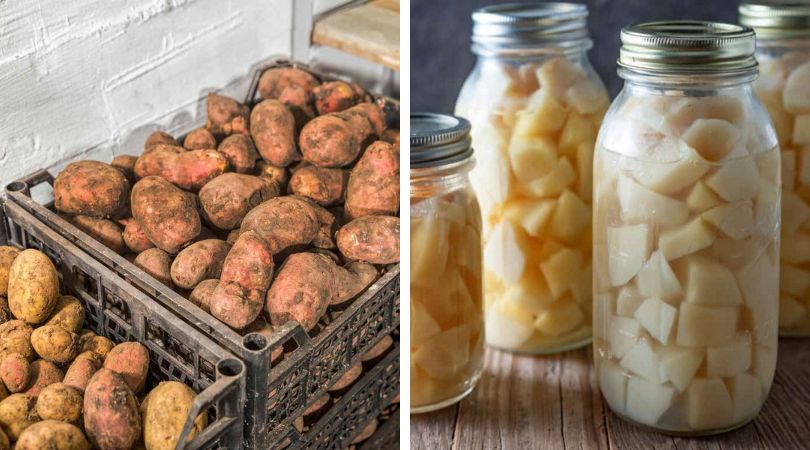
Pressure Can Potatoes
Canning your potatoes is another option for long-term, non-refrigerated preservation. A water bath canner won’t get hot enough for safe storage, so you’ll need to use a pressure canner instead.
Begin with some mason jars, around 20 pounds of potatoes, and some salt. Cut the potatoes into half-inch cubes and put them in a big bowl of cold water to soak while you peel and remove the eyes. Blanch for 3 to 5 minutes in boiling water.
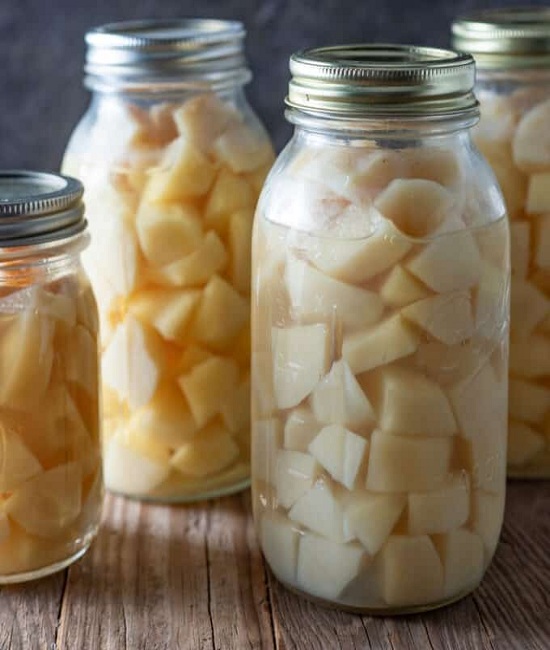
Cube the potatoes, drain and rinse to remove starch, and then pack them into sterile canning jars. Put boiling water in them up to an inch from the top. Adding salt is optional.
Wipe the rims clean before putting on clean rings and lids, then pressure can at 10 pounds of pressure for 40 minutes.
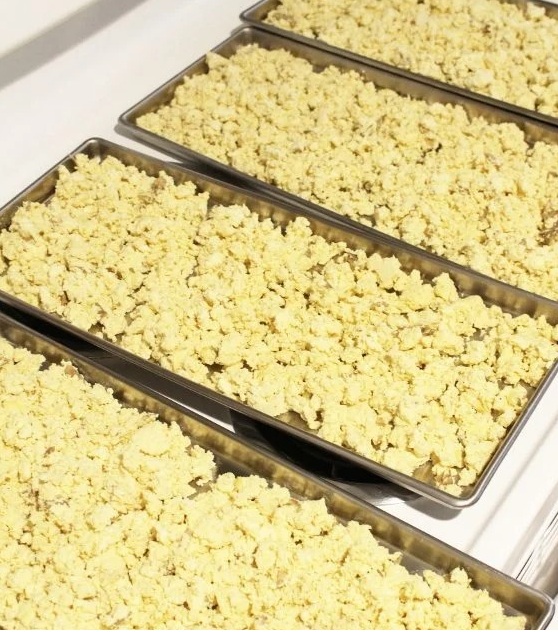
Dehydrate potatoes for flakes
With little initial work, you may dehydrate your potato harvest into flavorful flakes that will keep for a very long time.
Prepare the potatoes by washing, peeling, and cooking them until a knife can be easily inserted into one end without resistance.
Leave the water to cool, then mash the potatoes directly in the water. You can use a regular blender to get a smooth consistency, or you can use an immersion blender right in the pot.
Put the potato mush carefully in spoonfuls onto dehydrator sheets. If you apply thinner coats, they will dry more quickly. Set the temperature to 140 degrees Fahrenheit and inspect the potatoes after about 12 hours to see if there are any dried parts.
Be patient; cooking potatoes can take 36 hours or more. They are done when they shatter rather than bend.
After the pieces have dried, you may pulverize them in a food processor and keep them in a sealed jar.
You may bring them back to life by preparing mashed potatoes. Bring 2/3 cups water and 1 tablespoon of butter to a boil, then remove from heat and stir in 1/4 cup milk and 2/3 cup flakes.
You can adjust the flavor by adding extra butter or milk as the potatoes rehydrate.