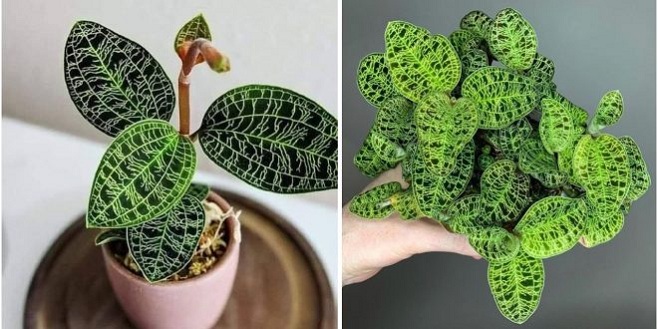
Orchids in the Jewel family, such as the Macodes Petola and Ludisia discolor, have the most beautiful foliage you can ever see. The light catches the beautiful patterns on the leaves of these plants and it is quite a sight. Jewel orchids are not as difficult to care for as they appear, but there are a few concerns that can arise and stunt the plant’s growth.
Quick action is required if you see that your Jewel orchid is wilting. After a thorough examination of your plant, you should be able to identify a number of problems that could use attention. First, let’s break down each issue so you can treat your plant effectively.
Jewel Orchid Leaves Turning Yellow
When Jewel orchids become overwatered, their leaves typically turn a sickly yellow color. The leaves will turn a uniform yellow color due to chlorosis if the roots are left in an environment that is too wet and doesn’t provide enough oxygen. Usually, the lower leaves are the first to show symptoms, although the entire plant might be affected.
Check both sides of each leaf, as well as the stems and the soil, for any signs of pests that may be responsible for the yellowing of your plant’s leaves.
A lower leaf may also become yellow, either whole or partially. Natural leaf loss is the most likely explanation, so you shouldn’t worry too much. The recent stress of repotting or relocating your Jewel orchid can bring on this condition.
Jewel Orchid Leaves Curling
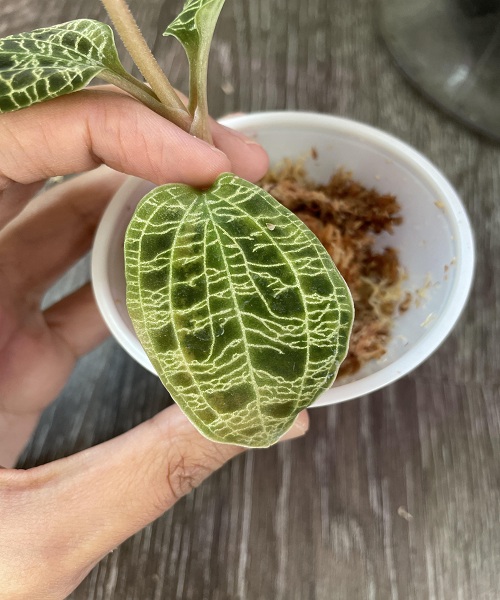
Curling leaves are an adaptation that helps your jewel orchid conserve water. Some curling of the leaves is natural for jewel orchids, but excessive curling can be an indication of root disease, poor humidity, underwatering, too much light, or too much heat.
Whether or not curling has changed noticeably over time is the most important factor in deciding whether or not this is an issue. Curling leaves are normal, but if you notice significant curling in a short period of time (less than a week), it’s time to give your plant a thorough checkup.
Keep your Jewel orchid out of direct sunlight, as the heat and evaporation from the leaves might cause them to curl. Additionally, a digital hygrometer can be used to track humidity levels; ideally, relative humidity should be kept at or above 50%.
Leaves of Jewel Orchid Turning Red
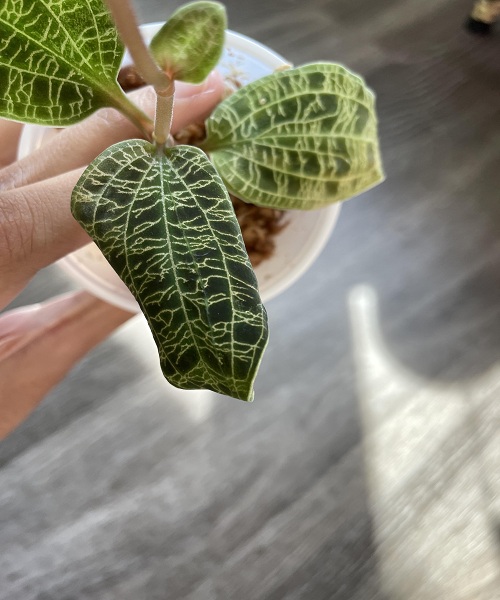
If the leaves of your jewel orchid start to turn red, that usually means it’s getting too much light. Anthocyanins, which are pigments that protect your plant from sun damage, are produced in the leaves when the plant is exposed to more light. Leaves of some Jewel orchids are actually tinted with a reddish hue.
A Jewel orchid will do best in bright, indirect sunlight, however, it can handle some direct sunlight in the early morning or late evening. Don’t put your Jewel orchid in a drab room to make up for its lack of brightness.
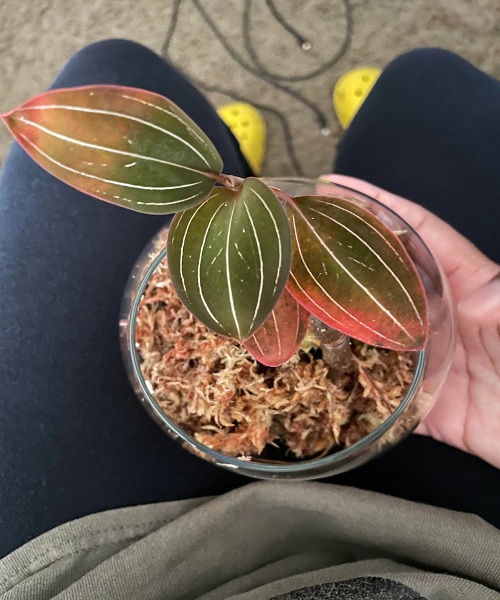
Overwatering
The Jewel orchid is sensitive to overwatering, which can cause the soil to become too wet and lead to root rot and eventual plant death. This problem can be exacerbated by anything that stops the growing medium from drying out. The majority of Jewel orchid issues are brought on by overwatering, but there are other reasons for this as well.
To keep your Jewel orchid from withering, the growing medium should be kept slightly damp at all times. However, the roots require oxygen; therefore good drainage is necessary to get rid of the extra water after watering.
Despite the fact that you shouldn’t water on a schedule, overwatering problems can arise if it takes your Jewel orchid’s growing medium more than a week to dry out before it’s ready for more water. To solve this problem, you may need to repot your plant into a soil that drains more easily. To avoid compaction and boost drainage, repotting or mixing sphagnum with perlite, LECA, or bark chips are all viable options.
The Jewel orchid’s overwatering problems might also be caused by the pot you use.
- If the pot is too big, it will hold too much water in the soil for the plant to use in a timely manner, which greatly increases the risk of overwatering problems.
- Non-porous pot materials, such as plastic and metal, retain water in the potting mix for a considerably longer period of time than terracotta pots, increasing the risk of overwatering.
- Pots with few or no drainage holes often cause plants to rot from over-watering. It’s important to pick a container that has a drain in case there’s going to be a lot of water.
The pace at which your Jewel orchid consumes water and the rate at which water evaporates from the growing media are both slowed by other factors such as poor light, cool temperatures, and extreme humidity. Taking your Jewel orchid from a dim room to a more brightly lit one may be all that’s needed to revive it.
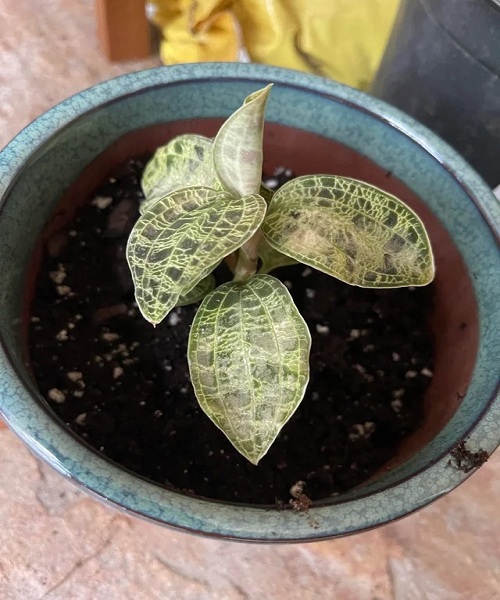
Root Rot
Root rot is the ultimate effect of prolonged exposure to damp circumstances, and the death of a Jewel orchid is the most common outcome. When looking for signs of root rot, it’s important to keep in mind that the disease can have symptoms that are similar to those of water stress.
Soggy circumstances first give an excess of water, resulting in broad leaf yellowing and, in some cases, indications of leaf edema. Water deficit, however, sets up as the roots begin to fight and die and can no longer supply the plant with water. Leaf curling, browning at the leaf tips, and sagging may then become more widespread.
Root rot can be diagnosed by considering not just one, but all of these signs and the developing circumstances together.
With care, remove the Jewel orchid from its pot and examine the roots if you suspect it has root rot. Black or brown in color, soft and mushy in texture, and easily broken, rotten roots can have a foul odor. If the condition is not too serious, you can try repotting the plant in a new container with new potting soil.
**Keep in mind that even if you catch root rot in your Jewel orchids early, it will take them several months to recover.

Jewel Orchid Leaves Turning Brown
Leaves of Jewel orchids typically turn brown for two reasons: leaf scorch from too much sunlight, and old leaves dying off. Low humidity, watering issues, too much fertilizer, pests, or poor water quality are some of the other potential causes of brown spots or browning leaf tips.
Orchids in the jewel family prefer indirect, strong light to the full sun, which will quickly scorch them. Observe your plant throughout the day to see how much light it is receiving. Keep in mind that one room’s lighting needs may fluctuate from dim in the winter to bright in the summer. It’s possible that you’ll need to move your Jewel orchid around during the year to give it the best lighting conditions.
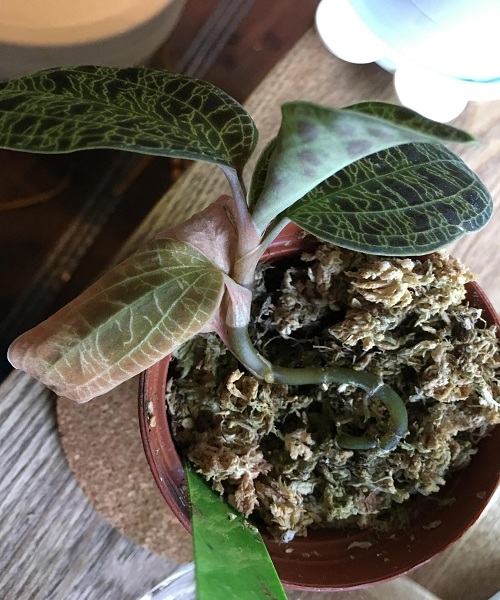
Acclimation
Jewel orchids are extremely sensitive to changes in their environment. It could take several weeks, or even months, for your plant to adjust to its new environment after you bring it home from the nursery. It’s possible that, even with perfect care, the plant’s leaves will start to deteriorate around this time.
The key to acclimatization is to remain calm. Just make sure the growing circumstances are ideal by consulting my care guide for Jewel orchids. The next step is to be patient and wait for your plant to begin producing fresh, healthy growth.
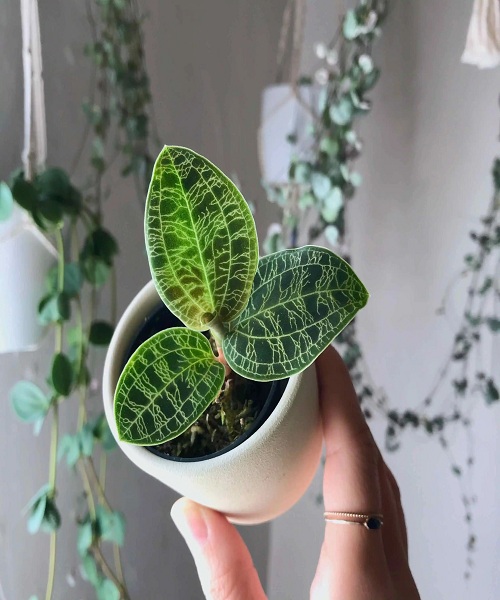
Jewel Orchid Damage In Transit
Don’t forget that accidents happen on the road and that receiving damaged goods can be a major letdown. Damaged leaves are still beneficial to the plant and should not be removed unless absolutely necessary. If you give your plant the attention and care it needs, it will quickly send forth new, healthy leaves to replace the ones you’ve lost.
Jewel Orchid Drooping
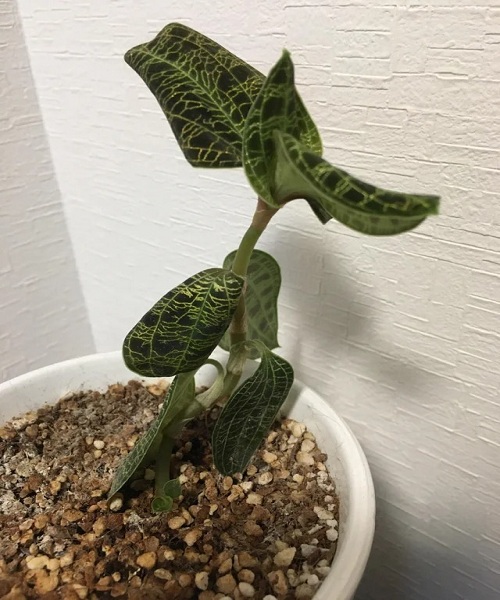
Inadequate watering is the most typical reason for a Jewel orchid to droop. You’ll need to do some detective work to figure out if your plant is suffering from root rot because of too much water, or if it’s just underwatered.
It’s important to remember that Jewel orchids naturally exhibit a sagging, creeping growth pattern, so you should double-check that your plant is genuinely sick before taking any harsh measures.
Overfertilizing
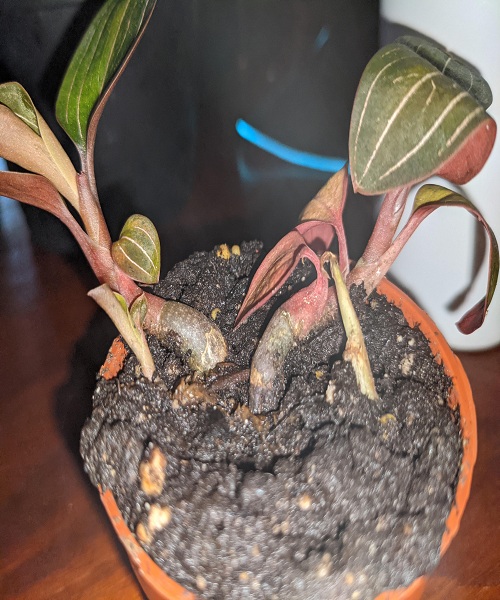
When your Jewel orchid receives too much fertilizer, the leaves may wilt and turn brown at the margins or in areas. To maintain their beauty, jewel orchids require minimal fertilization. Before concluding that overfertilization is to blame for brown areas, rule out other possible causes like too much sun, too little humidity, or pests.
Fertilize your Jewel orchids every 3 to 4 weeks in the spring and summer. ou can dilute a balanced, water-soluble fertilizer to only a quarter the strength you would normally use on other plants. This lessens the possibility of wasting fertilizer on your plant.
In addition, it is recommended that you regularly flush the potting medium with plenty of water to remove any excess fertilizer salts.
Jewel Orchid Pests
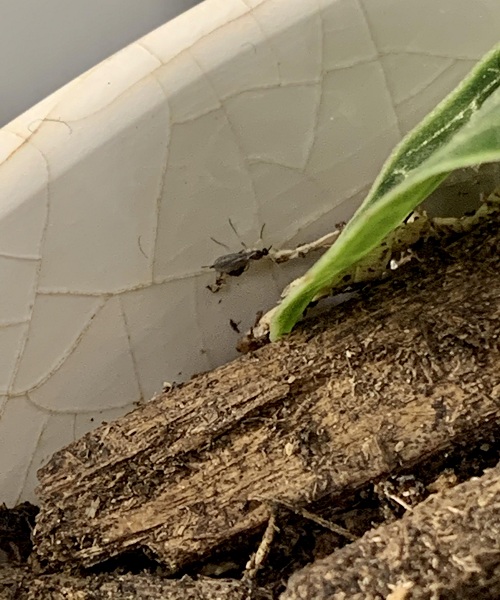
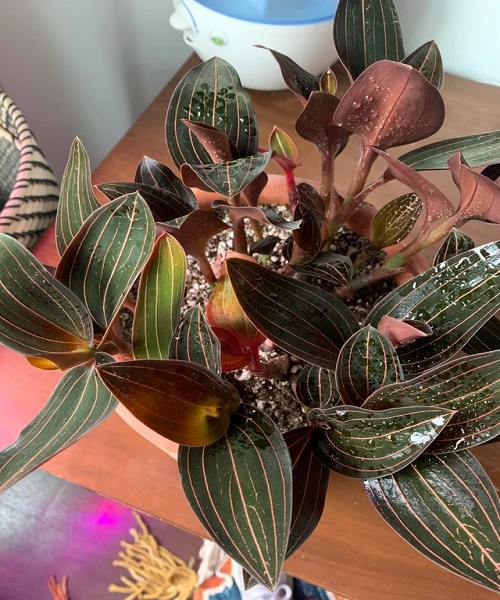
Spider mites, fungus gnats, mealybugs, and thrips are the most typical enemies of Jewel orchids. Even if your jewel orchids do fall victim to pests, the likelihood of that happening is low if you provide them with enough care. Each time you water your plant, inspect it thoroughly for pests, and take immediate action if you find any.
How to handle pest problems:
- Remove your plant from the vicinity of other plants immediately.
- Exterminate any bugs you find by rinsing or picking them off by hand
- Insecticide should be sprayed on the soil and the entire plant.
- Keep up the treatment schedule of once every 7-14 days for a few weeks until you can say for certain that all pests have been exterminated.
- Carefully reposition your plant where it normally would live.
