Easy to make, ivy cuttings (Hedera helix, Hedera canariensis) are accessible to everyone, beginners or experienced gardeners. It makes it possible to make young ivy plants to be used in pots inside the house or in the garden, as a ground cover to accompany shrubs or at the foot of a support (mesh, fence, pergola). Find out with our detailed sheet when and how to cut ivy.
There are many varieties of ivy, more or less variegated with cream or yellow and with different leaf shapes. All these ivies are cut in the same way.
Cuttings are the only way to obtain young plants that take on the identical shape or variegated color of the leaves of the original ivy.
Equipment needed for cutting ivy
- Shears
- Mix of equal parts garden soil and potting soil
- Terracotta pot or bowl
- Rooting hormone optional
- rooting hormone
When to cut ivy?
Ivy is very easy to take cuttings almost all year round, but the best time is when it is growing in spring, in March, April and May. Rooting is then faster.
After 2 or 3 months you will have many cuttings ready to be planted elsewhere.

How to make ivy cuttings?
Take a long branch of ivy: this is enough to prepare many cuttings.
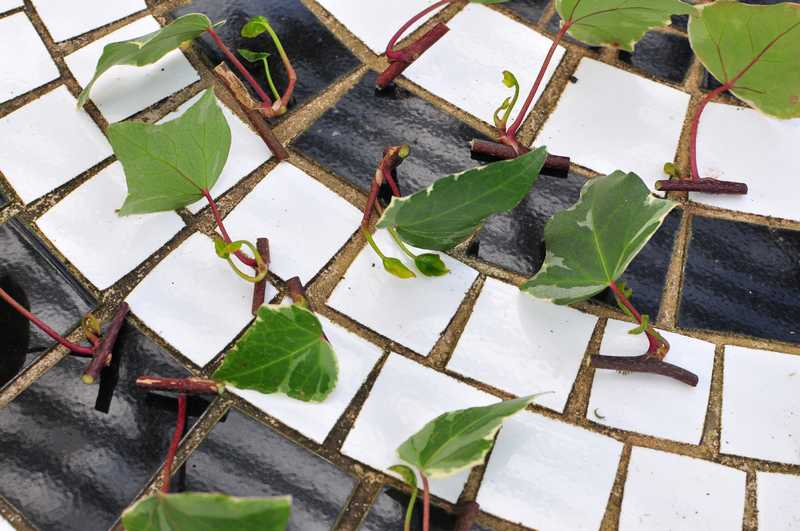
- With your shears, prune between each knot. Each cutting must therefore have a leaf and a small piece of the stem 2 to 3 cm in length to which it was attached.
- Fill a terracotta pot or wide cup with a mixture of fine garden soil and potting soil.
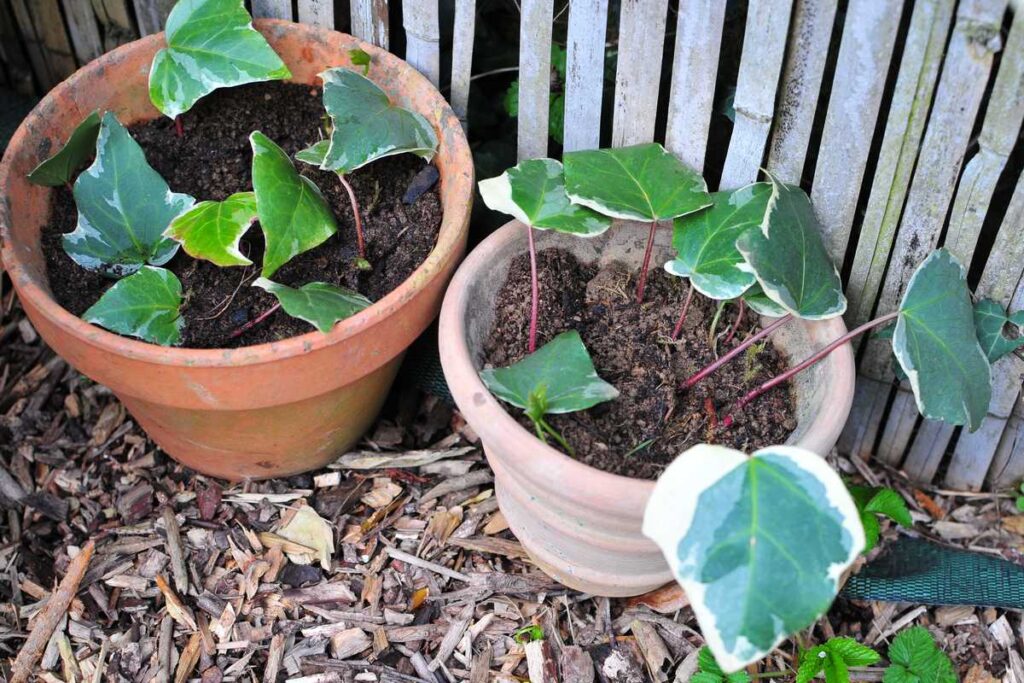
- Push down just 1 or 2 cm each cutting. Only the leaf and part of its peduncle protrude from the ground. The small end of the stem must be laid flat in the substrate.
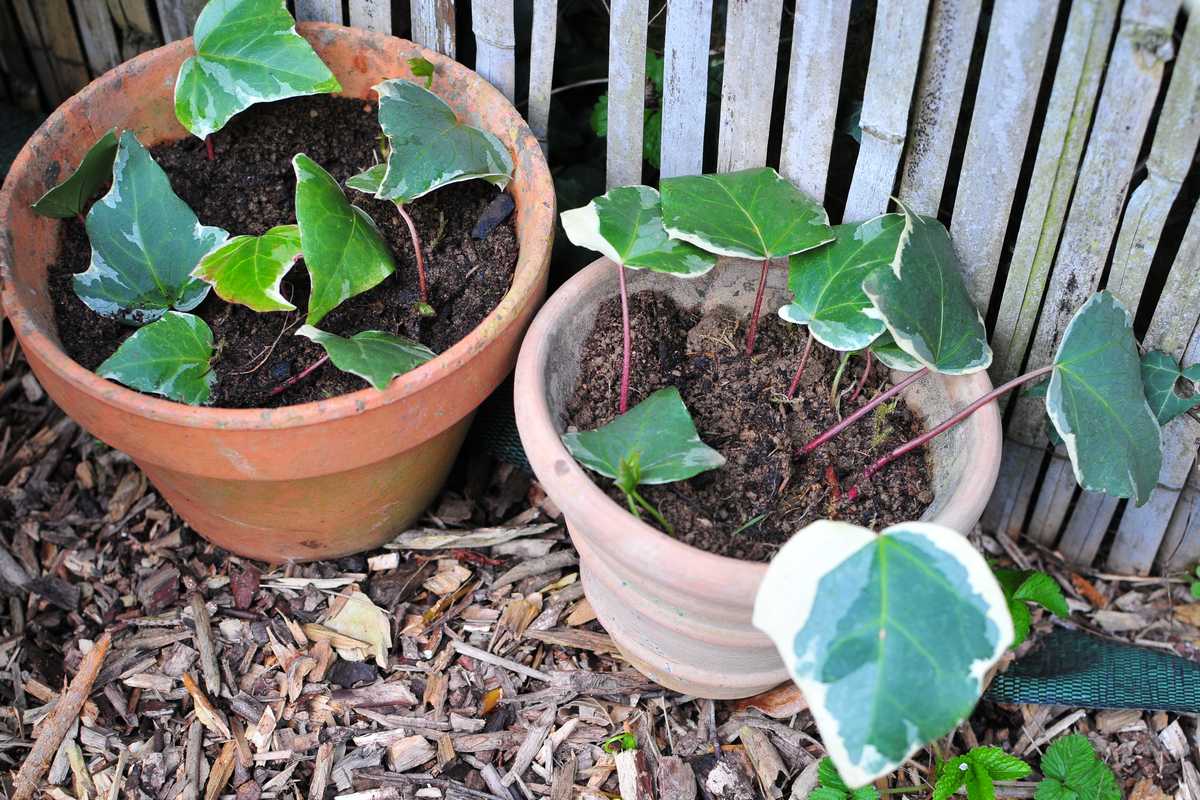
- Depending on the size of the pot or cutting used, you can group up to 10 cuttings in the same container. You will then obtain an ivy plant that you can plant as it is or divide it into 2 or 3 shards once well rooted.
- Tamp the soil lightly with your fingers around each cutting.
Finish with a watering to moisten the soil well.
Keep the pots in a shady spot in the garden, and also sheltered from the cold. Variegated ivy varieties are more sensitive to cold. Water regularly to keep the growing medium moist.
Gardener’s tip: Using a terracotta pot is preferable to plastic for its breathable qualities. Install the cuttings on the outskirts, near the walls: they will take advantage of the softness and porosity of the terracotta to take root faster!
How to make ivy cuttings in water?
Ivy is also very easy to take cuttings in water, but the preparation of the cuttings is slightly different.
- Take a young stem about 20 cm long in March or April.
- Remove the tip and all the lower leaves except the top 2 or 3.
- Then immerse 2 or 3 cuttings in a glass of water. Keep it in a bright place, but out of direct sunlight. Remember to change the water regularly to avoid bad odors.
As soon as the roots appear, repot your cuttings quickly so that they continue to grow stronger.
Most ivy takes root and grows quickly. 2 to 3 months later, you can plant them in their final place in the garden.
A few weeks later, you can plant them in their final place in the garden.

