Snow Peas are also known as sugar snap peas. They are one of the most delicious and healthy vegetables. They can be eaten raw or cooked. When you eat them fresh, they taste extremely sweet. Growing snow peas is easy since these veggies are low maintenance plants that don’t require much care and attention. In this article, we will show you how to grow snow peas successfully.
1. Choose a location
Although these veggies grow in cooler weather, they require at least 6 hours of direct sunlight exposure daily. This is a crucial factor in their growth. They can grow in a partial shade but they won’t thrive and they won’t produce a heavy yield. Therefore, you should choose a spot that hets at least 6 hours of sunlight.
2. Prepare the location
Once you have chosen a spot for your snow peas, make sure that it contains a well-draining soil with neutral pH levels (between 6.0 and 7.0). Add some aged compost to the soil to improve its quality and its pH levels. You can also add some bone meal to increase the acidity of your soil as well as potassium, and phosphorus levels.
3. Inoculate the seeds
If you want to enjoy a heavy production from your peas, it is recommended that you soak them for 24 in water. Then, inoculate them with a nitrogen-fixing soil bacterium before planting. This will make them resistant to different bacterias. You can buy inoculants from garden centers, seed catalogs, or online.
4. Planting

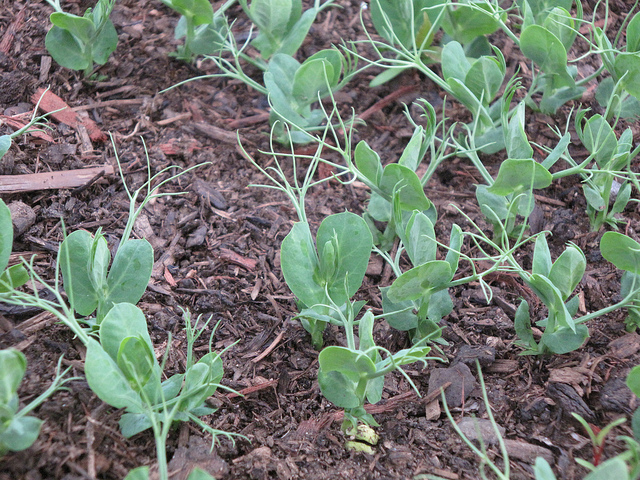
You can plant snow peas in Fall, winter, and spring. They are cool season veggies thus they need a temperature below 80F (27C) to grow and thrive. Therefore, it is advisable that you start planting these tasty plants as soon as the soil can be worked. That is to say when its temperature is around 40F (4C).
You should plant each seed in a hole of 1 inch deep (2.5 cm). You also need to keep at least 4 (10 cm) inches between the seeds in all directions.
5. Watering
Just after you have planted the seeds, you should water them thoroughly to help them settle in the soil. You can water them again after 10 days. Don’t over water snow peas because they are subject to rot. After 10 days, you can start watering them regularly once every week.
When your plants start to blossom, you should start watering them more frequently. Water is essential for them to develop flowers and pods.
6. Add support

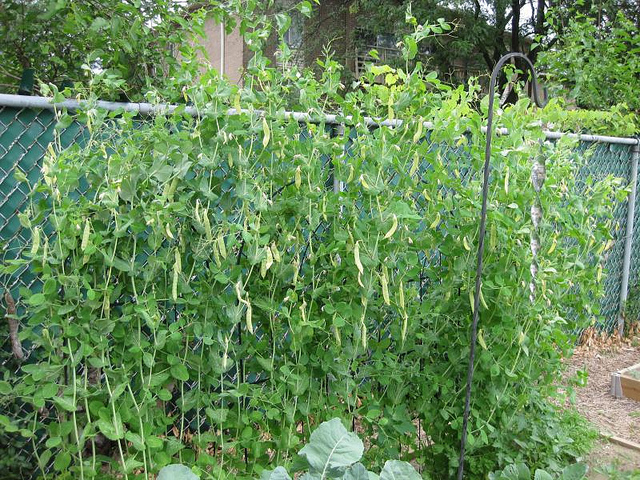
Snow peas are vine plants. They need support to climb on. Therefore, you should place a stake or a trellis between the plants so they can climb it. If you want some trellises ideas that will inspire you, check out this article.
7. Mulching
Mulching is important for any plant to grow. A soon as your snow peas grow up to 2 inches (5 cm), you should add a layer of mulch to the soil. You can use straws or chopped leaves as mulch. Mulching is important because it preserves the moisture of soil and deters weeds from growing.
8. Weeding
You should remove weeds by hands the moment you spot them. Snow peas are delicate plants and weeds will hinder their growth. Weeds will absorb the nutrients and minerals that your soil contain leaving your peas without food. Therefore, pull them out whenever you see them.
9. Harvesting

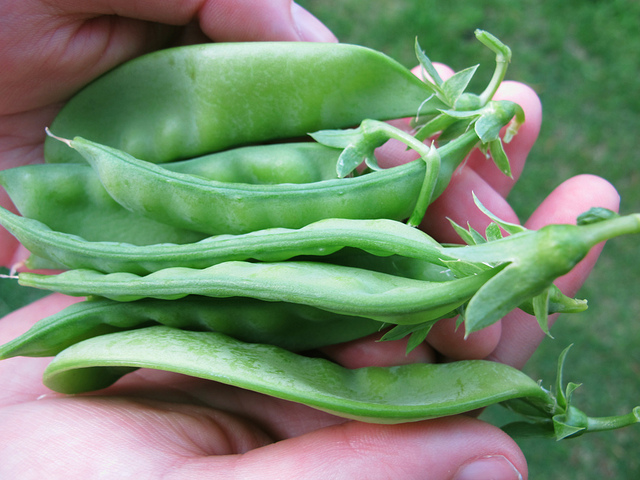
Snow peas are annual plants. This means that you will wait one year after the planting to start harvesting them. Start harvesting as soon as your plants form pods. Young pods are extremely delicious. Therefore it is recommended to start harvesting when the pods are still young. Harvesting is easy, all you need to do is to pick them by hands.
These are the best steps to grow snow peas. Follow these steps and you will successfully grow these tasty veggies. They are very productive. Enjoy!

