Growing hydroponic tomatoes is not an easy task especially if you are a beginner gardener. It is true that this magnificent way will ensure that your tomatoes will grow more rapidly, produce a heavy fruit crop, and catch fewer diseases. But, It is a complicated process and only a few expert gardeners know how to grow hydroponic tomatoes successfully.
Growing tomatoes in a nutrient solution is definitely better than growing them in the soil. Hydroponic systems are capable of delivering delicious, big sized and healthy tomatoes. Besides, they give you the privilege of growing tomatoes all through the year, even in winter.
This new type of gardening is gaining an increasing popularity lately. Although it is difficult to master, yet its results are astonishing. They deliver fresh tomatoes whether it is summer or it is winter. Besides, growing tomatoes in a controlled environment means no weeds, or insects anymore.
There are many sources on the internet that show how to grow hydroponic tomatoes. However, none of them is detailed and clear enough to give you what you are looking for. Therefore, we wrote this article, gathering the best information online and checking it with expert gardeners, to come up with the best, easy to follow guide on how to grow hydroponic tomatoes.
This article will be divided into two parts. The first part will take you a step by step through the process of building a hydroponic system. If you already have a hydroponic system or you plan to buy one, jump directly to the second part of this article. The second part will shed light on the techniques of growing tomatoes in a hydroponic system.
I. Part one: Building a Hydroponic system
1. Choosing a system to use
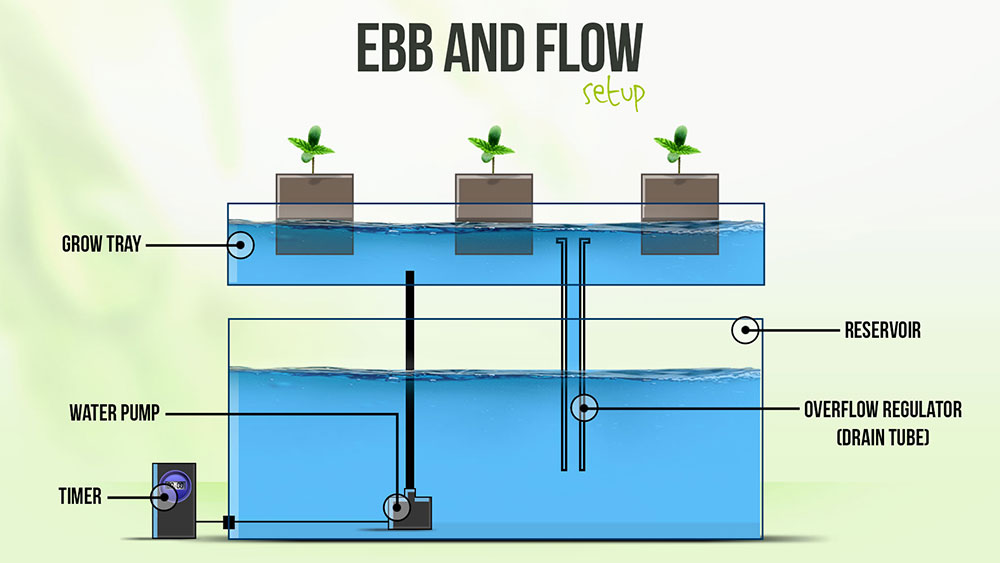
The first step of learning how to grow hydroponic tomatoes is knowing what hydroponic system fits your environment. There are many different hydroponic systems such as Deepwater culture, Multi flow, and Nutrient film technique (NFT). Although all of them are ideal to grow tomatoes, not all of them suit your indoors.
In this part, we will provide you with simple instructions to build an effective, inexpensive and a decorative hydroponic system. You could buy the materials to build this system in hydroponic stores and in home improvement stores. You may not need to buy some materials as they may be available in your house.
This system that you are going to build is a very popular system. It is called flood and drain system. The name clearly suggests that this system would flood your plants with a nutrient solution then the solution drains. It is commonly known as the Ebb and Flow system. Keep on reading to figure out how to build this amazing system.
2. Choosing a right location
You can place your tomato hydroponic system either indoors or in a greenhouse. If you lack space indoors but you don’t have a greenhouse, check out these wonderful DIY ideas to easily build a greenhouse. You may also want to learn how to grow tomatoes in greenhouses.
The best location for your hydroponic system is a sealed room. For a successful growth, you need to control the humidity and the temperature of the environment. Thus, you will need a space that is closed off from other rooms and the outdoors so you could adjust the temperature and the humidity to an adequate level.
If you rather grow your hydroponic tomatoes using sunlight, don’t expose your system directly to daylight but rather cover it with a glass or a greenhouse roof.
3. Create a reservoir
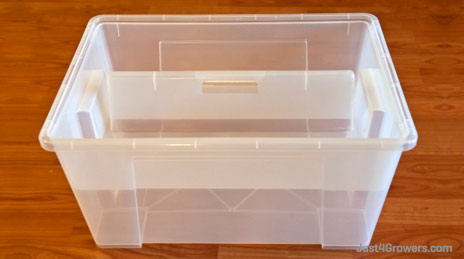
Creating a reservoir is one of the easiest steps for building a hydroponic system. Pick a large container and fill it the water. It is better that the container is made of plastic so it could prevent the access of light which in turn prevents the growth of algae.
One more important tip, larger containers lead to better results. The size of the reservoir contributes to the success and the stability of your hydroponic system. Therefore, it is always better to use large containers as reservoirs.
Keep in mind that each tomato plant you grow will need at least 2.5 gallons of nutrient solution. However, sometimes the plants absorb the water faster than expected, as a cautious measure, you should fill the container with double the minimum amount of water that your plants need.
4. Add a tray above the reservoir
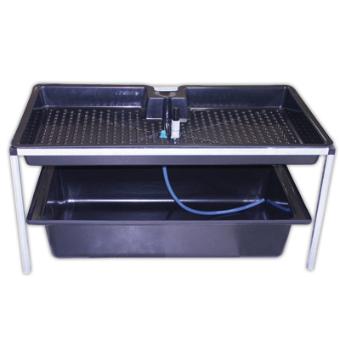
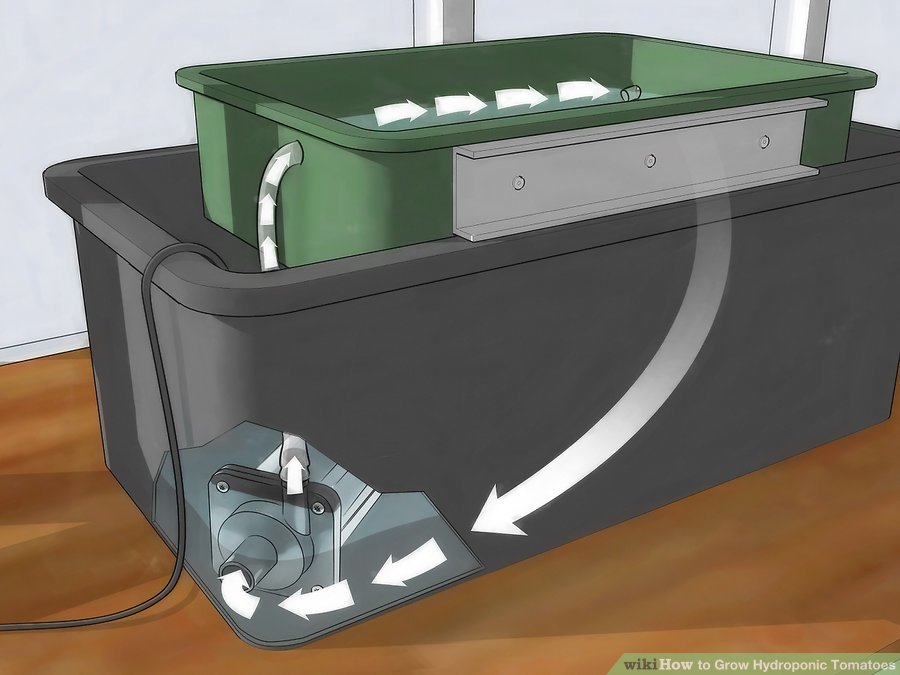
The tray above the reservoir should be fixed well so it wouldn’t move. It would carry your plants and it will systematically flood your plants with nutrients and water allowing their roots to feed. Therefore, it should be strong and solid enough to hold your plants correctly.
As it is demonstrated in the pictures, the tray should be higher than the reservoir so when the plants are flooded with water and nutrients, the excess of water will drain back to the reservoir. Avoid metal trays to avoid corrosion. Plastic trays are a better choice.
5. Set up a water pump inside the reservoir
Water pumps are extremely important elements of any hydroponic system. They are available at both hydroponic stores and home improvement stores. You will need a strong pump that could send the water from the reservoir to the tray.
Short or week pumps may not properly deliver water to the tray containing the plants and that eventually will lead to the failure of your hydroponic system. Thus, be careful and choose a good water pump. Then, install it inside the reservoir as it is displayed in the picture.
6. Install fill tubing
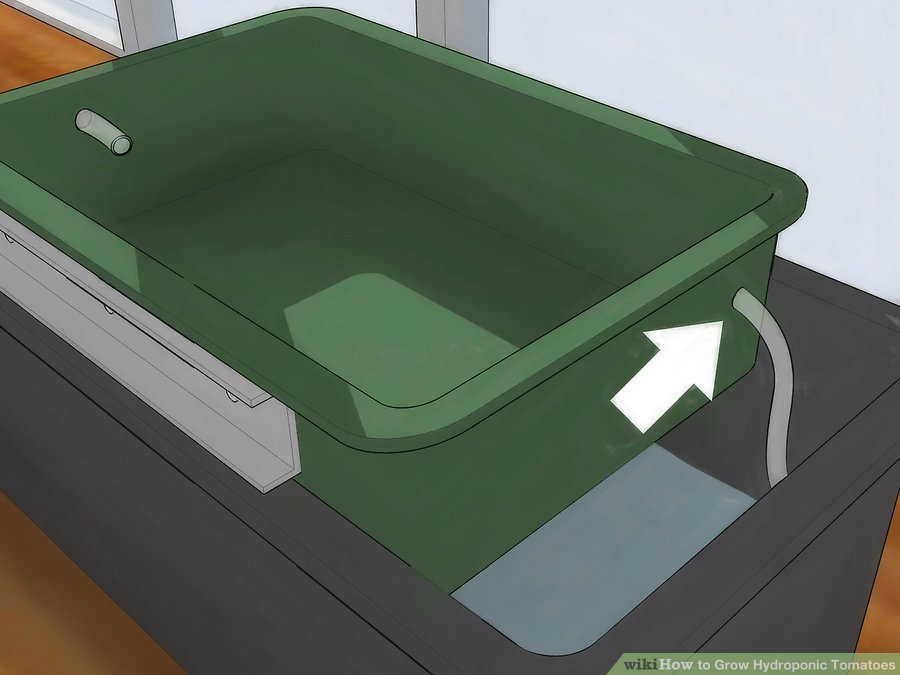
Once the water pump is set and ready, attach it to a fill tubing that links it with the tray so it could flood the tray to the height of the tomato plant roots. It is recommended to use a tall PVC tubing. Avoid short ones. 1/2-inch PVC tubings are ideal for this design.
7. Install an overflow Fitting
To avoid water flooding your ground, installing an overflow tube is necessary. Make a hole the size of the tube on the top of the tray and attach the tube it. Lead the tube back to the reservoir. This way, when the water reaches the top of the tray, it will drain back through this tube to the reservoir.
The fill tubing and the overflow tube should be in opposite ends of the tray. keep in mind that the overflow fitting should be larger in diameter than the fill tubing so the water pump will not over flood the tray. This will allow a smooth water circulation.
8. Add a timer to the water pump
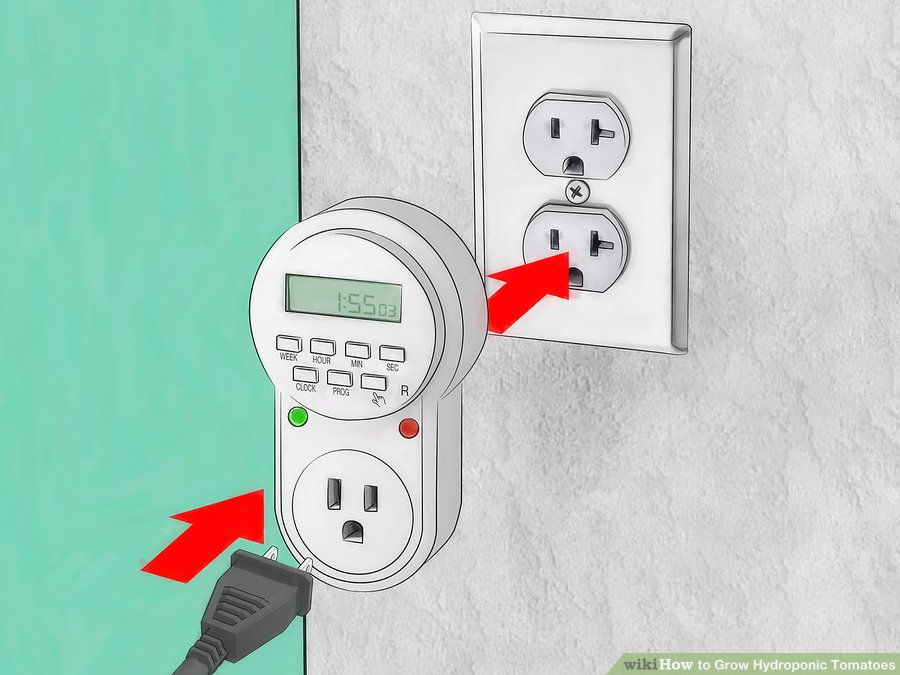
Most water pumps come with a timer, if yours don’t, don’t worry, it would be easy to attach a timer to it. A waterproof 15-amp timer is the most recommended timer for this hydroponic system. It will perfectly power the water pump on a regular basis.
It will also allow you to control your plants’ growth. You will able to increase and decrease the amount of nutrients they receive.
9. Testing the system
Now, your hydroponic system is ready for growing tomatoes. However, you should test it before you start planting your tomatoes in it. Testing the system is easy, just turn on the water pump and keep an eye on the circulation of water.
If the water fails to reach the plants in the tray or it exceeds the tray and spills over its edge, then you need to make some adjustment. No need for worries, these adjustments are small. You will either change your water pump settings or use a larger drain tube.
Now we will move to our second part of how to grow hydroponic tomatoes which revolves around growing tomatoes. In this part, we will provide you with the best detailed simple steps for growing tomatoes in your hydroponic system successfully.
II. Part two: Growing the tomatoes in the hydroponic system
1. Definitely seeding rather than seedling

For growing hydroponic tomatoes, it is crucial that you avoid seedling. Since you cannot know for sure how healthy a seedling is, you risk bringing pests and diseases to your hydroponic system. It is better to plant your seeds in special containers.
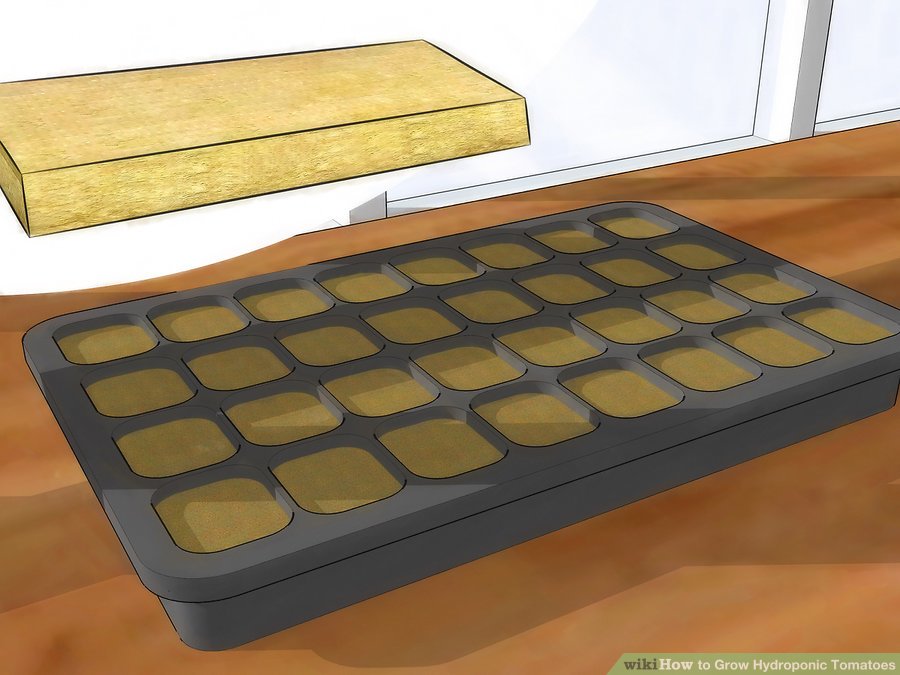
To replace the soil, use materials that are made specifically for hydroponic tomatoes. The best materials include Rock Wool, Coconut coir, and Perlite. Use a pH 4.5 water to soak the materials. For best results, plant the seeds under the surface of the growing materials. This will trap moisture and encourage your plants to sprout.
If you prefer soil mix, you should use a standard potting soil made of perlite, vermiculite, and sphagnum peat. In order to adjust the right ph, you should also add one teaspoon of hydrated lime per gallon. Plant your seeds 1/4-inch deep and cover them lightly with soil.
2. Light requirements
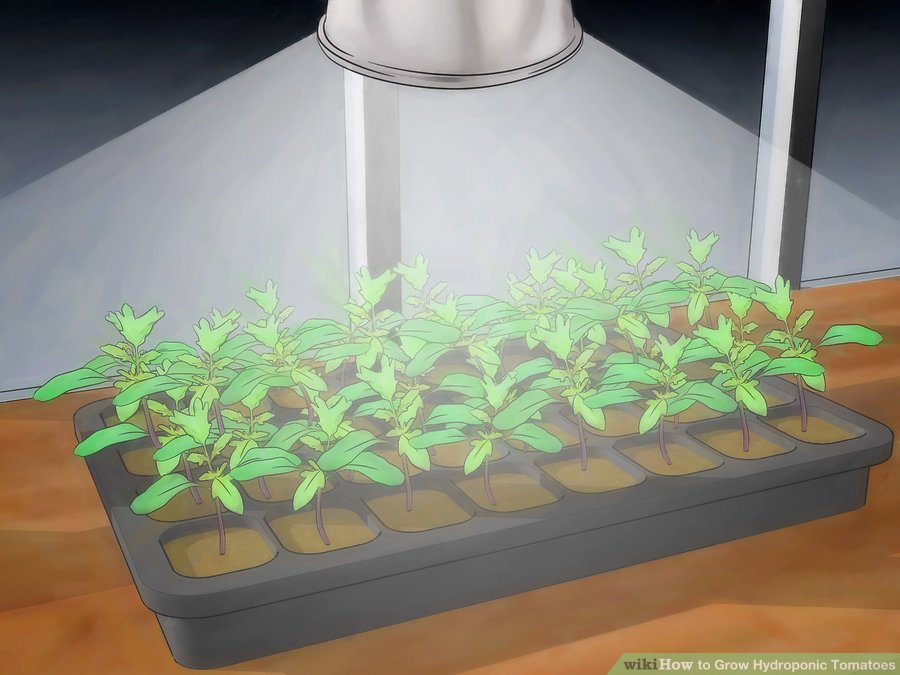
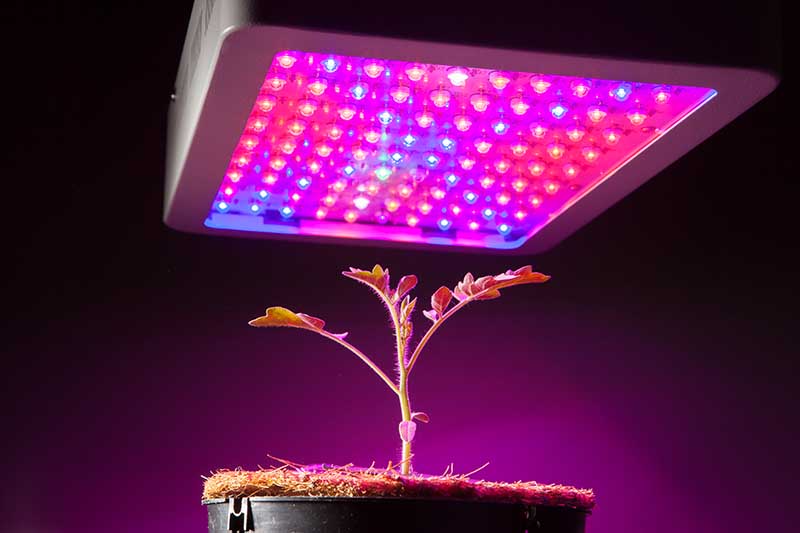
The growth of your plants depends heavily on the amount of light they receive. All variety of tomatoes, no matter what they are grown in, need at least 12 hours of light daily. Therefore, once your plants have sprouted, place them in a location where they can receive the amount of light needed for their growth.
There are a lot of good grow lights. Perhaps the 50W LED Plant Grow Lights, the Roleadro 300w LED Grow Light, and the Osunby LED Grow Light are the best and the most inexpensive grow light you could find at amazong.com.
3. Transplant the seedlings
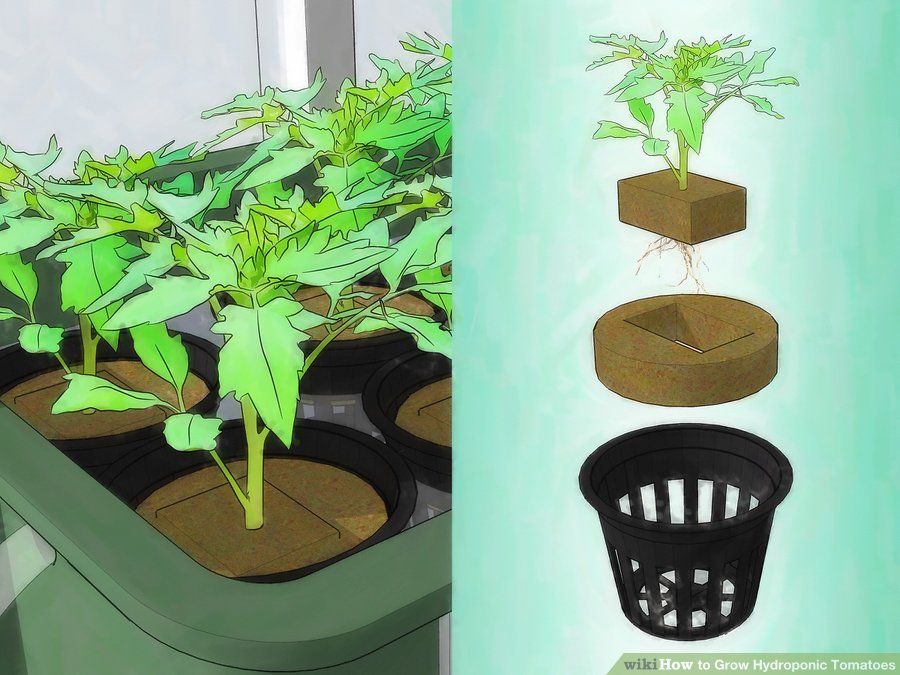
After two weeks, leaves will start growing which means it is the right time to transplant your seedlings into your hydroponic system. fill the tray with the same materials you used when you planted the seeds in containers. Then plant your seedling in it 10 to 12-inch deep.
4. Set the water pump timer
It is advisable that you start by setting the water pump timer to work for 30 minutes of two hours and a half. You should observe your plants carefully as you may need to decrease or increase watering. Once the plants start blooming or fruiting, you should increase watering.
5. Increase lighting
To ensure a heavy production, once you transplanted your seedlings, you should increase your plants’ exposure to light. Instead of giving them 12 hours of light daily, it is preferable to rise to 16 to 18 hours of light daily. Then keep them totally away from light for 8 hours.
This process will not only ensure that you have a heavy production but also will fasten the growth of your plants.
6. Temperature
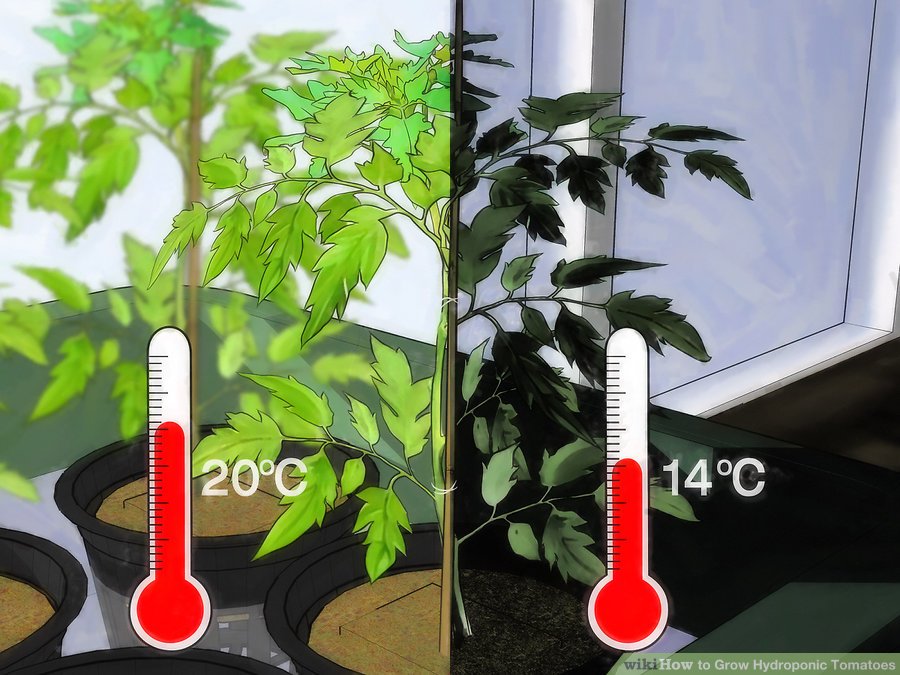
Temperature is also a decisive factor in a successful growth of hydroponic tomatoes. You should always keep an eye on the temperature degrees and regulate them when you need to. Ideal temperature degrees should vary between 65F to 75F during daytime and 55F to 65F during nighttime.
You could regulate the air temperature by using thermostats and fans. Adding a fan to the room is a great way to regulate the temperature as well as to pollinate your plants.
7. Feeding
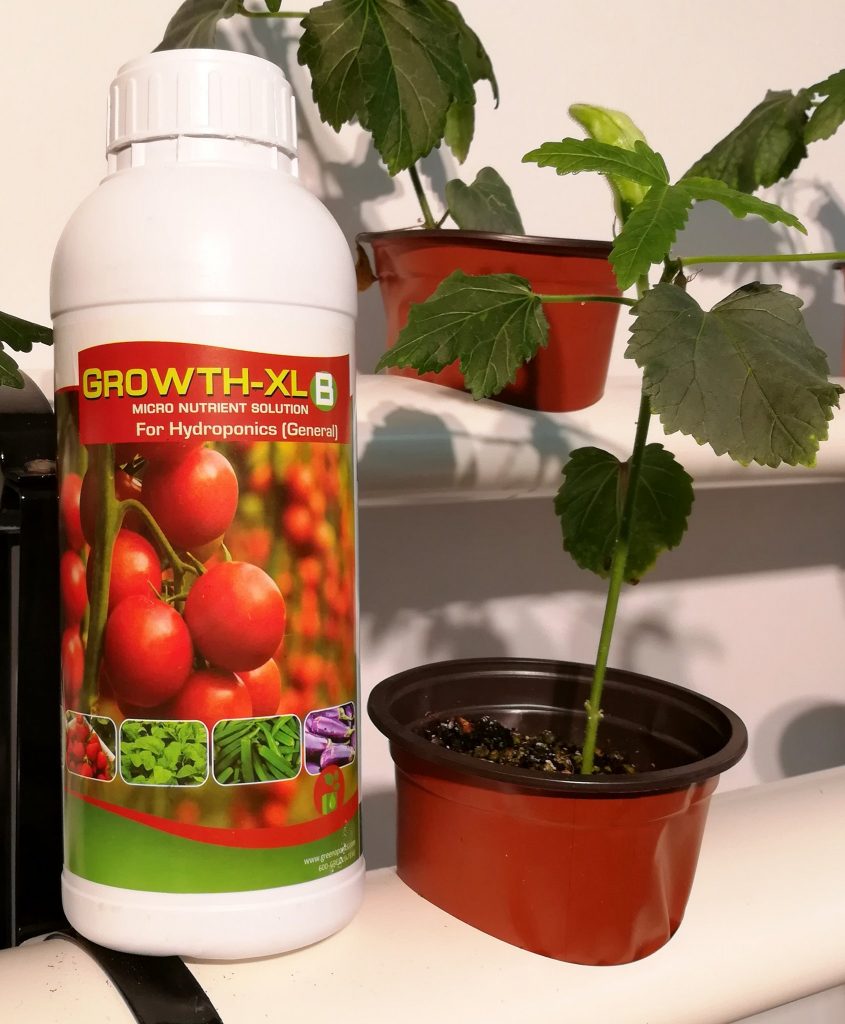
Since tomatoes are heavy feeders, regularly add a nutrient solution to the reservoir. You should avoid organic solution, they decompose and make caring for your hydroponic tomatoes more complicated than it already is. Instead, opt for nutrient solutions made specifically for hydroponic tomatoes.
Hydroponic nutrient solutions always come with instructions on their package. It is desirable to follow these instructions. Growth-XL A & Growth-XL B are popular hydroponic nutrient solutions that are widely used and available. You could buy them at greenoponics.com.
8. Caring for hydroponic tomatoes
Monitoring the water regularly and changing it often are two major reasons that contribute to the growth of your plants. You should always observe the concentration level of the nutrients inside the water. They should generally range between 2.0–3.5. If it is not the case, you need to change the water.
It is recommended to change the water in the reservoir every two weeks. Therefore, in order to grow healthy plants, change the water and the nutrient solutions in the reservoir every couple of weeks. Don’t forget to balance the ph, it is extremely important.
9. Support and pruning
Hydroponic tomatoes may keep growing indefinitely. Therefore, in order to prevent them from falling on the ground, and to ensure they continue to grow upright, you will need to add an extra support to the main stem. A wooden stake is enough, tie the main stem to it to protect the plant and improve its productivity.
Pinch off the suckers and prune the stems once a week. It has been proven that pinching off the suckers and pruning the stems contribute to a better yield.
10. Pollination
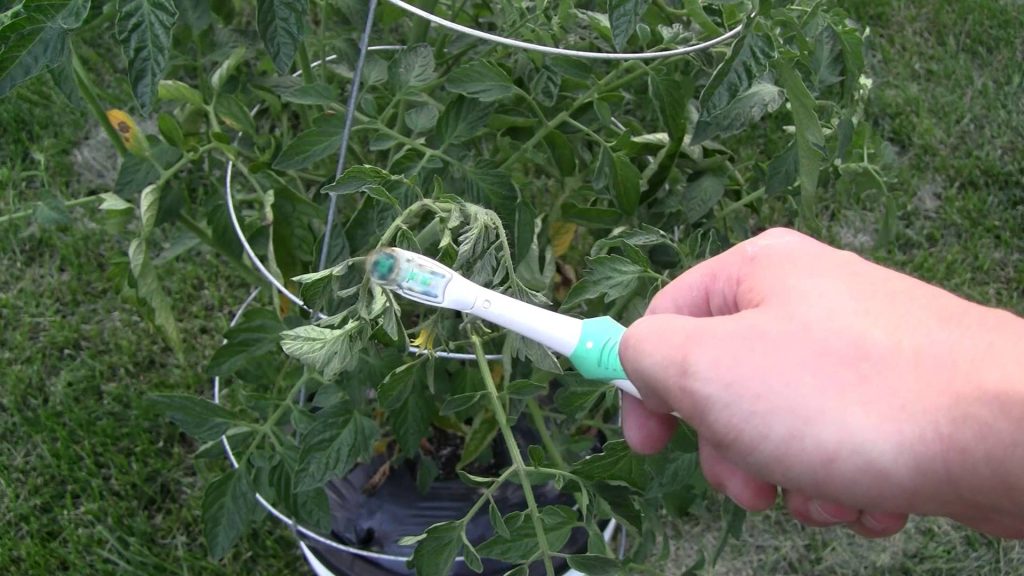
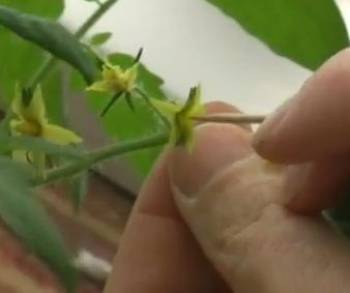
Pollinating your tomatoes is a task that you must do by yourself. Since hydroponic systems are kept away from insects, pollination your hydroponic tomatoes must be done by you. Once the tomato plants bloom, you could either use a vibrator, a toothbrush or your hands.
These are the best-detailed steps to learn how to grow hydroponic tomatoes. Even if you are a beginner gardener, just follow these steps and you will manage to grow hydroponic tomatoes successfully.
If you are looking for easier ways to grow tomatoes indoors, check out these educative guides on How to Grow Tomatoes in a Hanging Basket, How to grow windowsill tomatoes indoors, and How to Grow Brandywine Tomato.
We remain at your disposal if you have any questions and inquiries. Enjoy your gardening.
You may also readhttp://lifeknowhow.net/growing-tomato-in-raised-beds-successfullyhttp://lifeknowhow.net/growing-tomatoes-in-grow-bags
http://lifeknowhow.net/self-watering-tomato-planters


