You may have always wondered (without daring to ask him) how your neighbor manages to succeed with his cuttings of roses or shrubs! In itself, it’s not complicated: its success is mainly due to the period when it makes its cuttings: between the beginning of August and the end of September! Add to that a few little tricks and you too will become a cuttings pro.
August-September, semi-ripened cuttings!
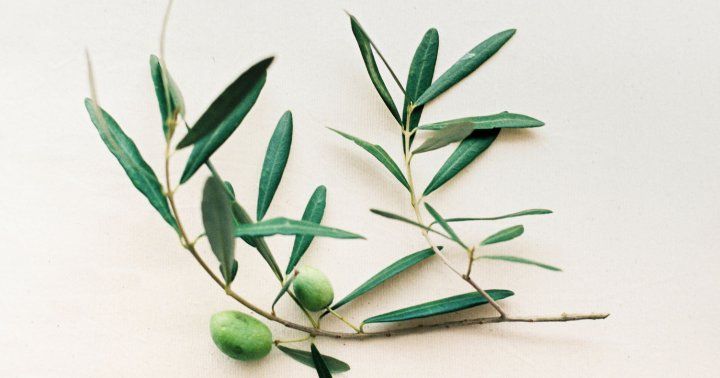
Between the beginning of August and mid-September, this is the ideal time to take cuttings for shrubs . At this time of year, the green twigs that appeared in the spring begin to harden and take on a brown color: they become lignified. It is specifically these branches that are selected to make cuttings: we then speak of semi-ripened cuttings.
The second part of summer is also the ideal time to make cuttings of perennials grown in pots or planters on the balcony and the terrace: Fuchsia, pelargonium, Hibiscus, Bougainvillea, Plumbago, Lantana… lend themselves well to the game of the multiplication. This makes it possible to have new plants to overwinter to prevent a possible overwintering “accident”.
Top and flop of summer cuttings
It’s child’s play to make cuttings of certain shrubs while for others, it’s quite a hassle! For example, the Daphne cutting gives even the most experienced gardeners a hard time!
The most difficult to cut?
Certainly the cutting of rhododendron , azaleas, Edgeworthia, Camellia… and more generally of all heather shrubs, remains difficult.
Their cuttings are so capricious that it is generally preferred to carry out a layering by coating to multiply them. This technique is longer, yes, but also more effective in the end in their case.
Conifers are not left out: yew, Leyland cypress and Chameacyparis are not easily multiplied!
The easiest to take cuttings?
Climbing honeysuckle, Escallonia, Boxwood , Fuchsia, Jasmine, Oleander, Verbena … effort within 6 to 8 weeks.
Make cuttings in pots, in the ground or in water?
These three ways of cutting are possible. Which works best? The three ! In fact, it all depends on the plants to be cut !
Make cuttings in water
No secrets! In water, we propagate plants that love water ! Perennials on the banks of streams and cool ground such as willow, wicker or Papyrus (it must then be placed upside down) take root very easily. This is also the case for many indoor plants , bathed in a humid tropical atmosphere in their region of origin. All you need is a glass of water to make cuttings of Chlorophytum, misery, a leaf of Saintpaulia, a head of pineapple, Dracaena, and Philodendron. Just be sure to change the water very regularly to avoid unpleasant surprises.
What substrate to use in a pot?
In pots, the key to success lies in the qualities of the substrate. It must be both light – to allow the young roots to develop without difficulty – and draining – to prevent them from rotting -. A mixture of equal parts potting soil, sand, and garden soil is generally fine for most cuttings . Also use terracotta pots: their porous walls facilitate gas exchange.
In the ground, what cuttings to make?
Those that allow you to create borders at a lower cost. Boxwood or wicker are therefore cut directly in the ground to create a living braided fence. Cuttings of roses transplanted directly into the ground are also commonly practiced in flower beds. This technique also works wonderfully with rustic climbing plants: prepared cuttings of jasmine, false jasmine, bignone… installed directly at the foot of a pergola, a fence or a wall take root without even take care of it as long as the soil remains cool.
Is rooting hormone necessary?
Without being essential, the rooting hormone increases the chances of success. It is especially recommended in the case of capricious cuttings . Fill a small cup with powder. Immerse the base of the cutting in it then gently tap it with your fingers to remove the excess white powder. Only a thin film of hormone should cover the base. Finally, prick the cutting in the classic way in a pot.
It is possible to produce your own mixture of hormones from cuttings by letting small sections of willow macerate in water for a few days. Almost magical!
Slowly, to multiply the chances!
A bell, a mini greenhouse or more simply a simple bottle of water turned upside down! Why cover the cuttings when we make cuttings in summer ? Won’t they burn out? Well no, kept smothered , the cuttings are more likely to take root because the heat and humidity – a kind of microclimate is created under the bell – are precisely conducive to rooting. However, aerate from time to time to avoid rots and fungal diseases.
Do not skip the steps! be patient
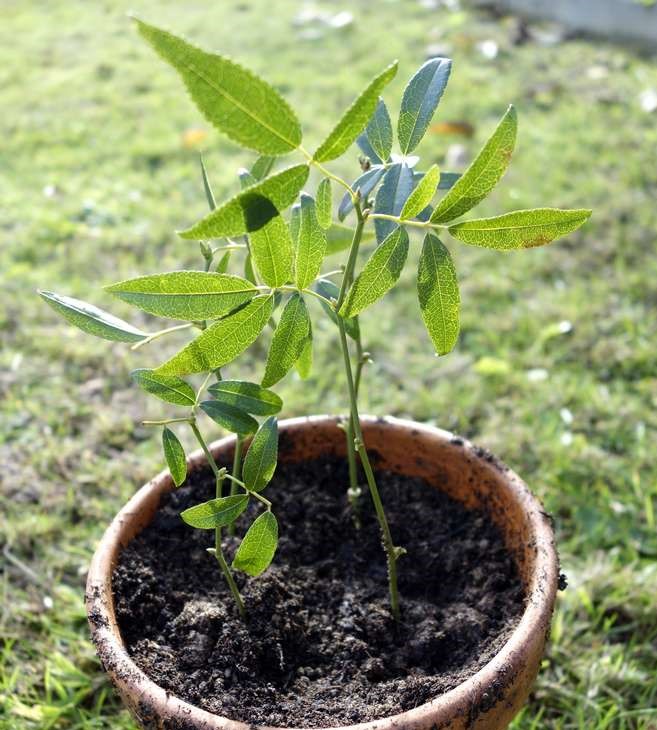
After a few weeks, the temptation is great to shoot the cutting to check its rooting. However, by doing so, you risk breaking the fragile roots. To check that the cutting has taken well, it is best to turn the pot regularly. Quickly cramped in their container, they will soon show themselves through the drainage hole. Another sign of good rooting: the resumption of vegetation. When the seedlings show good rooting, new buds swell and young leaves appear.
In any case, leave these cuttings in their pot until next spring so that they have time to get strong. It will then be time for most of them to transplant them to their final place!