If you enjoy cheese, you must try this recipe for homemade mozzarella cheese. It can be used in the same way that store-bought cheese is. More importantly, you get to decide what goes into it.
When making cheese the old-fashioned way, you need to use citric acid and rennet. However, we will show you an alternative method of preparation that does not require those items. It is extremely simple to prepare. Let’s get started!
Collect your ingredients
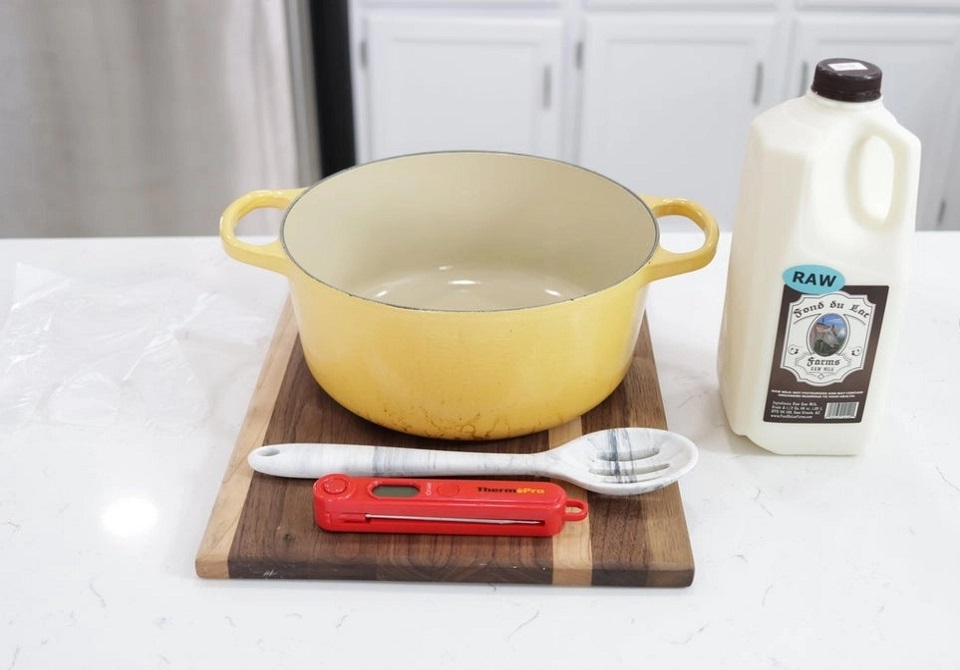
To make this easy recipe for homemade mozzarella cheese, you only need the following:
- Raw Milk or Pasteurized Whole Milk – Don’t use ultra-pasteurized or homogenized milk, or the cheese won’t turn out right and will be kind of like cottage cheese.
- Distilled White Vinegar – This is used instead of the usual citric acid and rennet.
- Cheese salt: This is optional, and you can also use flaky sea salt or kosher salt. Iodized table salt is not something you should use.
- Water—This is used to cool the cheese down. But isn’t a cheese ingredient.
Tools
- Large pot
- Spoon
- Gloves, optional
- Bowls
- Plastic wrap
- Thermometer
How to make homemade mozzarella cheese with only 2 ingredients
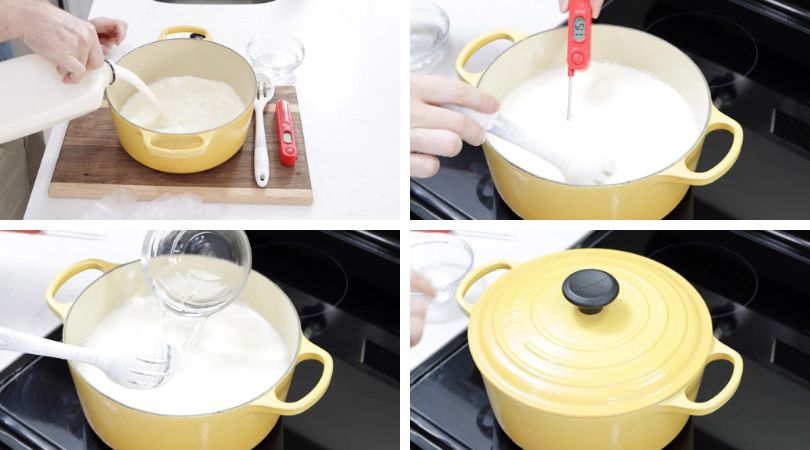
Pour the milk into a large dutch oven or stockpot.
Don’t use ultra-pasteurized or homogenized milk. Instead, use raw (not pasteurized) or normal (pasteurized) whole milk. If the milk has been ultra-pasteurized or homogenized, it won’t work right and won’t make a good curd. Also, try a different brand of pasteurized milk if the one you buy doesn’t work well.
Set the temperature between medium and medium-low. We don’t want the milk to heat up too fast.
Keep gently stirring the milk so that it heats evenly and gets to 115 F/46 C.
A thermometer is very helpful in this situation. But if you don’t have one, it should feel like warm bathwater.
Once it reaches that temperature, take the milk off the heat and add the vinegar. Stir the vinegar into the milk for about 30 seconds to make sure it is mixed in well. It will immediately begin to curdle.
Put a lid on the pot and let it sit for about 15 to 20 minutes without touching it.
Get the curd and remove the whey
After 15 to 20 minutes, it’s time to get that amazing cheese curd out of the whey and put it in a bowl.
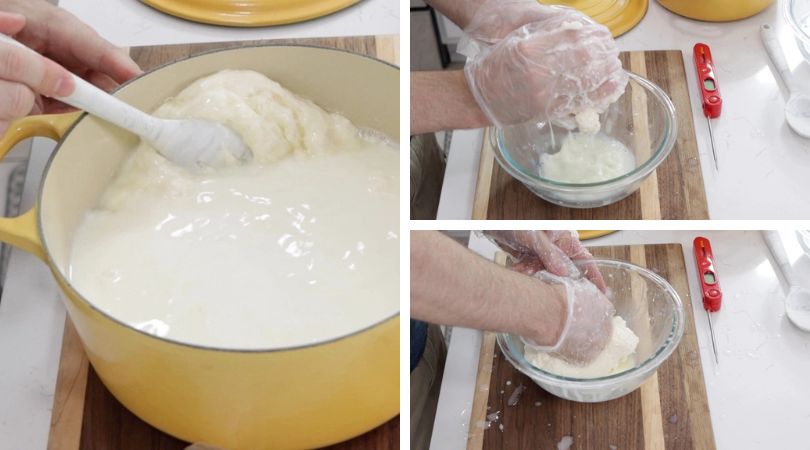
With a spoon or spatula, push the curd up against the side of the pot. Make sure to fish around in the whey, because there is always extra curd hanging out in there.
As you collect it, push it up against the pot’s side. Then take it out of the liquid and put it in a bowl.
NOTE: If you use regular whole milk that has been pasteurized, the curd may look different and have smaller pieces. If you use citric acid and rennet, a layer of curd, like a custard, will form on top. Cut the curd with a knife several times in a grid pattern.
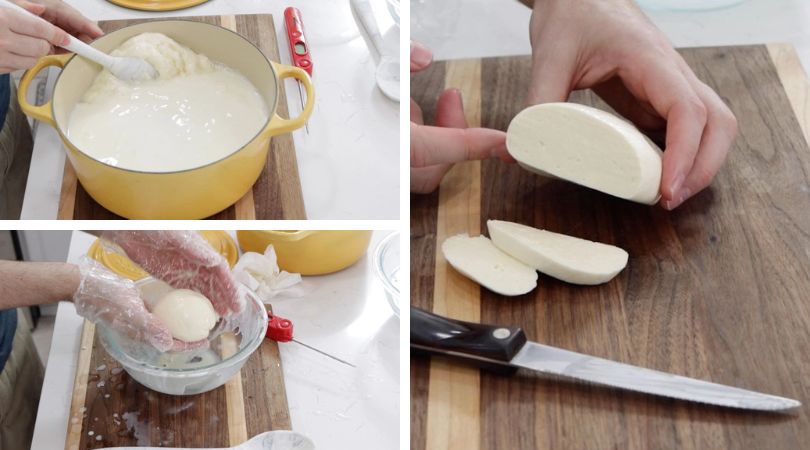
Time to get as much whey out as you can. Grab the curd with clean hands or gloves and cup it in your hands. Gently squeeze it. This will squeeze the whey out.
Let the whey fall into the bowl and then dump it into the big pot of whey.
Repeat this process several times, each time with a little more force. You can also put it in the bowl and knead it for a few seconds.
TIP: If you prefer, you can also use cheesecloth. Wrap the curd in cheesecloth, roll it up, and squeeze. This also helps get rid of the whey.
Once you’ve pressed as much whey out of the cheese as you can, wipe any extra whey out of the bowl with a paper towel and put the cheese ball in the bowl. Or you could just get a new bowl. Make sure the bowl can be used in the microwave.
Heat the home-made mozzarella cheese and stretch it
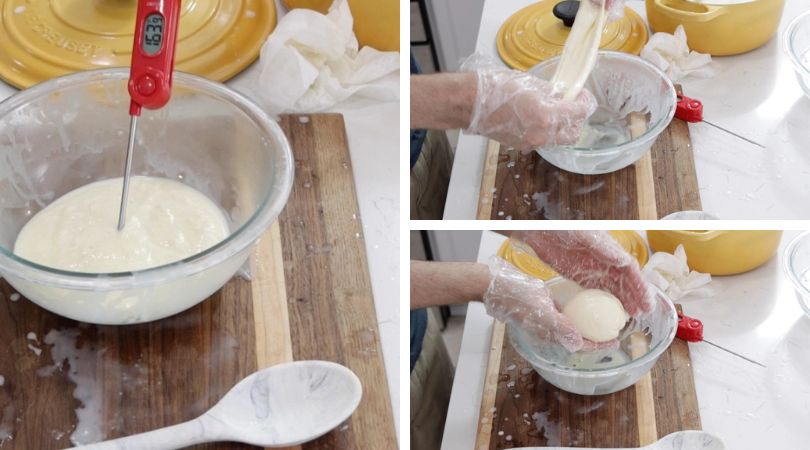
It’s time to heat up the curd or cheese to about 160 F/71 C.
You can either use a microwave. Allow 30 seconds, stir in the cheese, and then give it another 20. This usually works.
Or, you can heat the whey in your pot until it reaches 170F/76C. And put the cheese in the water to warm it up.
As soon as the homemade mozzarella cheese is at the right temperature, start stretching and folding the dough with a spoon.
Pour any liquid or whey that is left over into the pot.
Stretch and pull the mozzarella cheese for a few minutes, then roll it into a ball.
If you want to heat up the cheese with the whey, put the cheese in the whey and press it with a spoon. Then take the cheese out and squeeze out the whey, etc.
NOTE: If you want to add salt, you can add cheese salt, flaky sea salt, or kosher salt (but not iodized salt) right when you are heating and stretching the cheese. Use between 18 and 1/4 of a teaspoon.
Let the cheese cool off, then eat it
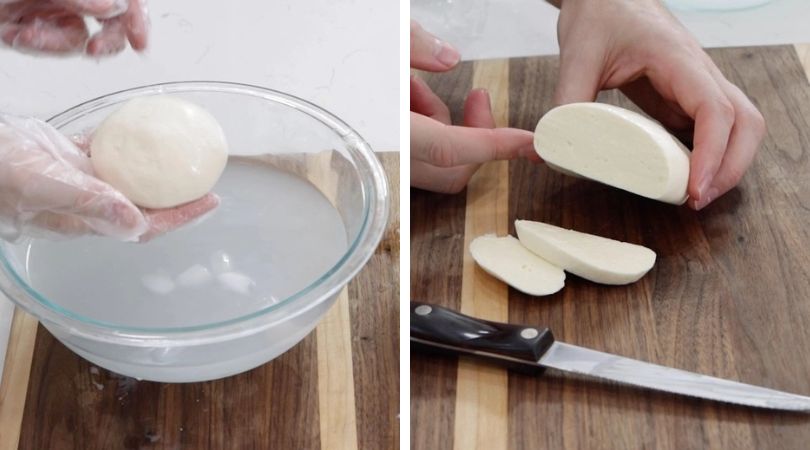
Next, put the cheese ball in a bowl of cool water for about 10 minutes. Then, put some ice in the water and let it chill for 5 to 20 minutes more. Before eating their cheese, some people let it sit in cold water in the fridge overnight.
TIP: Add a few tablespoons of salt to the water if you want the cheese to taste better.
Take the cheese ball out of the water and use a paper towel to dry it.
