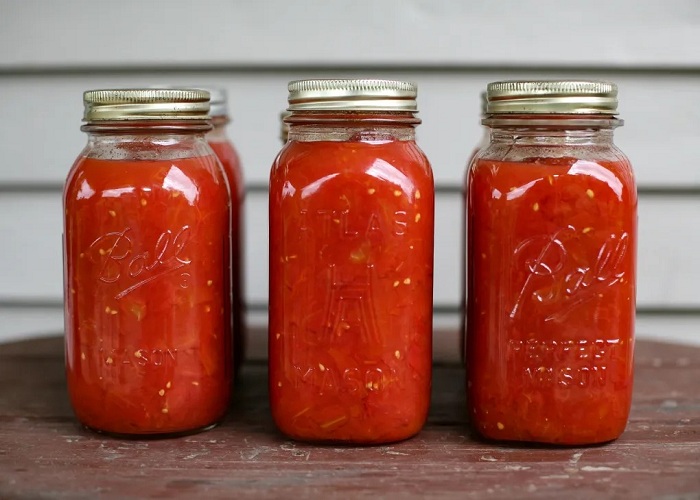
Every home should always have a bottle of tomato juice stashed away somewhere. It’s not just grains and tubers that fit the bill for “staple foods,” but rather any item that can be stored and eaten throughout the year.
Tomato juice can be used in a variety of ways, including as a base for hearty winter soups, to tenderize a pot roast, to add flavor to plain rice, as a salad dressing, or just to drink. In the kitchen, there is a virtually infinite number of uses for tomato juice.
Tools for canning tomato juice
- juicing tomatoes – as many as you can gather or buy at once
- salt – optional sprinkle of flavor
- apple cider vinegar, bottled lemon juice, or citric acid as an acid source (in that order)
- huge washing basin for tomatoes
- pots, bowls, and sharp knives
- a wooden spoon for mixing
- ladle
- funnel
- food mill or blender and strainer
- jars, lids
- water bath canner
- jar lifter
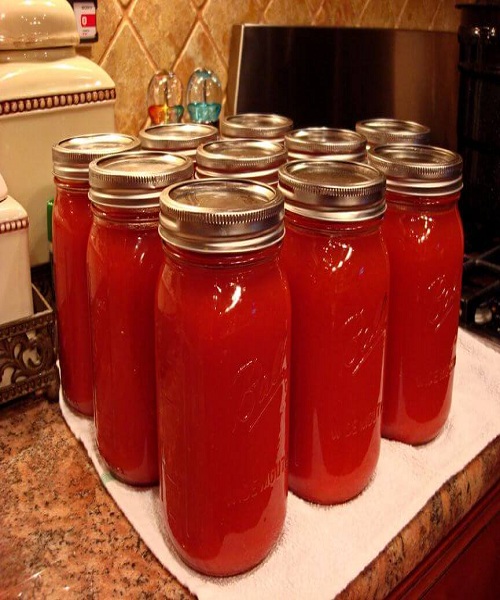
Choose Your Tomatoes
The larger the tomato, the more liquid there is likely to be inside. Smaller tomatoes have thicker skins and are tougher. Better for purees and sauces.
Choose larger tomatoes that are fully ripe and have a little dimple when tested for juice ready.
Brandywine is a delicious heritage tomato with a lot of juice. It’s also delicious when eaten raw. Beefsteaks, Better Boys, and Royal Flush all produce huge fruits that are excellent for canning.
You can also select from several smaller tomato cultivars such as Early Girl or Roma tomatoes.
Start with roughly 22 pounds of tomato juice before canning it (10 kg). You can either base this quantity on your garden haul or on the number of empty jars on your shelves.
Make sure the tomatoes are all about the same ripeness.

Wash and Cut
Food preservation should be simple and enjoyable. Some recipes make this too complicated, so let’s keep it easy.
Bring your tomatoes to the preparation table after washing them in cold water.
Then cut them up.
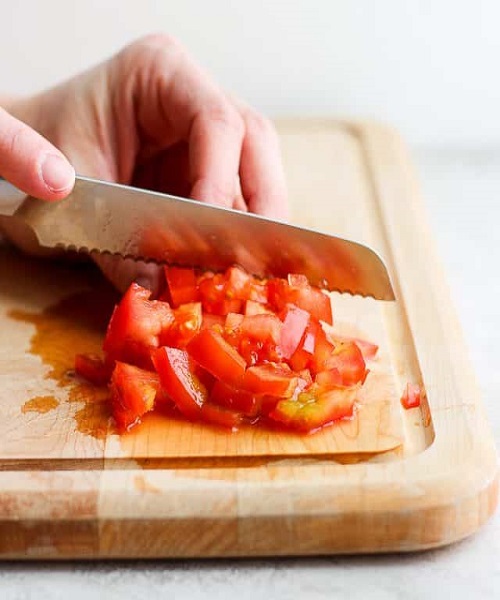
Remove the cores and any damaged areas. Cut them into pieces about the size of eighths or quarters. It all depends on how big the tomato is. There’s no need to peel the tomatoes!
Place the tomatoes in the pot and cook them down
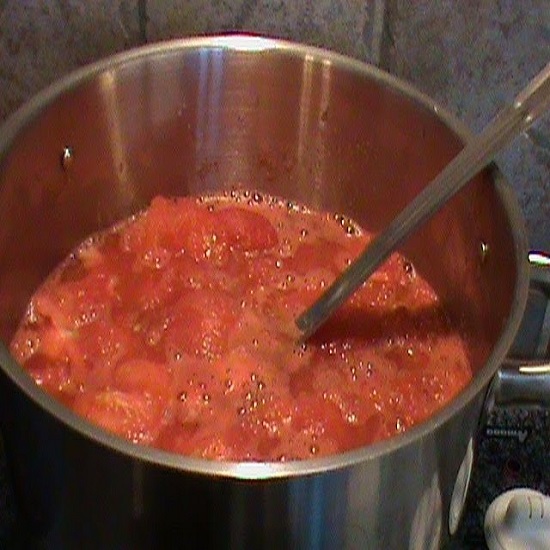
Place the chopped tomatoes in the saucepan and place it on the heat. It is not necessary to add water. Simply stir them, in the beginning, to keep them from adhering to the bottom of the saucepan.
If you like, mash a few pieces in the bottom of the saucepan with a potato masher to pre-juice them. As a result, there is no chance of sticking.
Cook until the tomato slices begin to form a foamy juice over medium heat. Again, depending on the amount of food you’re cooking at once, this can take anywhere from 10 to 25 minutes.
While cooking, stir to ensure that all pieces are tender. Bring the top parts to the bottom, and then the bottom pieces to the top.
Grind Your Tomatoes
Canning your own food does not require a lot of sophisticated equipment. Set up your hand crank food grinder and get ready to gain some kitchen strength.
Pour a couple of scoops of hot stewed tomatoes into the hopper and spin it. Before making a mess, make sure it fits nicely over a bowl or another pot.
Grind a few ladlefuls at a time until the mill is free of tomato skins.
Before washing the pan, scrape off all of the beautiful fluid that has clung to the bottom. Remove the peels and continue juicing.
You can use as fine a grinding disc as you choose. Even if you end up with some seeds in the final result, it will still taste delicious. In fact, it’s probably better that way.
Do not strive for pure purity. Go for an all-natural home-style look. Unfiltered is better.
Then, dump the remnants into the compost.

Add the heat, salt, and acidity
If you’ve made it this far, the only thing left to do is pour your lovely juice into jars.
Before putting the juice in the jars, we recommend to bring it back up to a temperature where it is practically simmering. Add the salt (optional) and the acid of your choosing at this point.
Because salt isn’t required for canning tomatoes, you may safely assume that you should add it to taste. 1 teaspoon per quart is usually enough to improve the flavor.
It is entirely up to you in terms of acid. You may try lemon juice one year and apple cider vinegar the next. We use organic apple cider vinegar as a preservative for everything we make, from zucchini pickles to chutneys, because we always have it on hand.
When canning quarts, add 1/2 teaspoon citric acid, 2 tablespoons bottled lemon juice, or 1/4 cup apple cider vinegar per jar.

Preserving Tomato Juice
Bring the saucepan of tomato juice back to the table once it has reached a temperature that is above warm but not boiling.
Naturally, your jars and lids should have been pre-washed. Your water bath canner should also be ready.
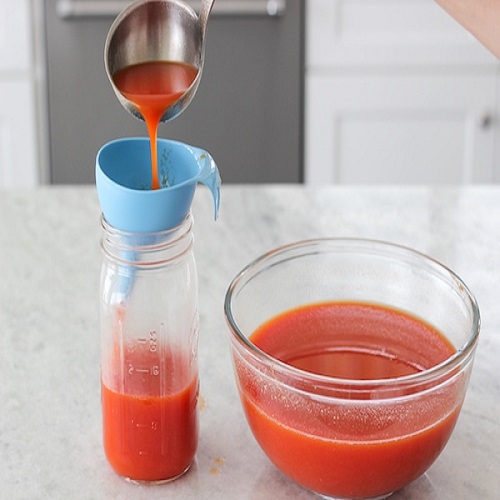
Using a ladle and funnel, fill the jars with tomato juice. Make careful to leave 1/2′′ of headroom.
Wipe up any spills, especially those on the jar’s rim. Tighten the lids and place them in the hot water bath gently. Process quart jars for 40 minutes, covered with 1-2 inches of water.
Wait Before Labeling Your Jars
It’s never assured that whatever you’re making will fill all the jars without a tiny surplus when canning. That’s OK. Simply store the leftovers in the fridge and consume them within a few days.
This provides you a decent picture of what your winter will be like. Of course, the flavors can blend or settle in six months. Try to incorporate fresh flavors and sensations into your handmade meals.
**It should also be noted that there is no limit to the amount of dry herbs you can use in your tomato juice if you want something even more flavorful. Toss in some oregano, basil, thyme, or any herbs you have on hand.
Once your jars have cooled, take the time to label them all so that you don’t get confused later in the year when you can’t remember which jar is full of what.

