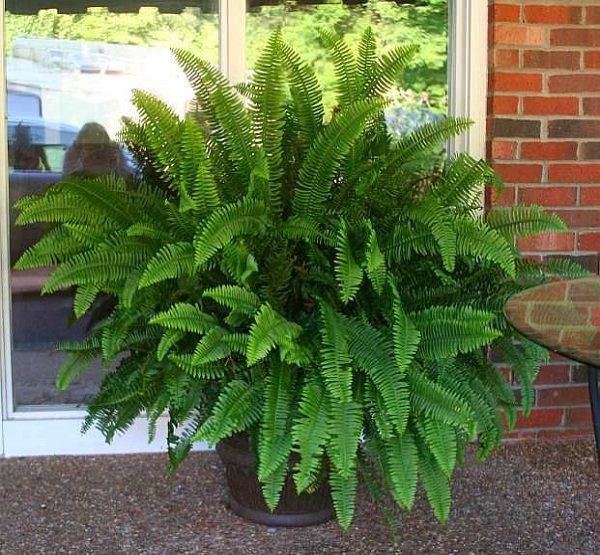
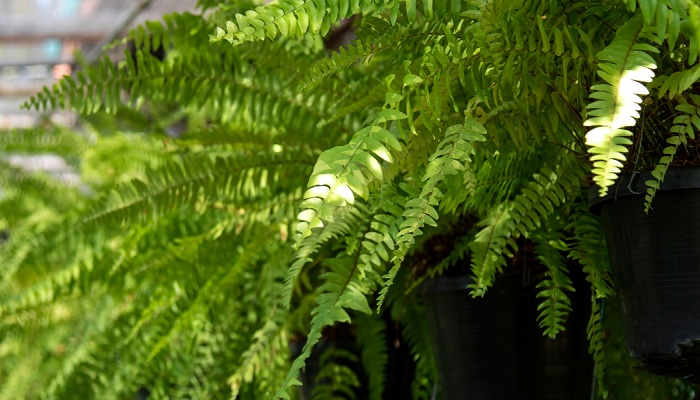
It’s almost fall, which means it’s time to divide those overgrown ferns and make more beautiful plants for next year.
Some ferns may outgrow their containers, in which case you can just bring them inside for the winter and they will return to full glory the following spring. The result is more fern seeds to sow and nurture, at no cost.
How To Divide Overgrown Ferns
When it comes to dividing ferns, there is no set time during the growing season. However, if you divide in the early fall, new roots will have time to grow before you bring the plants indoors.
There are two major benefits to doing this. For starters, it prepares the ground for a speedy recovery and vigorous early development in the spring among the plants. More importantly, it lets you bring in a considerably smaller number of plants to overwinter successfully. If left unchecked, such ferns can quickly outgrow their designated planting areas.
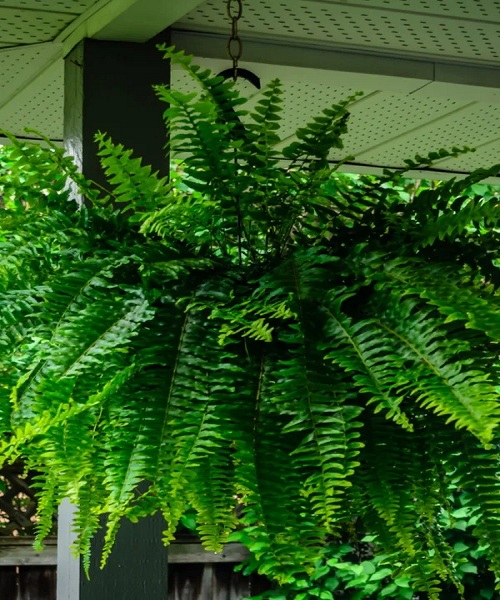
How to Easily Split and Replant Overgrown Ferns
Dealing with the fern’s foliage can be the most challenging element of dividing the plant. The simplest approach to counteract this is to get rid of it before you begin the division process.
Trim the fern’s fronds to a length of about two inches from the plant’s base using a sharp set of hedge shears. Doing so while the plant is still in its pot is usually the easiest option.
The plant will survive the trim, but it will seem quite woody and barren for a while. The fern and its root ball must then be dug up and set on the ground with the bottom of the root ball facing up.
Separate the fern’s root ball into quadrants using a sharp shovel or knife. Most ferns whose previous containers were between 8 and 12 inches in diameter can have their root balls split into quarters without losing any of their vitality.
This produces four new plants next year, each of which will eventually be big enough to flourish in a container of the same or bigger size. Plants can be divided in half if you want to grow them into larger pots. The following year, divide the pot into six or eight portions to make smaller containers.
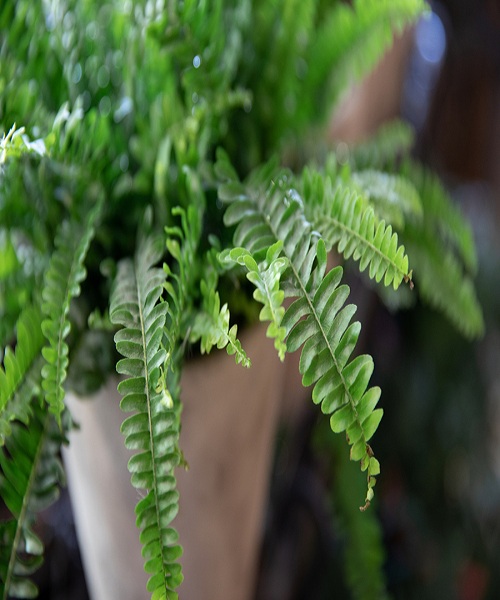
Transplanting
Put your newly divided plants into their new containers. Remember that ferns like a pot that is not too small or too large.
When choosing a pot, aim for one that is between a third and a half the size of the root ball. Given too much room to roam, ferns will not maintain a compact root ball. Roots may not be able to establish themselves properly, and plants may dry up prematurely.
We recommend using a pot size of 12” to 14” when re-potting ferns. They’re big enough to support the ferns’ growth for at least a year or two, but not so big that the soil area is too great at first.
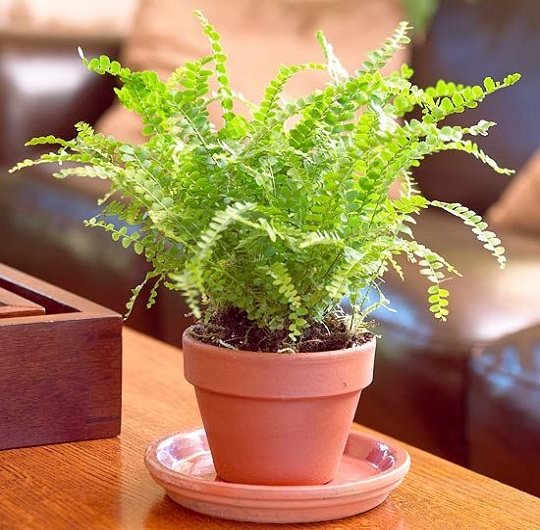
How to Choose Potting Soil
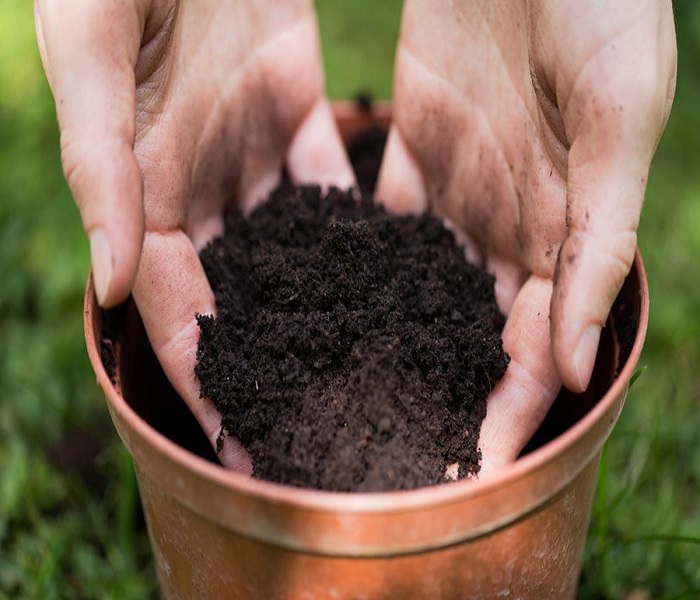
Potting soil should be light and well-drained for optimal results when transplanting. Put some of the potting soil mix in the bottom of the planter, then set the cutting, root ball up, in the middle.
Then, add more potting mix to the space around the root ball. While doing so, gently pack earth around the root ball with your hands.
Fill the container to the top with potting soil, making sure that the soil level is even with the top of the fern cutting.
Care Following Transplantation
If you divide your plants in late summer or early fall, you can let them outside to become used to their new surroundings before bringing them inside.
Make sure to water the plants as you would mature ferns. It normally takes around 2–3 weeks for new growth to emerge from the roots and old foliage, though this time frame varies widely depending on the weather and temperature.
When the temperature starts to drop, your ferns need to be protected from the cold as quickly as possible. This involves bringing them inside during the winter when frost or freezing is forecast.
Finding a cold, dark place with indirect light is ideal for overwintering your fern. One of the finest places to overwinter ferns is in a basement with casement or basement windows. When watering plants for the winter, less is more.
Don’t water unless the earth is absolutely dry. During the winter, ferns continue to develop, albeit at a much slower rate.
Bring your ferns outside once the weather warms up in the spring to help them flourish. When frost or freeze is forecast, make careful to move them indoors or otherwise provide enough protection.
You’ll be amazed at how quickly your ferns grow, and you’ll be even happier to have ready-to-go plants without having to spend a dime.
