Sansevieria, commonly known as snake plants, are easy-care houseplants suitable for novice gardeners. Despite their low maintenance requirements, there are a few issues that may arise when cultivating these plants.
Several of these are caused by a root-bound plant. Snake plants don’t mind being congested in a pot, but they eventually need to be repotted. Repotting your snake plant, fortunately, is a simple task. You only need 15 minutes of your time, a fresh pot, and some potting mix you created yourself.
Let’s start with making certain your snake plant needs a new pot. Not every plant needs to be repotted, and doing so can be stressful for the plant. Never repot without first checking for these indicators.
Here Are 5 Signs It’s Time to Repot Your Snake Plant.
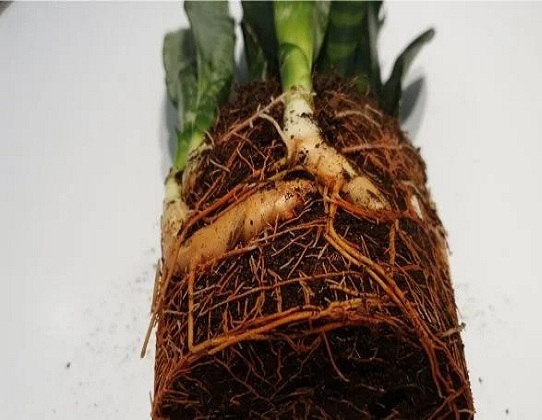
Roots are sprouting from the cracks in the drainage system
This indicates that the roots have nowhere else to grow, driving them out the bottom of the container. The roots have probably already colonized the majority of the pot, leaving little room for further growth.

The soil drains very quickly
Inadequate soil quality is indicated by rapid water runoff. Regular watering and expanding root systems cause soil to break down and lose its structure over time. As a result, it is unable to store water or nutrients and bring them to the plant’s roots.
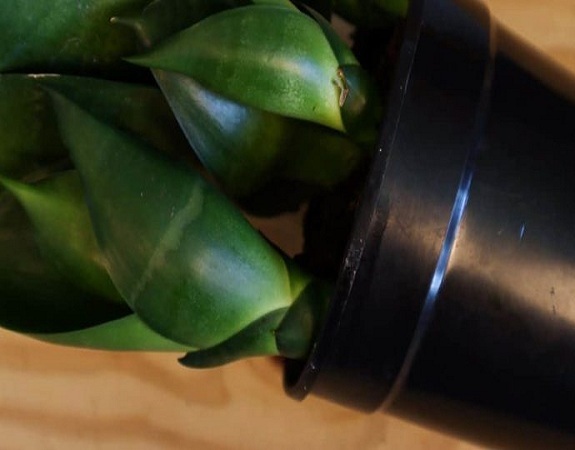
The pot is cracking
The snake plant can crack open its pot if it is subjected to conditions that encourage its growth to an extreme. If the rhizomes are pushing on the edges and distorting the shape of the pot, then it is almost certainly going to crack soon.
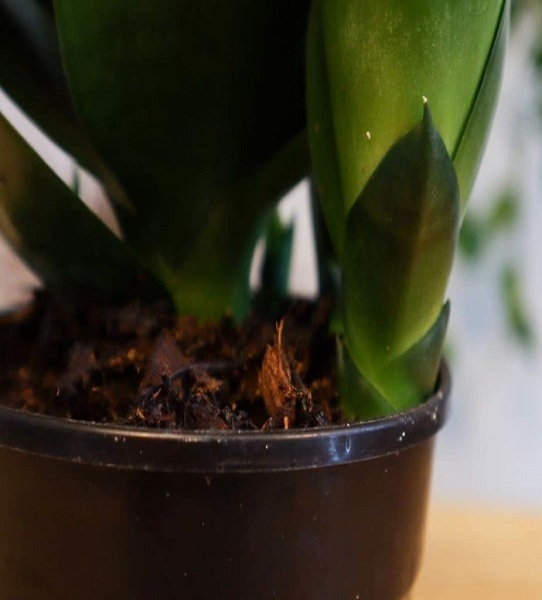
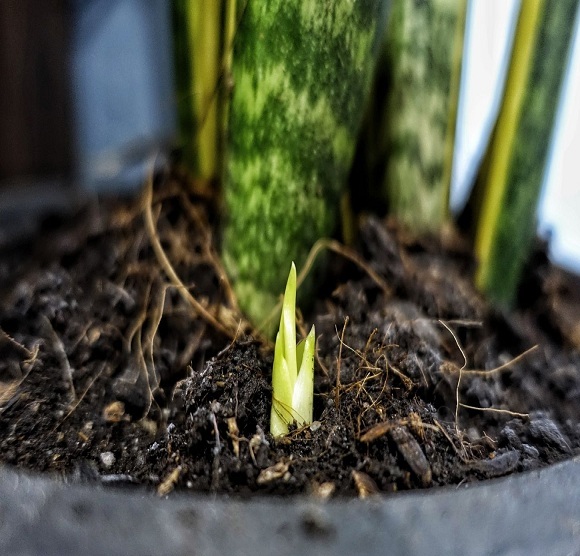
There are several pups on the plant
Snake plants are able to multiply by sending up new stems, or pups, from the root system. These appear to be tiny snake plants, each connected to the main plant via a rhizome that has emerged from the soil nearby.
A single pup doesn’t mean the plant needs to be repotted, but multiple pups mean it will outgrow its pot.
The plant keeps toppling over
The robust rhizomes and voluminous leaves of a snake plant can make it unstable if grown too high. Because of this, and the fact that the soil is deteriorating, the pot may keep toppling over. Although this is not good for the snake plant, it does suggest that it needs more room to expand.
As a general rule, your plant should never be larger than twice the size of the pot it is in. Always go up a size or two when repotting.
The Easiest Method for Properly Repotting Your Snake Plant
If any of these signs appear, you should repot your snake plant. Here is the quickest and the easiest method to do so that it can continue to thrive.
Follow these steps to keep your repotted snake plant alive and well.

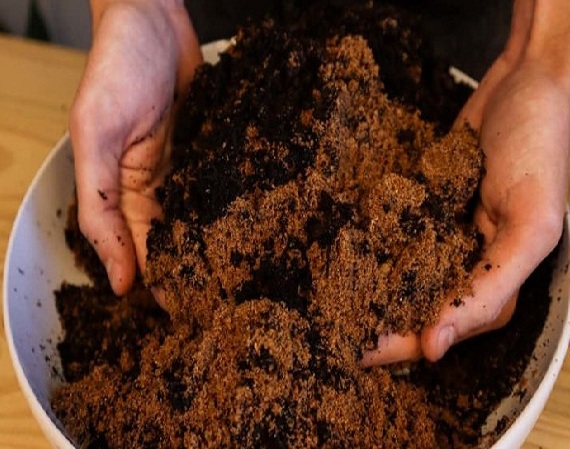
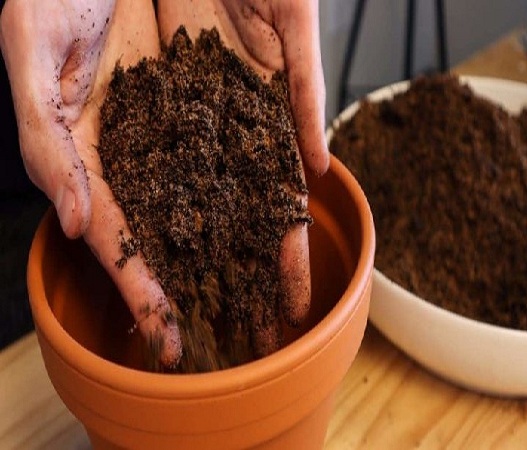
Prepare The Soil
Soil for plants in a container needs to be different than soil for plants in the ground. Reason being: garden soil is too heavy, compacts too easily and doesn’t drain well enough to be used in containers. Also, it may be home to pests and diseases that will harm your plants, as well as weed seeds that will germinate and feed off of your plants.
You can either pick up a bag of potting soil for your houseplants at the garden center or make your own.
Since, snake plants tend to have more specific soil requirements than most houseplants, it’s best to make your own soil by mixing half a high-quality, standard potting soil with half river sand. By doing so, drainage is greatly enhanced, and the environment is more closely mimicked that snake plants thrive in.
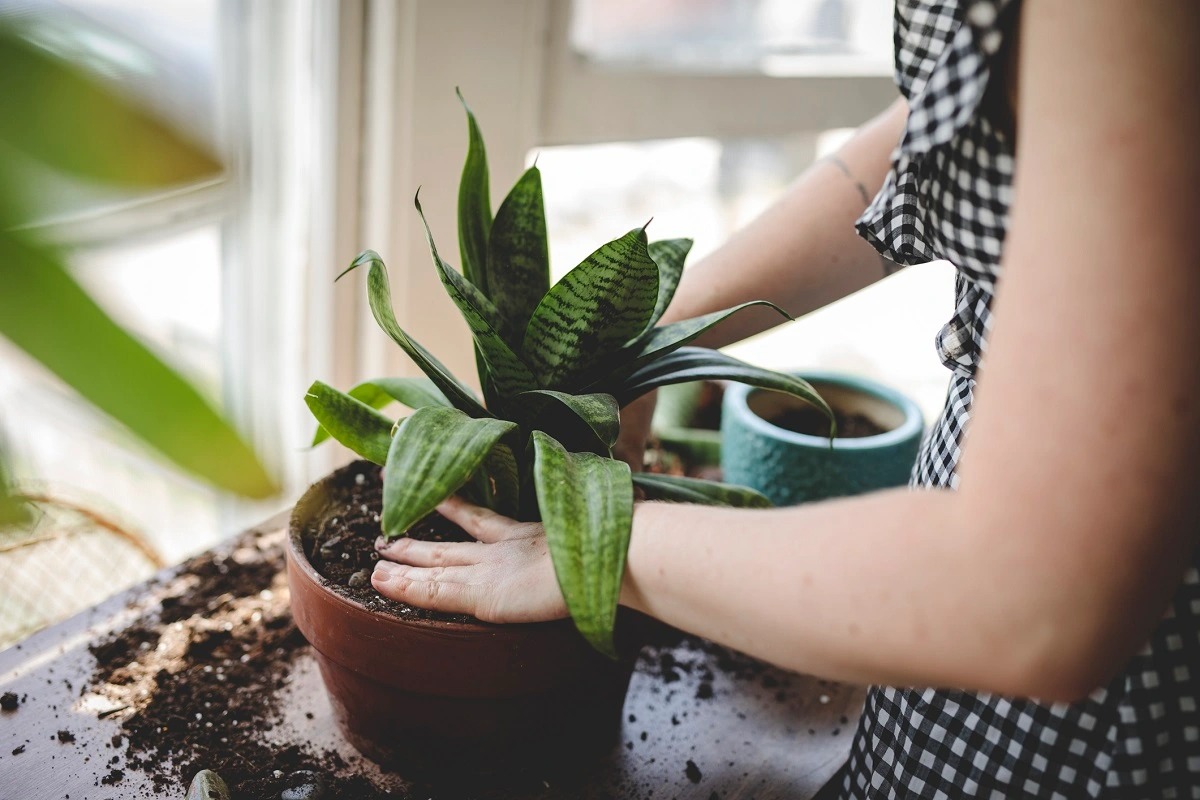
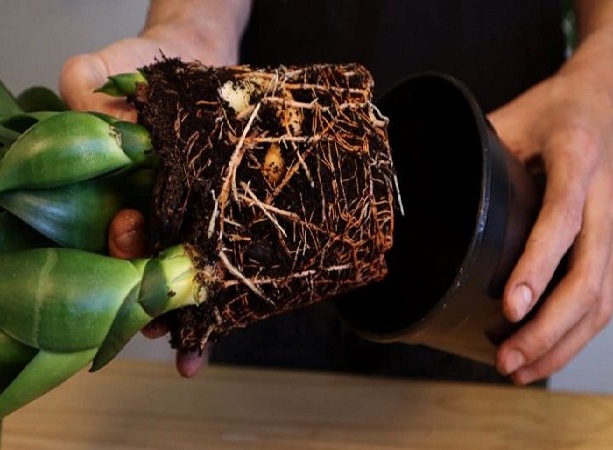
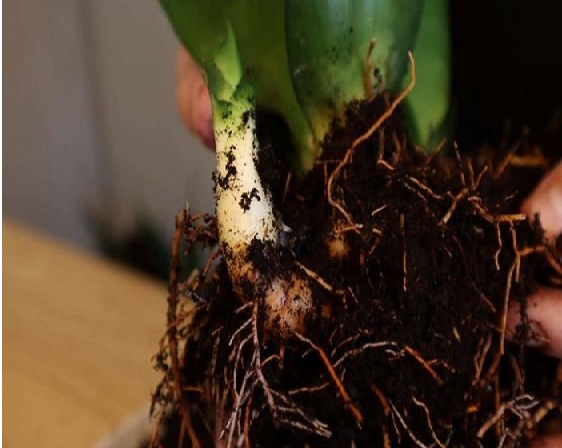
Remove The Plant
If the pot hasn’t cracked, squeeze the sides to loosen the soil before removing.
Your plant removal process will go much more smoothly if you don’t water it for a few days beforehand.
Once you’ve done that, you can carefully remove the plant by inverting the pot. If the soil is poor, you can give the plant a clean slate by shaking off any soil that may be clinging to the roots.
If the soil has any signs of bacteria or fungi, throw it away and give the roots a good rinsing with water.
Cut Off Any Pups
When the roots are exposed, the rhizomes of any ready-to-spread pups will be plain to see.
You can leave them on the plant if there aren’t too many of them, but they’ll eventually turn into new plants that outgrow the pot and need to be repotted.
Make sure the rhizomes stand out and that the roots have been thoroughly sanitized. The rhizome should then be carefully and cleanly cut with a very sharp knife.
Each section should have sufficient roots to stand on its own. Do not remove pups from the plant until they have developed sufficient root systems.
A pup without roots won’t grow without nutrients from its parent.
Cut each pup off from its parent. The divisions should be saved until it is time to replant them into new containers.
Fill The Pot
About a third of the way up, fill the pot with the soil mixture. If the pot’s drainage holes are large, a layer of pebbles placed at the bottom will keep the soil from leaking out.
Soil should be as loose and airy as possible before planting.
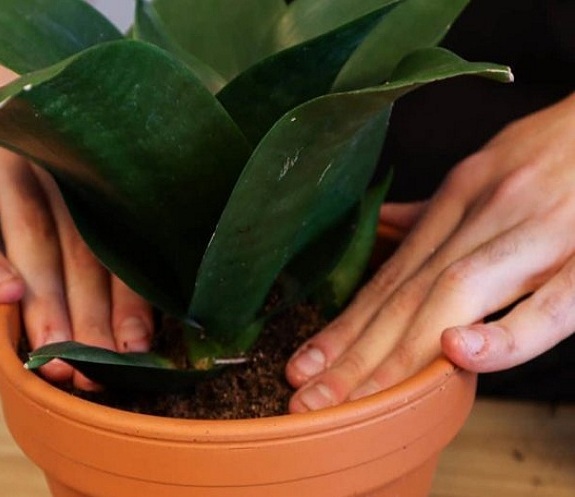
Replant
Plant it right in the middle of the pot over the soil. While supporting it, add soil around the roots until the container is just a few inches from being full. Crown rot occurs when soil is left over the top of a plant and the crown should be kept dry.
After it’s full, give the top soil a light tamping. This prevents the plant from shifting and eliminates any large air pockets in the container.
Water well right after planting to help the roots grow. This will also help to prevent shock because roots dislike being exposed to air and dried for extended periods of time.
Place the plant in bright indirect sunlight to enjoy its new pot for the next few years.