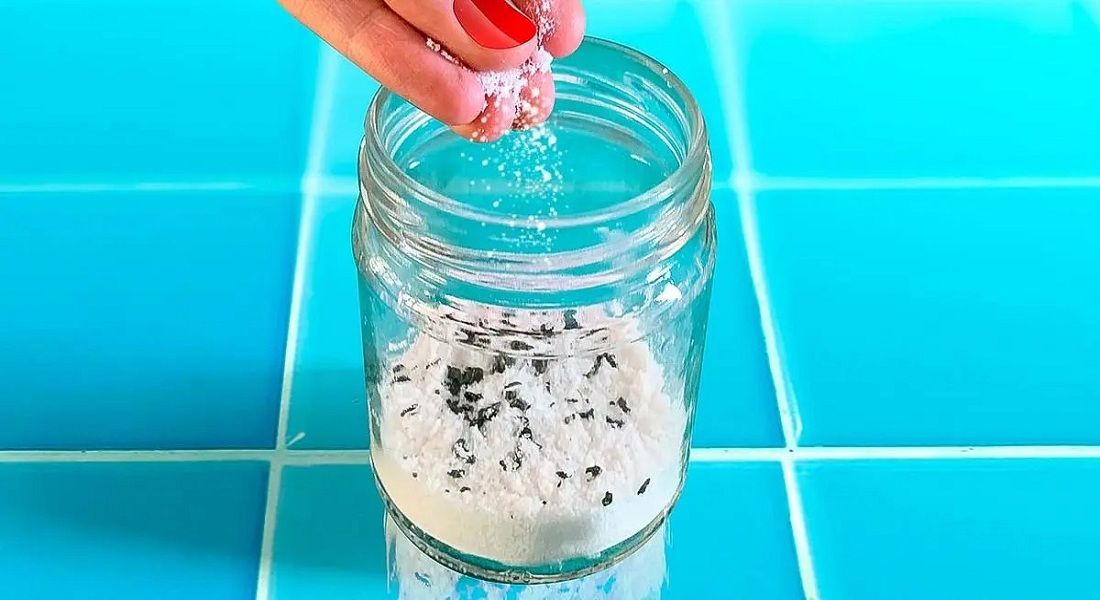
If you have excess moisture in any section of your home, check these DIY dehumidifier options to trap wetness and dry out the air. These low-cost options are ideal to use as a temporary fix, however, they are not as effective as a store-bought dehumidifier.
Rock Salt
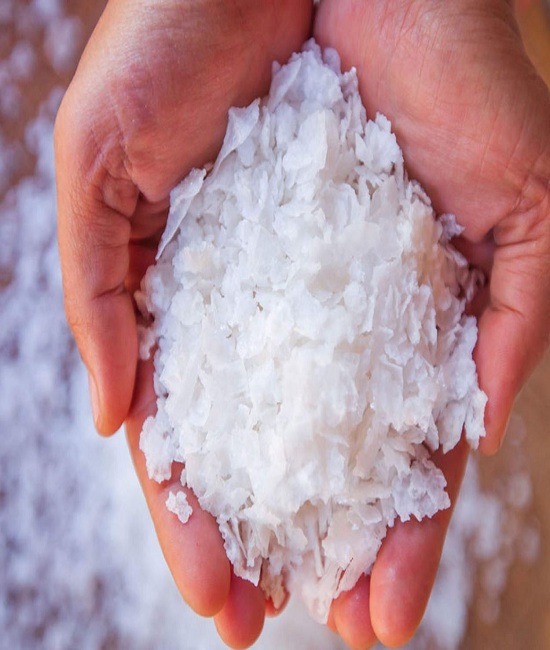
When it comes to homemade dehumidifiers, rock salt is at the top of the list. Rock salt is an excellent dehumidifier because of its inherent ability to absorb moisture from the air.
Two 5-gallon buckets and a huge bag of rock salt (or sodium chloride) are all you need to make a humidifier out of rock salt. Both should be available at your local hardware shop.
How to Make It:
- Drill a few tiny holes in the bottom and sides of one of the buckets.
- Place the one with the holes inside the other one.
- Put rock salt in the bucket until it is completely full.
- Keep the bucket wherever you want to reduce humidity in your home.
- Once it starts to fill up, the bucket will leak water via its holes.
- The outer bucket will gather the water and hold the surplus.
Tip:
As the water in your bucket rises, you’ll need to dump it out, and if your rock salt starts to become low, you might want to top it off.
Baking Soda
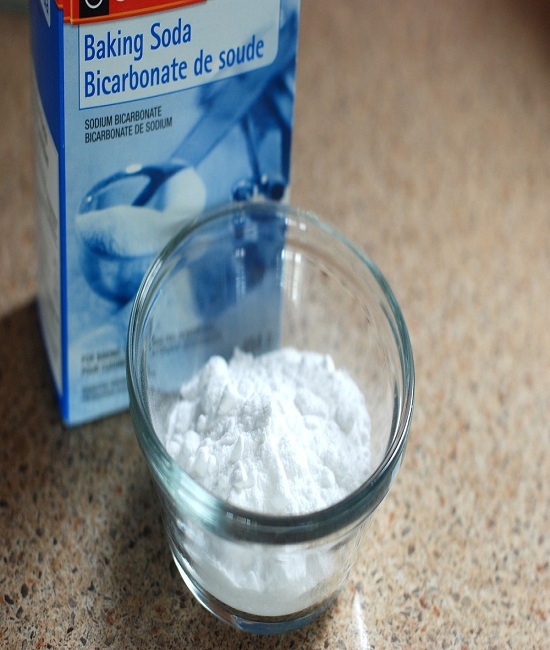
As one of its many uses, baking soda can help reduce moisture in the air. It’s a fantastic option because it’s cheap and simple to find in stores.
Despite its effectiveness, baking soda can only be used to dehumidify a small room. This method is most effective in a compact area, such as a cabinet, yet it might be used effectively in a bigger room.
How to Make It:
- Find a tiny bowl that can easily fit into the desired location.
- Add some baking soda to the bowl.
- Put the bowl where you want less moisture to be.
- Due to its ability to absorb moisture, baking soda will harden with time and need to be replaced with new baking soda.
Charcoal
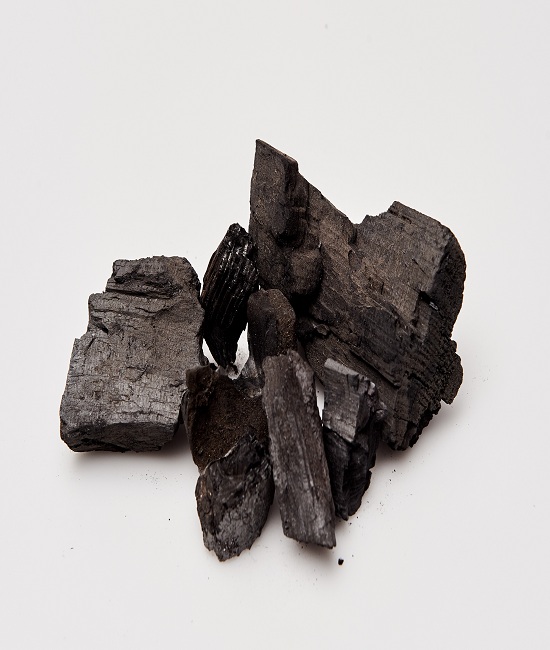
Charcoal can be used as a dehumidifier because of its ability to absorb humidity from the air. Charcoal dehumidifiers are effective when used in confined spaces like bathrooms, basements, attics, and closets.
How to Make It:
- Get a big, empty can that has a lid like a coffee can and wash it out.
- Make holes in the can’s side and lid using a screwdriver.
- Place the charcoal in the can and close the lid.
- Put the homemade charcoal dehumidifier where moisture needs to be removed.
- After a couple of months, you’ll need to change your charcoal with fresh charcoal and start the dehumidifying procedure all over again.
Plant-Based Coffee Creamer
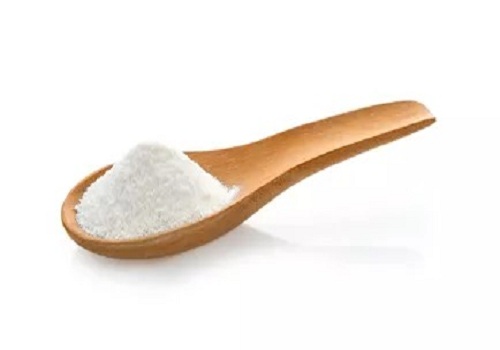
It may come as a surprise, but non-dairy coffee creamer, often known as a coffee whitener, works wonderfully as a dehumidifier. Although its primary application is in coffee, creamers can really be used to reduce moisture in the air around the house. The ideal places to use non-dairy coffee creamer are in small spaces like bedrooms and closets.
How to Make It:
- Fill a medium-sized bowl halfway with the nondairy coffee creamer.
- Put the creamer in a bowl and put it in the area you want to reduce the humidity.
- Like baking soda, the coffee creamer will absorb moisture and harden. Simply replace it with a new coffee whitener if this happens.
Magnesium Chloride
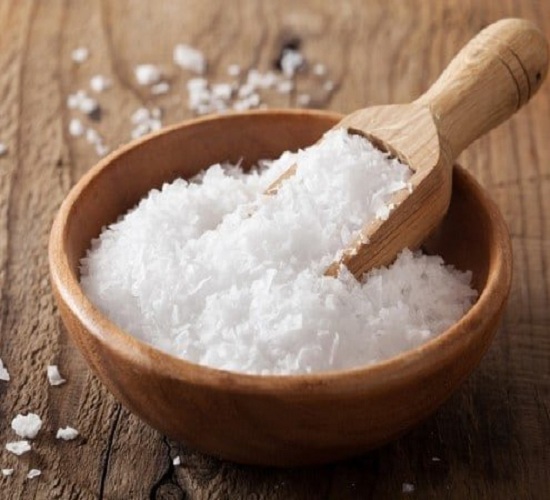
One more sort of salt that works great as a dehumidifier is calcium chloride. It is an excellent choice for damp environments like basements and bathrooms due to its ability to absorb moisture from a huge area.
How to Make It:
- Get a worn-out sock, some string, a big bowl, and calcium chloride.
- Fill the sock with calcium chloride.
- A piece of string should be used to secure the sock.
- To absorb excess moisture, hang the sock in the target area.
- The calcium chloride will start to release water as it begins to operate, therefore a dish should be placed underneath the sock to collect it.
Tip:
As the sock collects moisture, the level of calcium chloride decreases, therefore replace as needed to keep dehumidifying.
Silica Gel
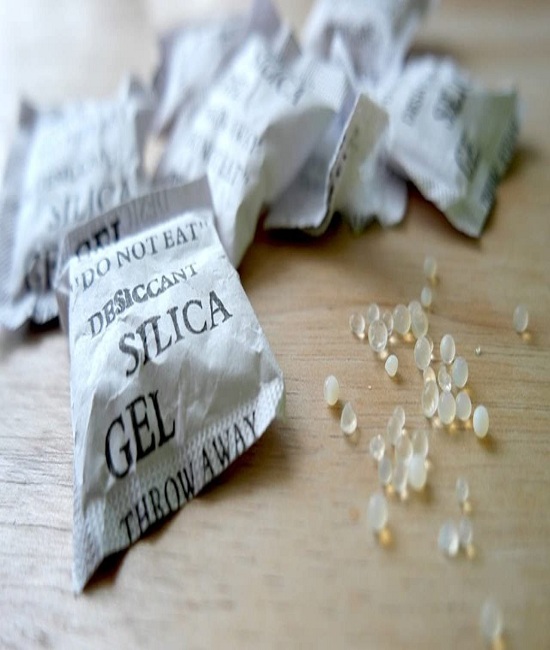
You’ve probably seen the little packets of silica gel in the back of boxes for shoes or in the bottom of storage bins. The silica gel works well as a dehumidifier, and it is simple to prepare.
How to Make It:
- Get yourself a screwdriver, some silica gel, and a jar with a lid.
- Drill some holes in the jar’s top with the screwdriver.
- Put some silica gel in the container and secure the lid.
- It is recommended to replace the silica gel every few weeks for optimal performance.
